Running Unit Tests
Unit tests are meant to be run as part of the build system's code quality checks, and will be executed automatically whenever a Pull Request is submitted, as well as for nightly builds.
However, unit tests can also benefit developers while actively working on the code by providing quick notification of breaking changes or invalid code, in two ways:
- any syntax errors will be found prior to the tests running,
- any logic errors deriving from code changes are likely to cause tests to fail, even if the code in question is not directly covered.
Note that the only way to guarantee unit test coverage for new code is to write unit tests oneself!
This is the simplest method of running unit tests for a given project: run all defined unit tests via the Gradle task.
- Open the project you wish to test (or use the IDE you are already working in)
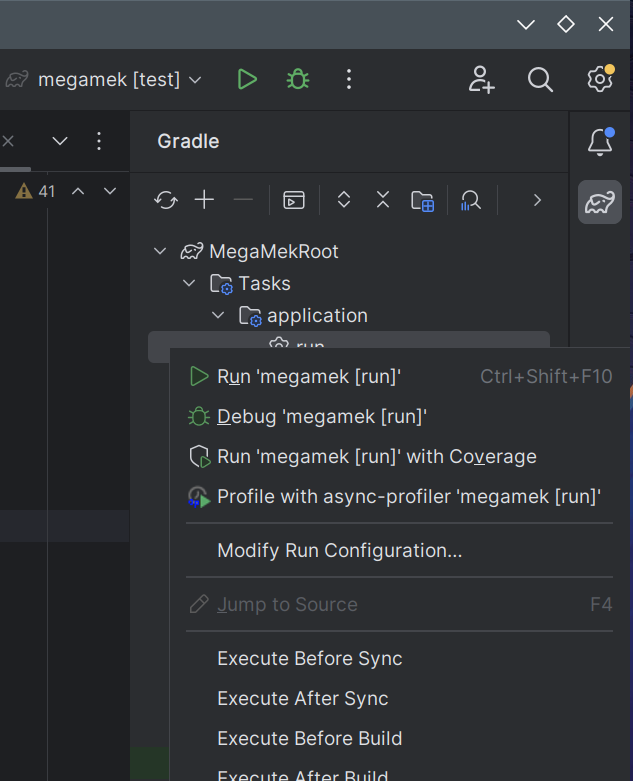
- If you have not previously run any unit tests in this project, open the Gradle sidebar (elephant icon) and navigate to 'MegaMekRoot' -> 'Tasks' -> 'Verification'.

- Either double-click on 'run', or right-click 'run' and select one of the run options.

- Observe the test run; tests will run serially (for thread safety in tests) and the results will show up in the Debug pane of the IDE (bottom for this picture):

- Passing tests will display total test counts:

- Any failing tests will halt testing and display the failure for debugging:

- To return the IDE to running the project rather than tests, there are three options: 7.a. Select "Run" from the Gradle dropdown next to the Run and Debug buttons; 7.b. Navigate to MegaMekRoot -> Tasks -> Application and double-click "run"; 7.c. Navigate to MegaMekRoot -> Tasks -> Application and double-click "run";
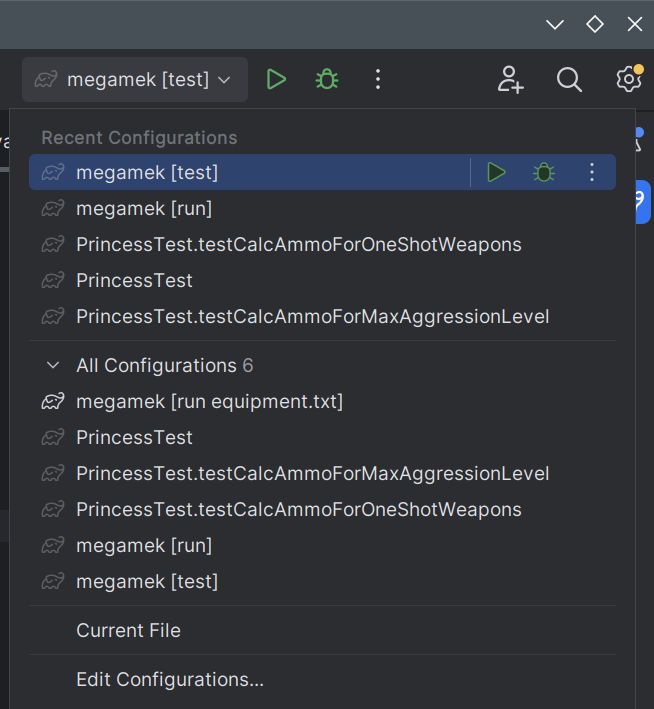

(The second and third are most useful after running many different individual tests, which pushes "Run" out of the dropdown box)
The process for running a specific test suite - all of the unit tests in one Java file - is similar, but it is easiest to navigate to the file via the file explorer, open the file, and start all tests within it from the class declaration level by right-clicking on the green (or red, if after a failure) icon next to the class declaration:

After the test has run once, it will be entered into the Gradle task dropbox at top right and can be re-run from there as well.
Similar to the above, but the simplest approach is to find the unit test function within the Java file and run it from that point, by right-clicking on the green (or red if after a failure) icon next to the function definition:

After the test has run once, it will be entered into the Gradle task dropbox at top right and can be re-run from there as well.
(WIP)
(WIP)
(WIP)
(WIP)