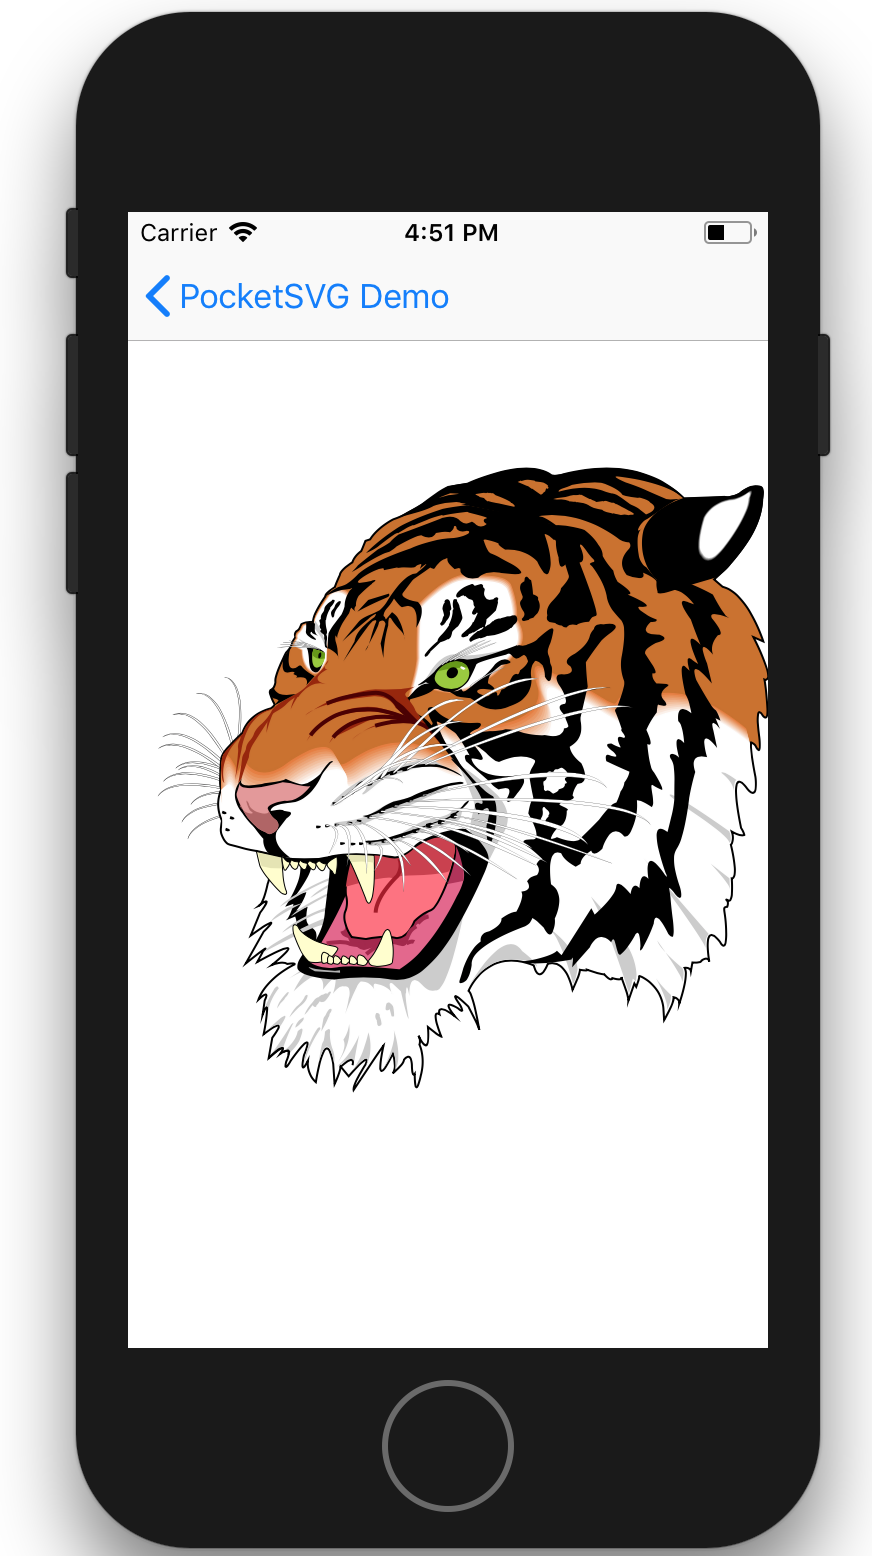
A simple toolkit for displaying and manipulating SVGs on iOS and macOS in a performant manner.
The goal of this project is not to be a fully compliant SVG parser/renderer. But rather to use SVG as a format for serializing CG/UIPaths, meaning it only supports SVG features that can be represented by CG/UIPaths.
Thoroughly documented.
- Support for SVG elements:
path,line,polyline,polygon,rect,circle,ellipse - Support for SVG named colors.
- Fully working iOS and macOS demos.
- Straightforward API for typical SVG rendering as a
UIImageView/NSImageVieworCALayersubclass. - Access every shape within your SVG as a
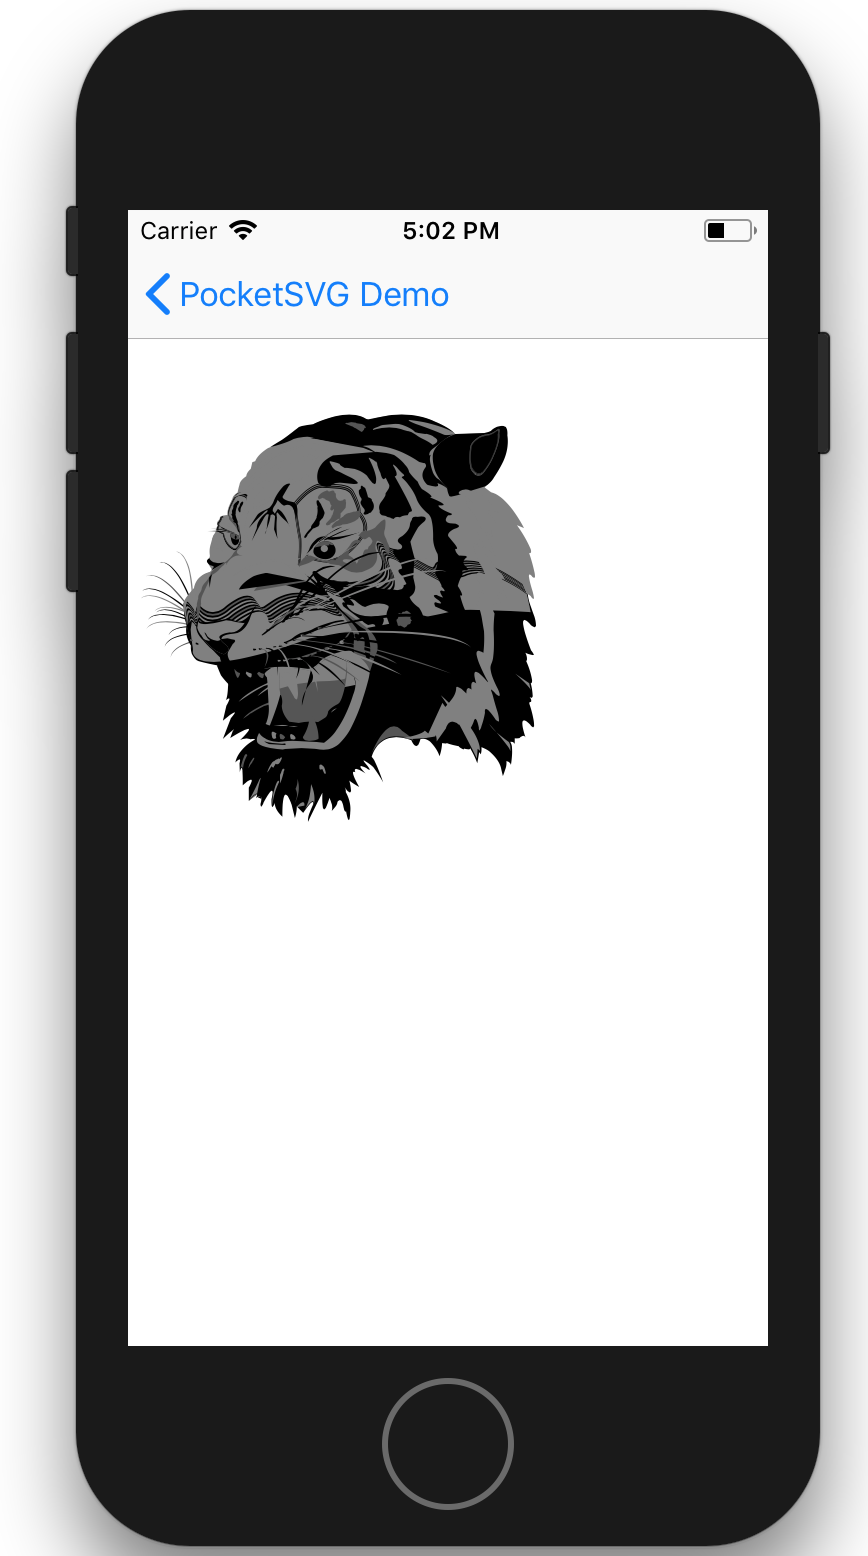
CGPathfor more fine-grained manipulation.
Add this to your Podfile:
pod 'PocketSVG', '~> 2.0'
Then run pod install
Add this to your Cartfile:
github "pocketsvg/PocketSVG" ~> 2.0
Then run carthage update
Drag and drop PocketSVG.xcodeproj into your Xcode project. In your project settings, add PocketSVG.framework in Link Binary With Libraries.
let url = Bundle.main.url(forResource: "tiger", withExtension: "svg")!
let svgImageView = SVGImageView.init(contentsOf: url)
svgImageView.frame = view.bounds
svgImageView.contentMode = .scaleAspectFit
view.addSubview(svgImageView)Note: By default, SVGLayer has shouldRasterize set to YES when running on iOS. If you need to animate changes to the layer's transform you might want to reset that to NO.
view.backgroundColor = .white

let svgURL = Bundle.main.url(forResource: "tiger", withExtension: "svg")!
let paths = SVGBezierPath.pathsFromSVG(at: svgURL)
let tigerLayer = CALayer()
for (index, path) in paths.enumerated() {
    let shapeLayer = CAShapeLayer()
    shapeLayer.path = path.cgPath
    if index%2 == 0 {
        shapeLayer.fillColor = UIColor.black.cgColor
    }
    else if index%3 == 0 {
        shapeLayer.fillColor = UIColor.darkGray.cgColor
    }
    else {
        shapeLayer.fillColor = UIColor.gray.cgColor
    }
    tigerLayer.addSublayer(shapeLayer)
}

var transform = CATransform3DMakeScale(0.4, 0.4, 1.0)
transform = CATransform3DTranslate(transform, 200, 400, 0)
tigerLayer.transform = transform
view.layer.addSublayer(tigerLayer)Please use the issue tracker to report any bugs or file feature requests.
PRs are welcome.


