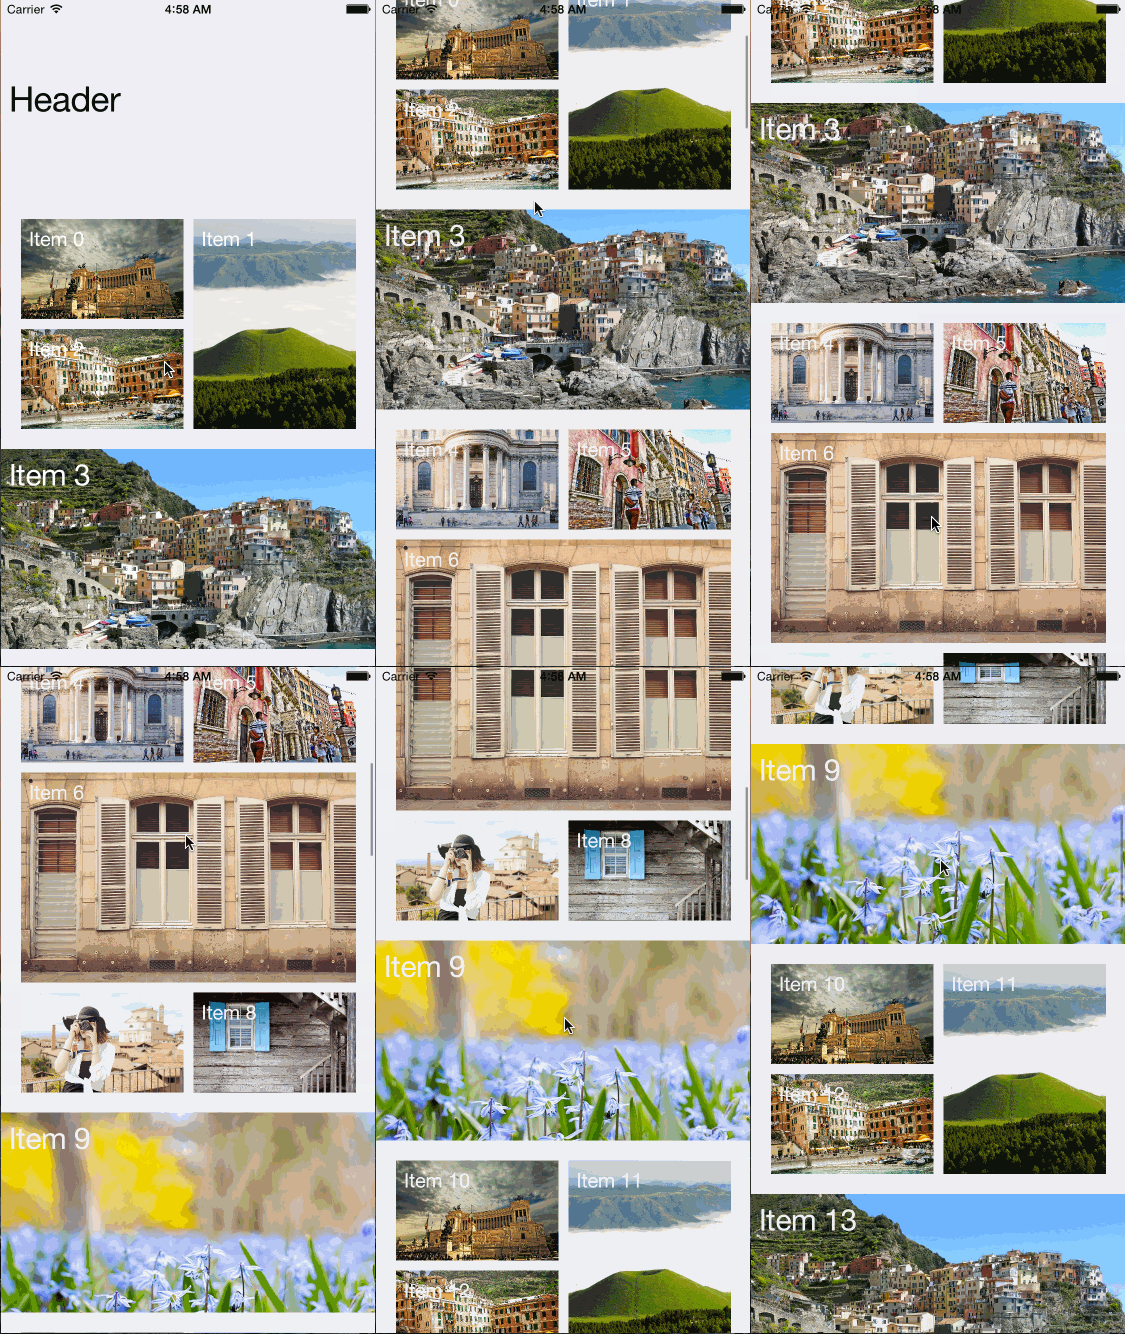
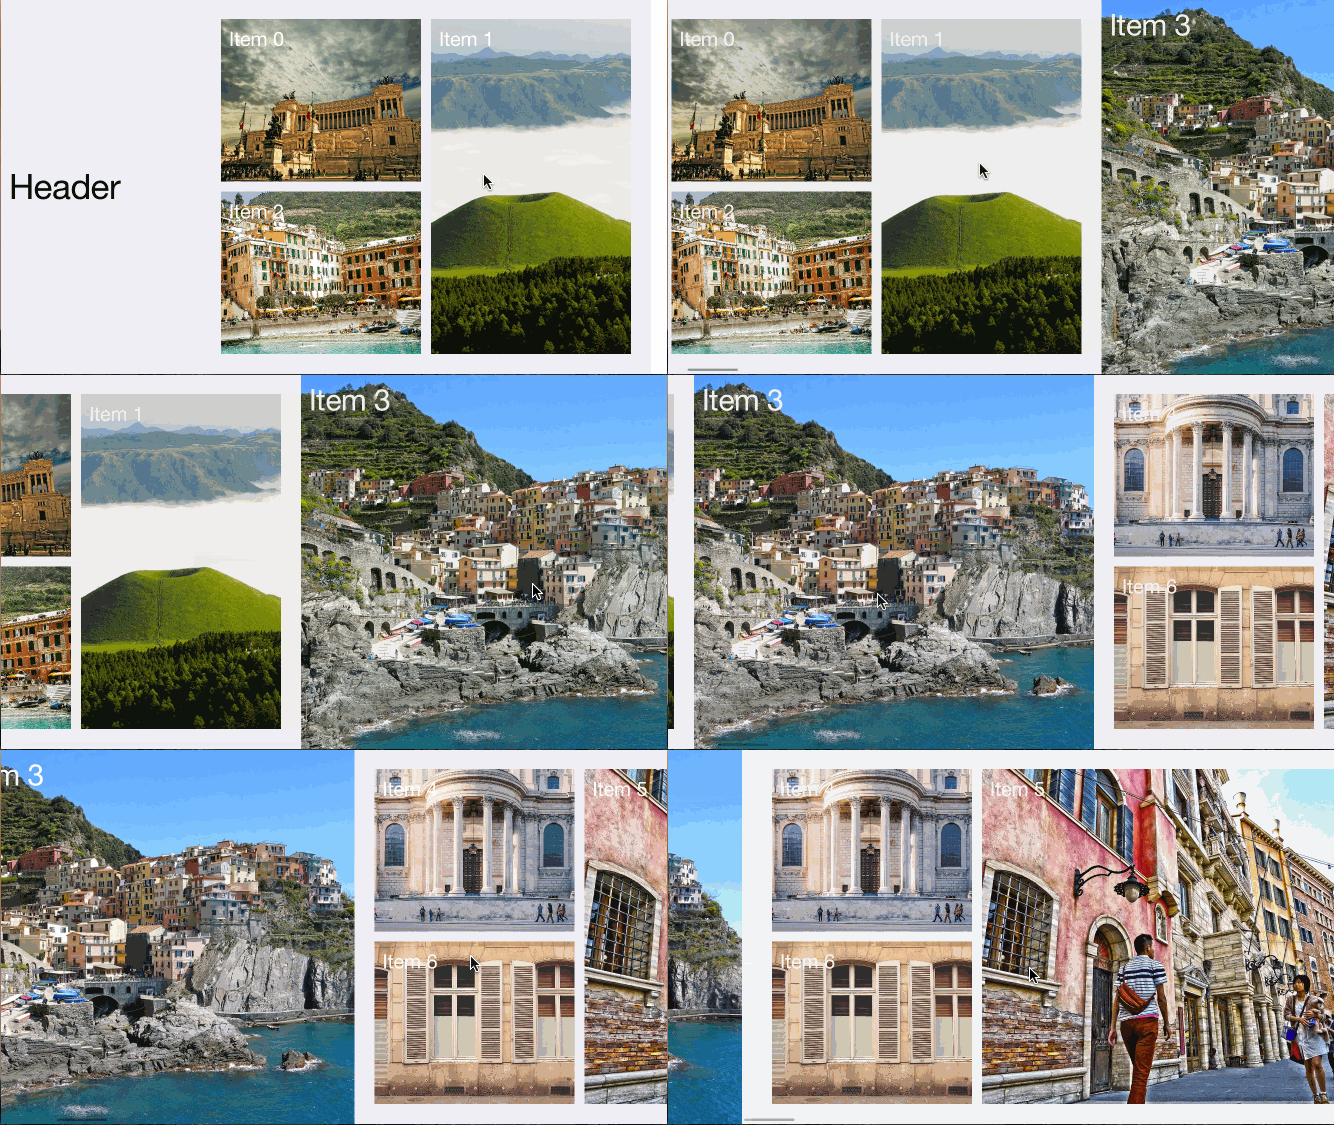
NVBnbCollectionView is an Airbnb-inspired collection view.
For first-hand experience, just open the project and run it.
Install Cocoapods if need be
$ gem install cocoapodsAdd NVActivityIndicatorView in your Podfile
pod 'NVBnbCollectionView'Then, run the following command
$ pod installCopy NVBnbCollectionView folder to your project. That's it.
To keep it simple in first version, I use fixed layout as in Airbnb app.
Cells with red border are parallax cell. Others are grid cell.
Green regions are grid padding gridPadding.
Orange regions are cell spacing gridCellSpacing.
In portrait, height of grid cell and parallax cell are specified in gridCellSize and parallaxCellSize respectively in layout, width will be calculated base on gridPadding and collection view width.
The same is applied in landspace and for other (i.e. header, more loader and spacing between grid cells).
There is not much difference between NVBnbCollectionView and UICollectionView, so just use it as you normally do with UICollectionView.
With storyboard, change class of collection view to NVBnbCollectionView and layout to NVBnbCollectionViewLayout.
All properties of layout are inspectable so you can change sizes in layout directly in storyboard. However, IBInspectable requires Xcode 6 and above.
If you create collection view from code, the following example can help:
NVBnbCollectionViewLayout *layout = [[NVBnbCollectionViewLayout alloc] init];
NVBnbCollectionView *collectionView = [[NVBnbCollectionView alloc] initWithFrame:CGRectMake(0, 0, 500, 500) collectionViewLayout:layout];

layout.gridCellSize = CGSizeMake(150, 150);
layout.parallaxCellSize = CGSizeMake(300, 300);
// Set other properties of layout if need be
Again, what you can do with UICollectionView, do the same with NVBnbCollectionView.
Collection view needs data source to provide information about cells, your class must conform NVBnbCollectionViewDatasource and 3 required methods:
NVBnbCollectionViewneeds to know how many items will be displayed:
- (NSInteger)numberOfItemsInBnbCollectionView:(NVBnbCollectionView *)collectionView;- How a grid cell looks like:
- (UICollectionViewCell *)bnbCollectionView:(NVBnbCollectionView *)collectionView cellForItemAtIndexPath:(NSIndexPath *)indexPath;- How a parallax cell looks like:
- (NVBnbCollectionViewParallaxCell *)bnbCollectionView:(NVBnbCollectionView *)collectionView parallaxCellForItemAtIndexPath:(NSIndexPath *)indexPath;In addition, if collection view has header and load more ability, it should know how the header, more loader look like.
- How header looks like:
- (UICollectionReusableView *)bnbCollectionView:(NVBnbCollectionView *)collectionView headerAtIndexPath:(NSIndexPath *)indexPath;- How more loader looks like:
- (UIView *)moreLoaderInBnbCollectionView:(NVBnbCollectionView *)collectionView;NVBnbCollectionViewDelegate is subclass of UICollectionViewDelegate so it inherits all abilities from its parent, plus one method to notify controller whenever the collection view needs more data.
- (void)loadMoreInBnbCollectionView:(NVBnbCollectionView *)collectionView;
NVBnbCollectionViewParallaxCell is subclass of UICollectionViewCell with built-in parallax effect image view. Therefore, you class should be subclass of NVBNbCollectionViewParallaxCell to have this ability.
To set image used parallax effect, use parallaxImage property. Example:
NVBnbCollectionViewParallaxCell *parallaxCell = [collectionView dequeueReusableCellWithReuseIdentifier:<identifier> forIndexPath:indexPath];

cell.parallaxImage = [UIImage imageNamed:<image name>];
You can also set maxParallaxOffset in NVBnbCollectionViewLayout to adjust how much the parallax image will be shifted.
To add header, set headerSize in layout greater than 0.
Register header to collection view using kind NVBnbCollectionElementKindHeader
[collectionView registerNib:<nib> forSupplementaryViewOfKind:NVBnbCollectionElementKindHeader withReuseIdentifier:<identifier>];
[collectionView registerClass:<nib> forSupplementaryViewOfKind:NVBnbCollectionElementKindHeader withReuseIdentifier:<identifier>];
Header must be subclass of UICollectionReusableView.
If collection view has header, you have to implement bnbCollectionView:headerAtIndexPath: in data source. Otherwise, this will cause error.
- (UICollectionReusableView *)bnbCollectionView:(NVBnbCollectionView *)collectionView headerAtIndexPath:(NSIndexPath *)indexPath {
    UICollectionReusableView *header = [collectionView dequeueReusableSupplementaryViewOfKind: NVBnbCollectionElementKindHeader withReuseIdentifier:<identifier> forIndexPath:indexPath];

    return header;
}
If collection view doesn't have header, you can omit bnbCollectionView:headerAtIndexPath: or just return nil.
NVBnbCollectionView itself has load more ability. There is a more loader section below collection view to indicate the collection view waiting for more data. Size of this section is specified in moreLoaderSize in NVBnbCollectionViewLayout.
You can change the activity indicator view in more loader section by providing your custom one in moreLoaderInBnbCollectionView:collectionView:. By default, UIActivityIndicatorView will be used. However, if you would like something else nicer and ready to use, check NVActivityIndicatorView.
Once collection view hits its bottom, it will delegate to loadMoreInBnbCollectionView:collectionView. In this way, controller has chance to load more data. While doing this, collection view will not delegate any more until loadingMore is set to false. For example:
- (void)loadMoreInBnbCollectionView:(NVBnbCollectionView *)collectionView {
    [self loadMore];
}

- (void)loadMore {
    // Your async call to fetch more data
    // Once done, let collection view knows it should delegate again the next time hitting its bottom
    collectionView.loadingMore = false;
}
You can opt-out this ability by setting enableLoadMore in NVBnbCollectionView.
This README literraly describes enough information you need to use NVBnbCollectionView.
For more details: CocoaDocs
To create parallax effect, I read the following posts and borrowed a hunk of code. Read them if you want to know what happends behind the screen, not too complicated.
The MIT License (MIT)
Copyright (c) 2015 Nguyen Vinh @ninjaprox


