- Introduction
- Features
- For whom?
- Install
- Customize
- How to use
- Update
- Contributions
- Acknowledgements
- Articles
- Contributors
space-vim is a vim distribution for vim plugins and resources, compatible with Vim and NeoVim.
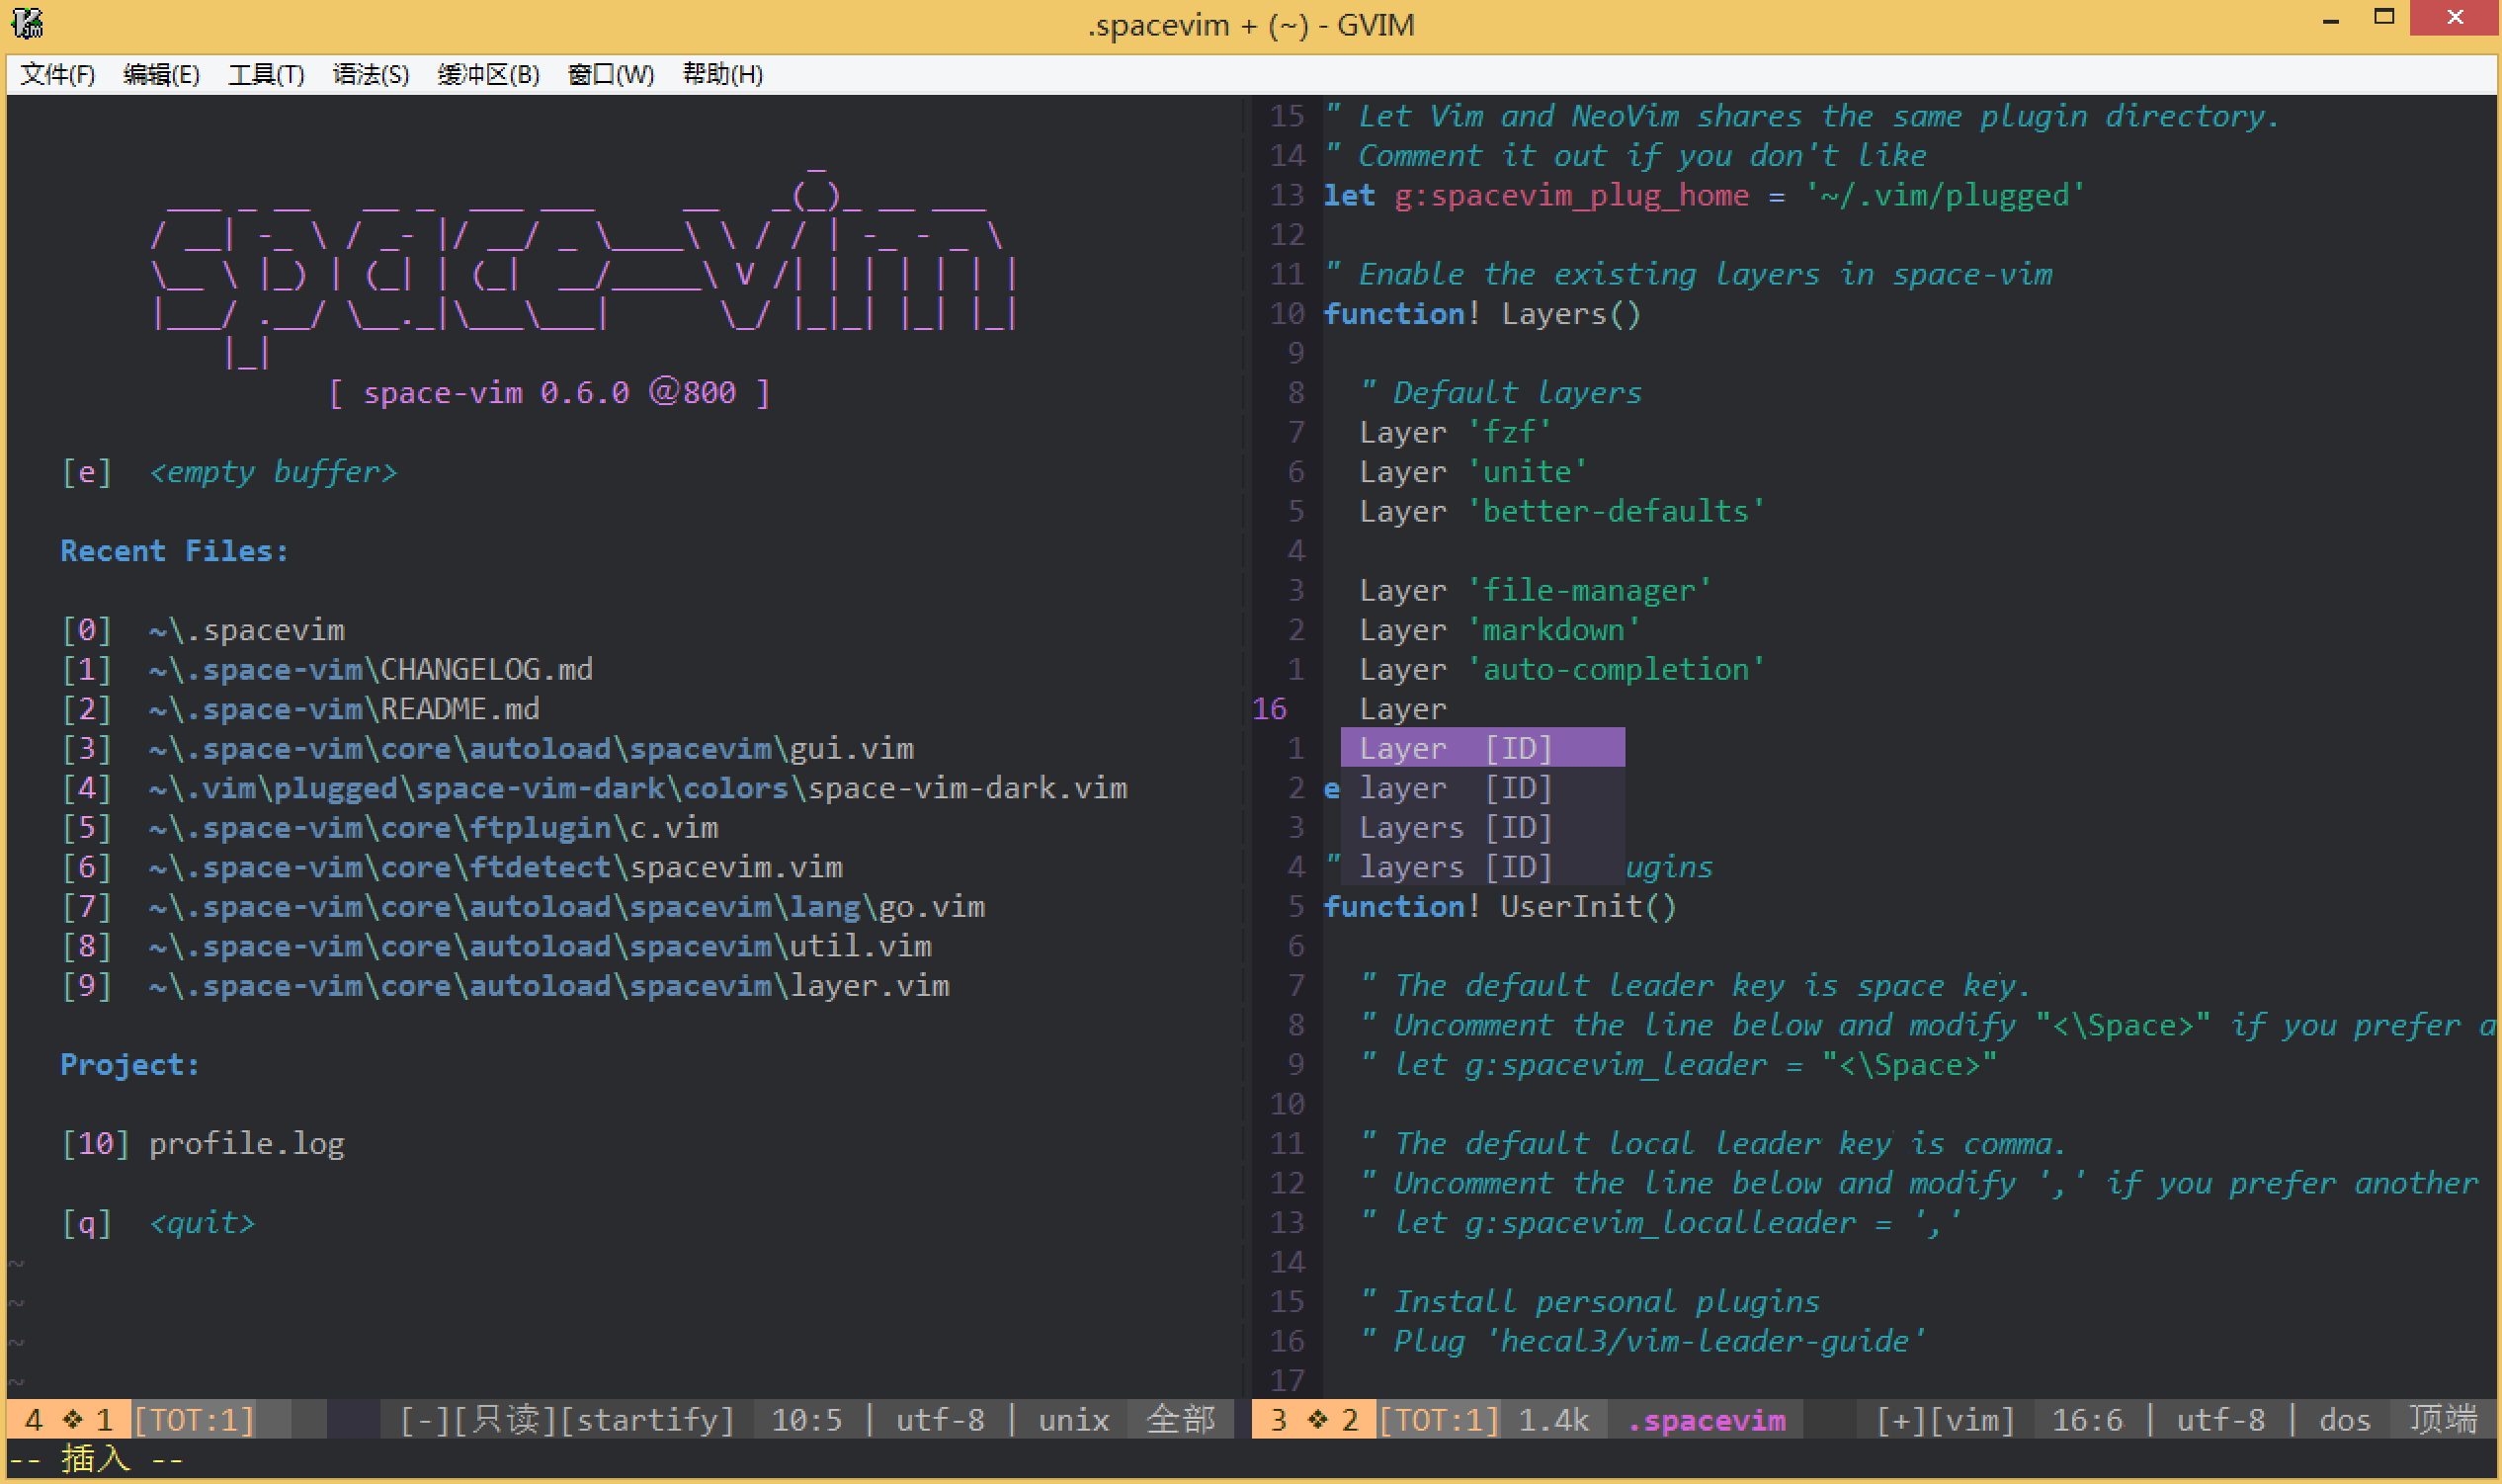
It is inspired by spacemacs and mimics spacemacs in a high level, especially in the whole architecture, key bindings and GUI. if have ever tried spacemacs, you will find space-vim is very similar to it in user experience.
Elegance here means pleasing, graceful as well as simple. If you are unfamiliar with spacemacs, you can visit spacemacs.org for more about the principle behind that, which is also what space-vim seeks.
The distribution is completely customizable using .spacevim, which is equivalent to .spacemacs in spacemacs.
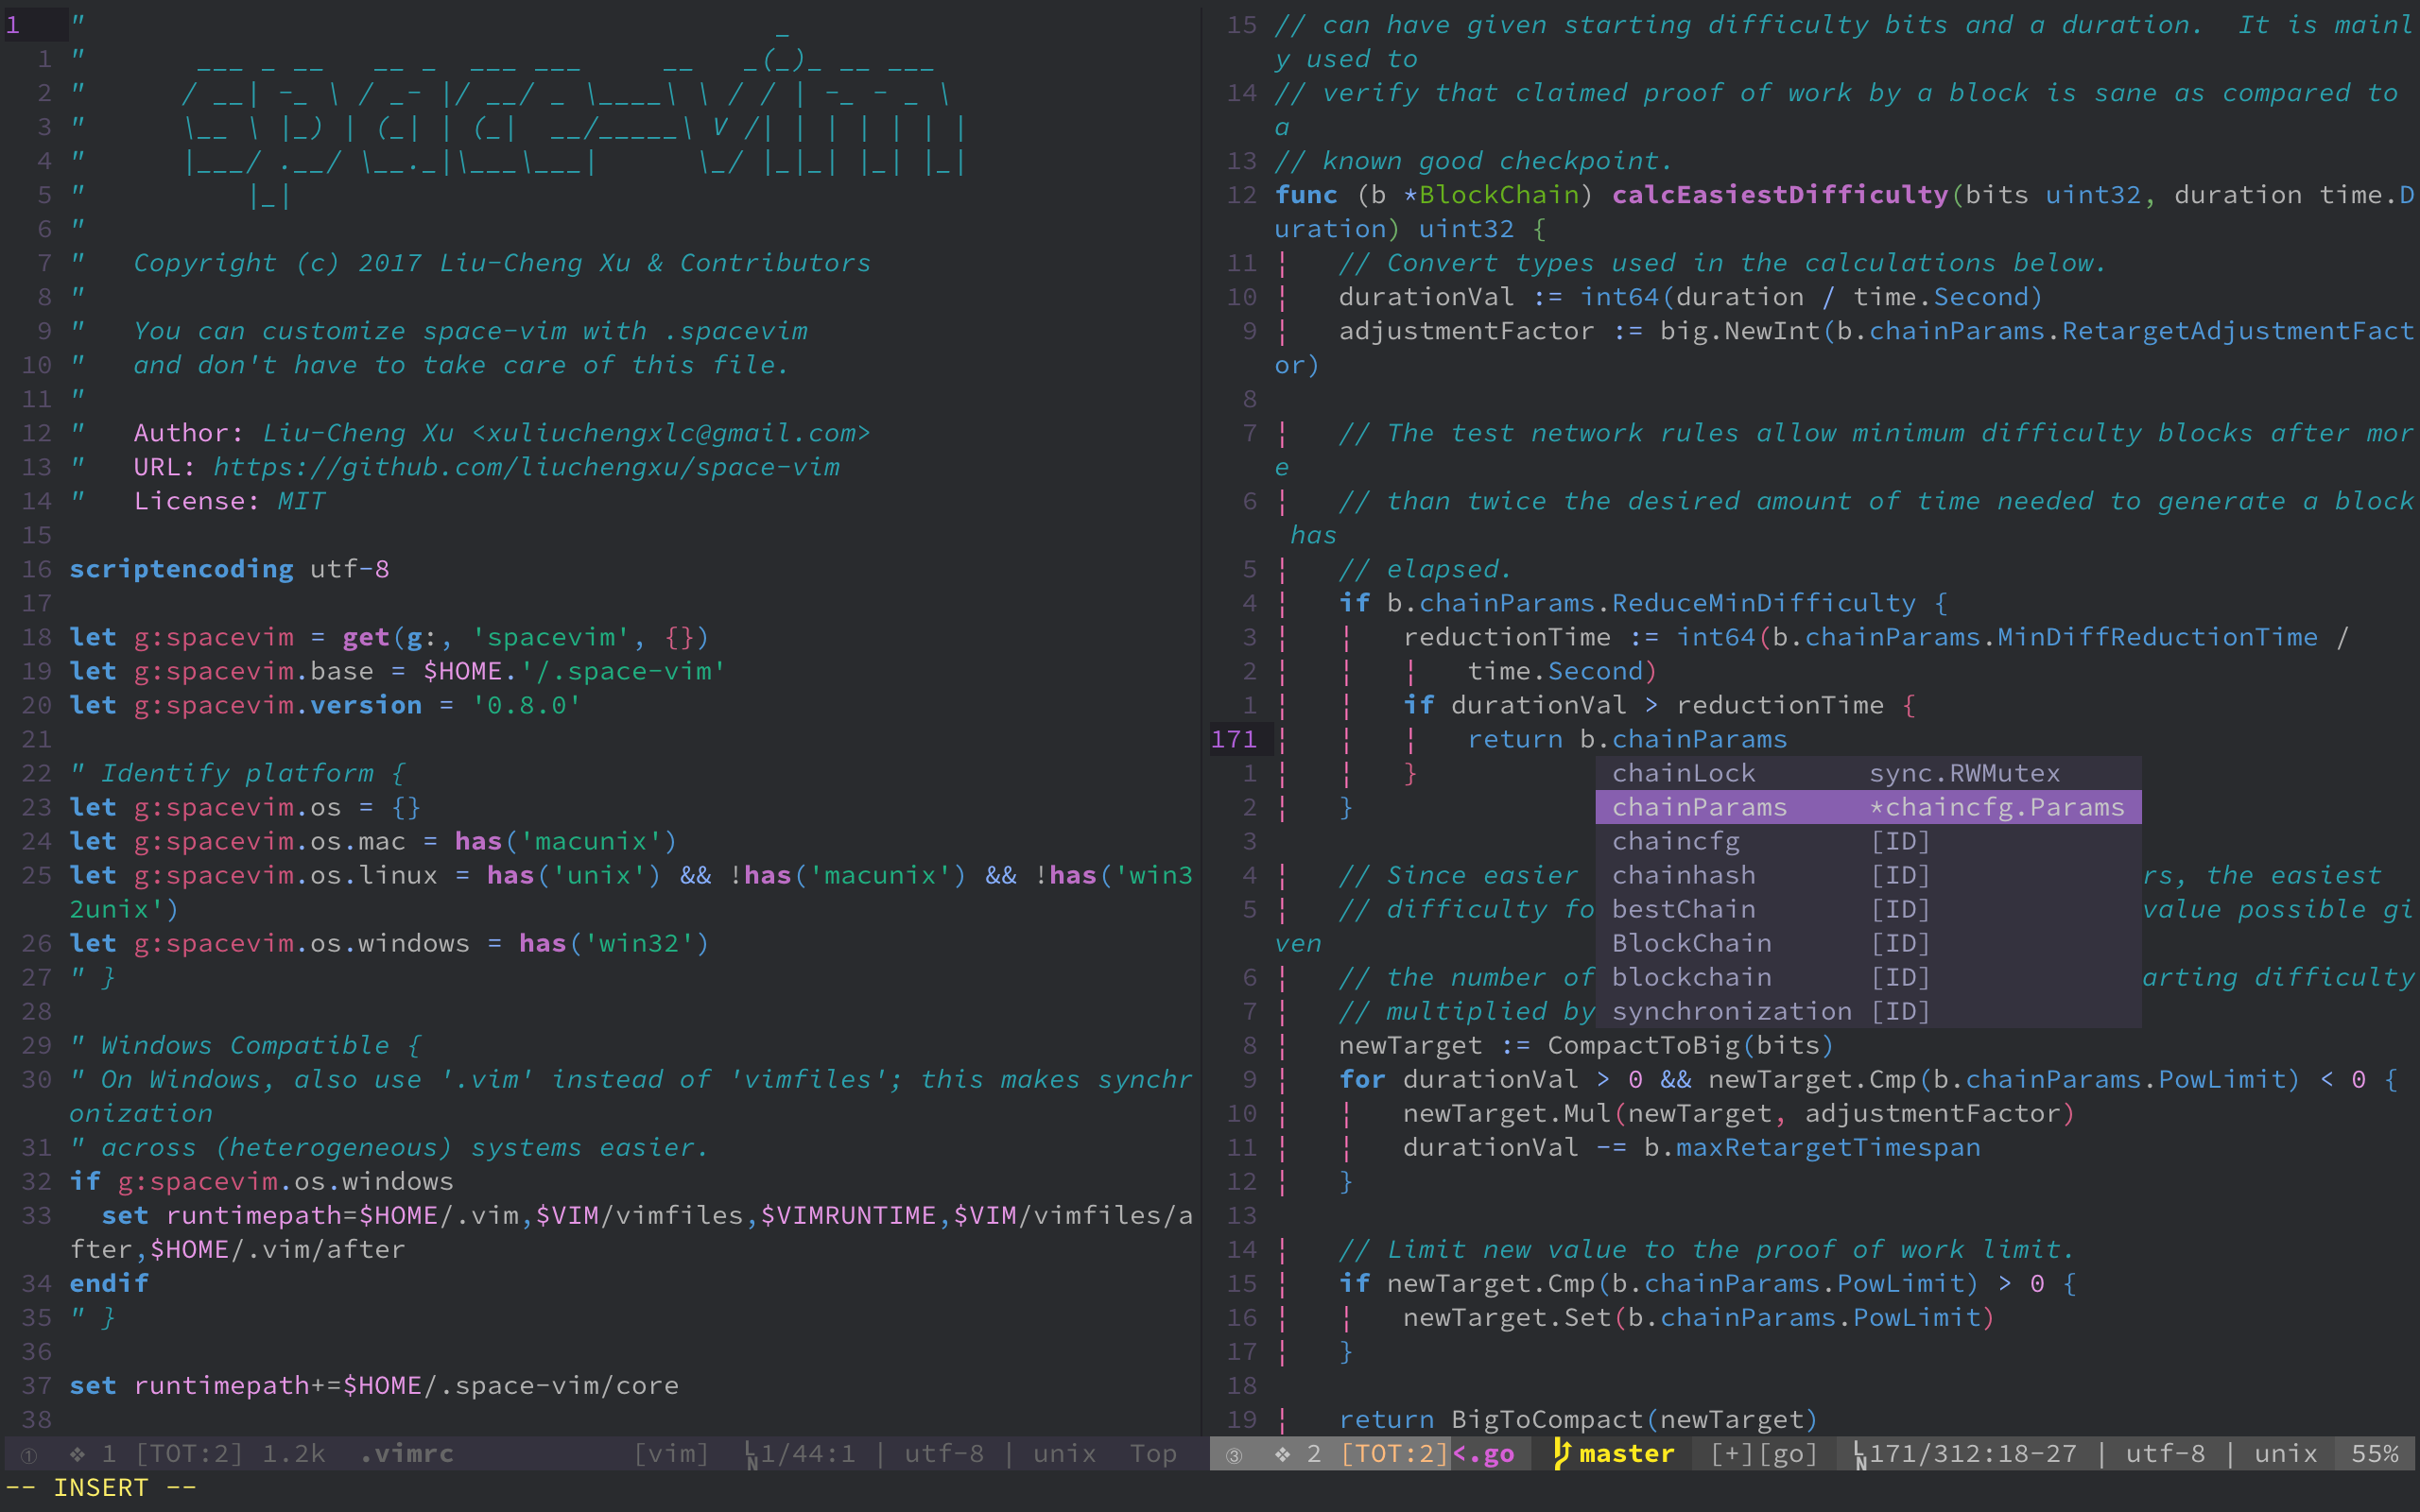
 (Terminal vim with space-vim-dark)
-
Beautiful interface: I wrote a dark only vim colorscheme space-vim-dark based on the dark version of spacemacs-theme previously. Now we have a new option: space-vim-theme, which is the successor of space-vim-dark that supports both dark and light background!
-
Mnemonic key bindings: commands have mnemonic prefixes like SPC b for all the buffer commands, this feature is mainly powered by vim-which-key. Furthermore, lots of basic key bindings are provided by vim-better-default. For different language layers,
<LocalLeader>, , as default in space-vim, can be seen as the major-mode prefix in spacemacs.
- Lean and mean: no nonsense wrappers, free from being bloated.
- the novice vim users
- the vimmers who pursuit a beautiful appearance
- the users using both vim and spacemacs
Have a look at the Introduction in wiki as well.
If you have been a vimmer for quite a while, just pick out the part you are interested in. space-vim is well-organized due to the layers concept, you can easily find what you want. Since some guys are interested in the statusline part of space-vim, this section has been extracted as eleline.vim.
The most recent Vim(NeoVim) version is recommended, for space-vim has been specifically optimized for Vim8 and NeoVim with respect to the startup time.
chocolatey is an easy way to install software on Windows, tools like fzf, rg, ag are necessary to get you a full-featured space-vim.
❗ When layers enabled at the first time, you need to run .:PlugInstall to install relevant plugins
/path/to/space-vim may be ~/.vim (Vim), ~/.config/nvіm (Neovim), or elsewhere. Installing space-vim to the conventional Vim/Neovim install location mitigates the need for an extra symlink to where space-vim is installed.
$ bash <(curl -fsSL https://raw.githubusercontent.com/liuchengxu/space-vim/master/install.sh)$ git clone https://github.com/liuchengxu/space-vim.git /path/to/space-vim
$ cd /path/to/space-vim
$ make vim # install space-vim for Vim
$ make neovim # install space-vim for NeoVimThe easist way is to download install.cmd and run it as administrator, or install space-vim manually.
-
Clone space-vim:
$ git clone https://github.com/liuchengxu/space-vim.git --single-branch /path/to/space-vim
-
Install vim-plug, refer to vim-plug installation section for more information:
# For Vim
$ curl -fLo ~/.vim/autoload/plug.vim --create-dirs \
    https://raw.githubusercontent.com/junegunn/vim-plug/master/plug.vim

# For NeoVim
sh -c 'curl -fLo "${XDG_DATA_HOME:-$HOME/.local/share}"/nvim/site/autoload/plug.vim --create-dirs \
       https://raw.githubusercontent.com/junegunn/vim-plug/master/plug.vim'
-
Create the symlinks and install plugins:
Linux and macOS
# **For Vim**
# If space-vim not installed to ~/.vim/:
$ ln -s /path/to/space-vim/init.vim ~/.vimrc
# Copy init.spacevim for local customization
$ cp /path/to/space-vim/init.spacevim ~/.spacevim
$ vim -es +'PlugInstall' +qall

# **For NeoVim**
# If space-vim not installed to ~/.config/nvim/:
$ ln -s /path/to/space-vim/init.vim ~/.config/nvim/init.vim
# Copy init.spacevim for local customization
$ cp /path/to/space-vim/init.spacevim ~/.spacevim
$ nvim +'PlugInstall' +qall
You can use .spacevim in your home directory to customize space-vim, where you can enable the existing layers, add your extra plugins and private configurations.
If .spacevim does not exist, vanilla vim will be loaded! Refer to init.spacevim as an example.
" Comment the following line if you don't want Vim and NeoVim to share the
" same plugin download directory.
let g:spacevim_plug_home = '~/.vim/plugged'

" Uncomment the following line to override the leader key. The default value is space key "<\Space>".
" let g:spacevim_leader = "<\Space>"

" Uncomment the following line to override the local leader key. The default value is comma ','.
" let g:spacevim_localleader = ','

" Enable the existing layers in space-vim
" Refer to https://github.com/liuchengxu/space-vim/blob/master/layers/LAYERS.md for all available layers.
let g:spacevim_layers = [
      \ 'fzf', 'better-defaults', 'which-key',
      \ ]

" Uncomment the following line if your terminal(-emulator) supports true colors.
" let g:spacevim_enable_true_color = 1

" Uncomment the following if you have some nerd font installed.
" let g:spacevim_nerd_fonts = 1

" If you want to have more control over the layer, try using Layer command.
" if g:spacevim.gui
"   Layer 'airline'
" endif
Please refer to LAYERS.md to take a look at the whole shipped layers.
Basically, g:spacevim_layers almost takes the place of Layer command. As far as I known, most people never use the option of Layer command, e.g., exclude, so g:spacevim_layers could save a lengthy Layer list, requiring less ceremony. Nevertheless, Layer command is still avaiable for some advanced uses.
" Manage your own plugins.
" Refer to https://github.com/junegunn/vim-plug for more detials.
function! UserInit()

  " Add your own plugin via Plug command.
  Plug 'junegunn/seoul256.vim'

endfunction" Override the default settings as well as adding extras
function! UserConfig()
" Override the default settings.
" Uncomment the following line to disable relative number.
" set norelativenumber
" Adding extras.
" Uncomment the following line If you have installed the powerline fonts.
" It is good for airline layer.
" let g:airline_powerline_fonts = 1
endfunctionIf have a heavy customized configuration, you can organize them in private directory with packages.vim and config.vim too, which will be loaded on startup. The private directory can be considered as either a single layer, i.e., in which you can put packages.vim and config.vim, or a set of multiple layers.
First of all, I recommend you to look through the existing key bindings via SPC ?. What's more, you definitely can not miss reading the README of better-defaults layer, which is of great importance for you to get started quickly.
For detailed instruction, please refer to the README under the certain layer enabled, or you can see config.vim and packages.vim directly.
If the README is not elaborate, sorry for that, space-vim now is in the early stages and a ton of stuff are waiting to be done.
The modular design is originally from spacemacs. The implementation of logic in space-vim is similar to vim-plug.
If you want to know more about the bootstrap of space-vim, please see bootstrap in wiki.
| Command | Description |
|---|---|
LayerStatus |
Check the status of layers |
LayerCache |
Cache the information of layers in info.vim |
For the sake of a better user experience, some extra settings should be done.
:echo has('termguicolors'), if1, then your vim supports true colors.- See if your terminal-(emulator) supports true colors, refer to the gist TrueColour.md.
If these two requirements are satisfied, you could enable true color by uncommenting the line:
" Uncomment the following line if your terminal(-emulator) supports true colors.
let g:spacevim_enable_true_color = 1Some fantastic fonts: see wiki tips: programming-fonts.
For instance, install Iosevka first and use it:
let &guifont = 'Iosevka:h16'First, install the Source Code Pro or Powerline font, which is important for airline layer.
Second, since console Vim uses whatever font the console/terminal is using, you'll have to change the font setting of your terminal.
Run make update:
$ cd path/to/space-vim
$ make update
Alternatively, you can manually perform the following steps. If anything has changed with the structure of the configuration, you will have to create the appropriate symlinks.
$ cd path/to/space-vim
$ git pull origin masterIf you encounter any problem or have any suggestions, please open an issue or send a PR.
Space-vim is still in beta. If you are interested, contributions are highly welcome.
I would like to thank the many people who have helped and contributed to this project. What's more, space-vim would never have become what it is now, without the help of these projects!
- Use Vim as a Python IDE
- A Vim Configuration for Spacemacs User
- 用 Vim 写 Python 的最佳实践
- 手工制作一个漂亮的 vim statusline
- Vim 专题
This project exists thanks to all the people who contribute.


