This project was based on Pydracula.
- Compatible with Python 3.8+
- PySide6
- PyDracula Theming (Dark/Light)
- Splash Screen
- Resources compiled ahead of time:
- Final build only consists of Python files
- Packaging for Windows, Linux and Flatpak
- Database repository with sqlalchemy (SQLite, Postgres, MySQL)
- Set up the development environment for your OS (please look here for a guide)
- Run
python run.pyto start the app
The project use ppt to package the app, read more on https://github.com/lgili/python-packaging-tool So you can run the app with the client too
- Run
ppt run
Always the the .ui or resources files is changed is necessary to run ./_scripts/build-windows.sh
If you run the app with python run.py, the script will update automatically
- Qt6: https://doc.qt.io/
- Python: https://www.python.org/
- PySide6: https://doc.qt.io/qtforpython/contents.html
- Scripting: https://doc.qt.io/qt-6/topics-scripting.html
- PySide6 https://pypi.org/project/PySide6/
- PyTest https://pypi.org/project/pytest/
- ppt https://github.com/lgili/python-packaging-tool
The project use ppt to package the app, read more on https://github.com/lgili/python-packaging-tool
ppt freezeto generate dependencies for pyinstallerppt installerto to generate the installer
🔗 Donate (Gumroad): https://gum.co/mHsRC
This interface is free for any use, but if you are going to use it commercially, consider helping to maintain this project and others with a donation by Gumroado at the link above. This helps to keep this and other projects active.
Warning: this project was created using PySide6 and Python 3.9, using previous versions can cause compatibility problems.
Presentation and tutorial video with the main functions of the user interface.

Qt Widgets is an old technology and does not have a good support for high DPI settings, making these images look distorted when your system has DPI applied above 100%. You can minimize this problem using a workaround by applying this code below in "main.py" just below the import of the Qt modules.
# ADJUST QT FONT DPI FOR HIGHT SCALE
# ///////////////////////////////////////////////////////////////
os.environ["QT_FONT_DPI"] = "96"Inside your preferred terminal run the commands below depending on your system, remembering before installing Python 3.9> and PySide6 "pip install PySide6".
python run.pypython3 run.pypython setup.py -s windowspython setup.py -s linuxpython setup.py -s flatpakmain.py: application initialization file.
main.ui: Qt Designer project.
resouces.qrc: Qt Designer resoucers, add here your resources using Qt Designer. Use version 6 >
setup.py: cx-Freeze setup to compile your application (configured for Windows and Linux).
themes/: add here your themes (.qss).
controllers/app_funtions.py: add your application's functions here. Up controllers/app_settings.py: global variables to configure user interface.
view/resources_rc.py: "resource.qrc" file compiled for python using the command:
pyside6-rcc resources.qrc -o resources_rc.py.
controllers/ui_functions.py: add here only functions related to the user interface / GUI.
view/ui_main.py: file related to the user interface exported by Qt Designer. You can compile it manually using the command:
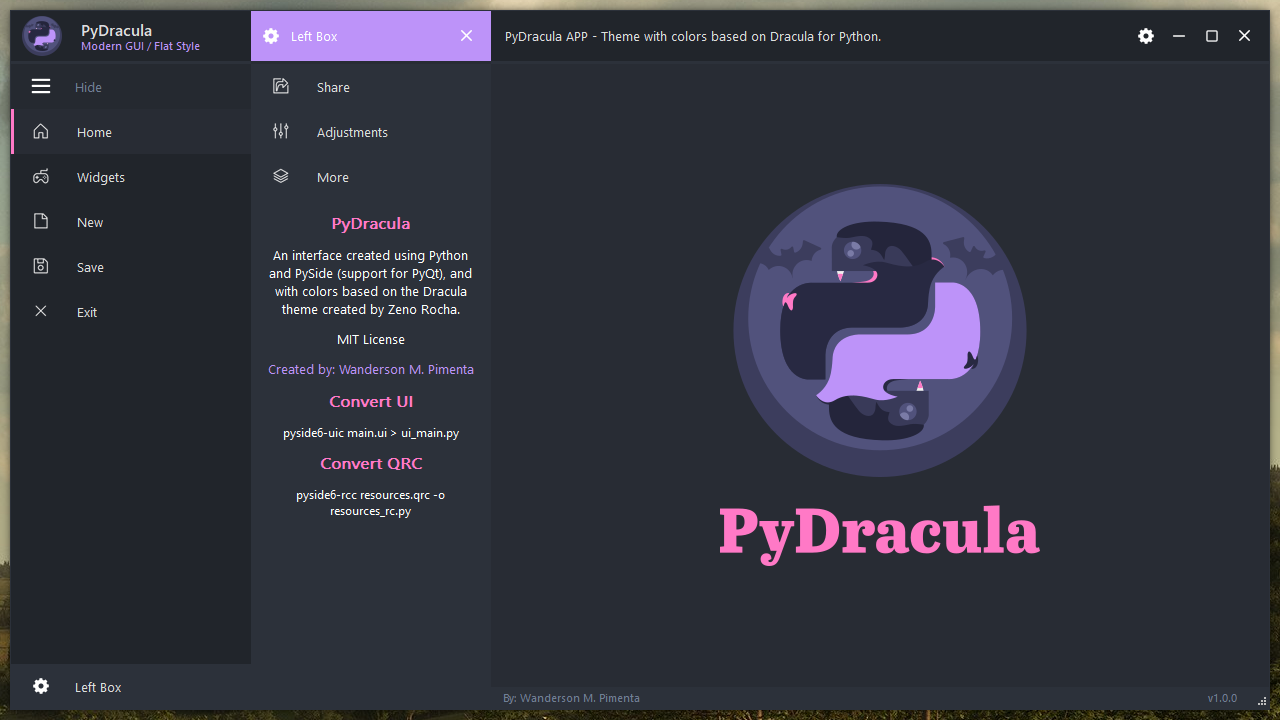
pyside6-uic main.ui> ui_main.py. After expoting in .py and change the line "import resources_rc" to "from . resources_rc import *" to use as a module.
assets/: put all your images and icons here before converting to Python (resources_re.py)
pyside6-rcc resources.qrc -o resources_rc.py.