Dashflare is a privacy first analytics solution for monitoring your websites. It can be self hosted on a practically any hosting solution and it should scale with your needs. Data collection is handled by a Cloudflare Edge Worker running the code included in this repository.
Two additional components are required for having the full suite running:
- Grafana (handles the data visualization)
- Grafana Loki (handles the data persistence)
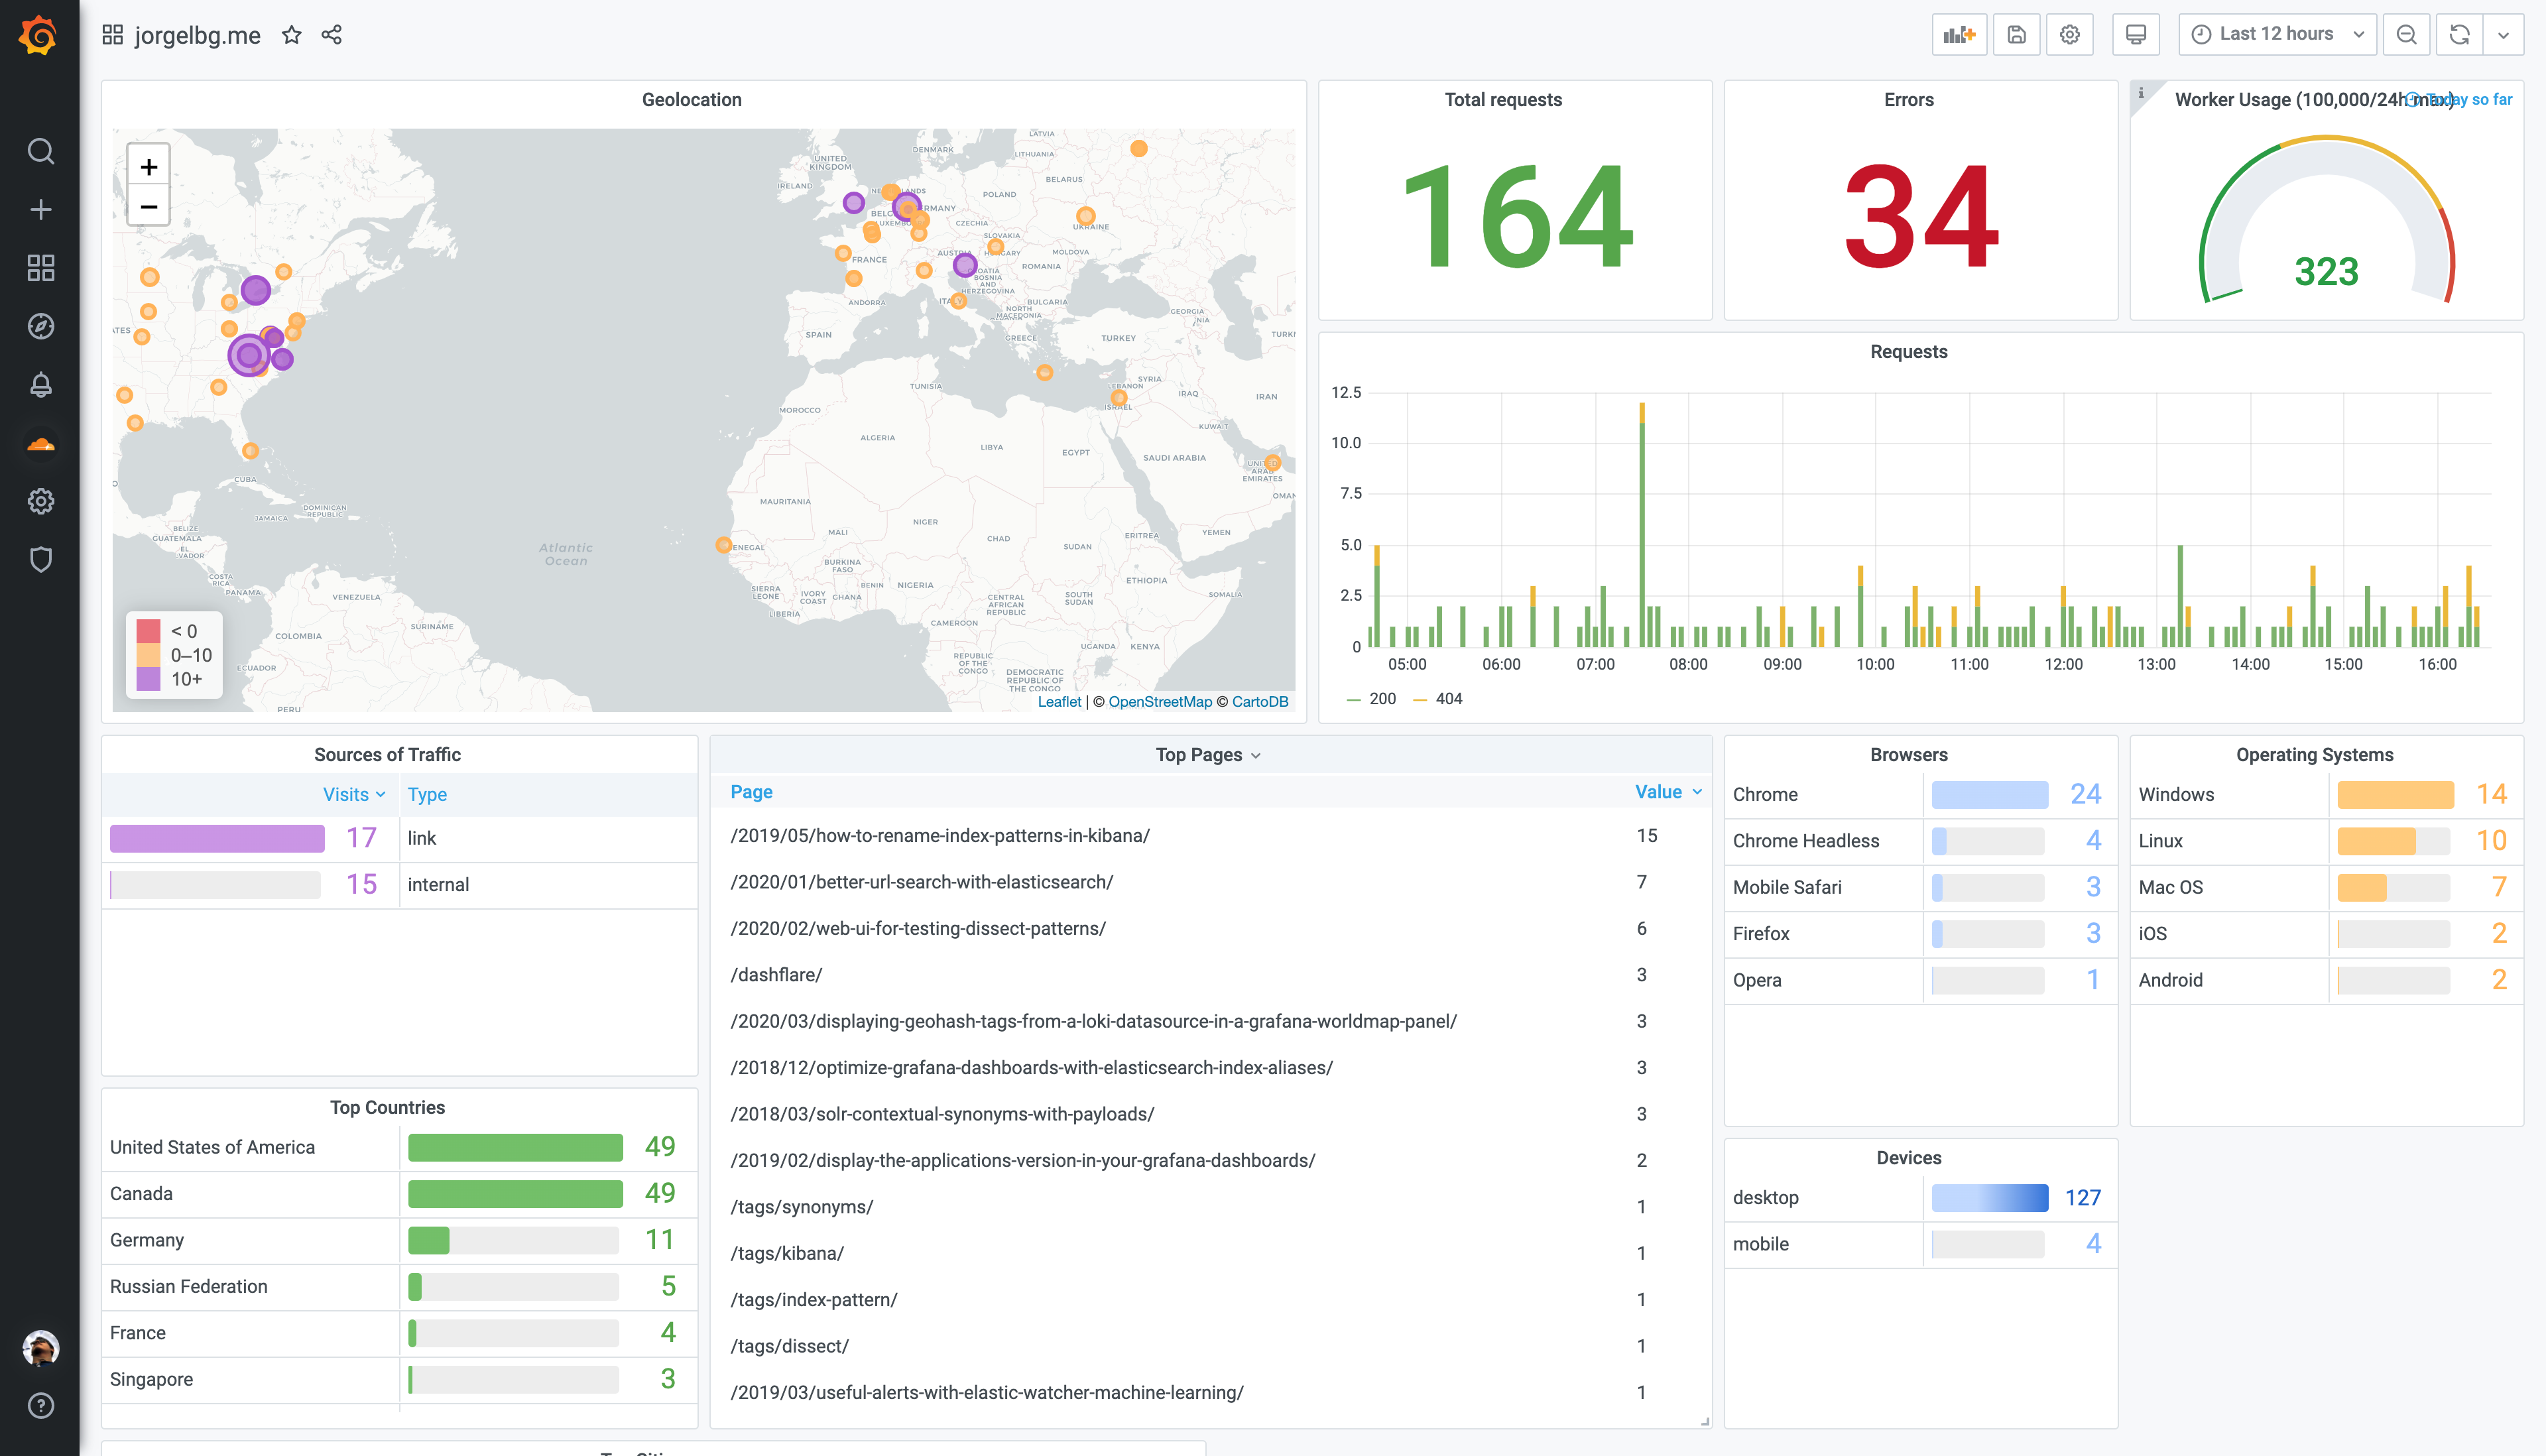
The default provided dashboard looks like:
One requirement to use the current solution is to be already using Cloudflare for the website that you want to monitor.
A minimal production-like environment is provided and can be used through docker-compose:
❯ docker-compose up
Grafana will be accessible in http://localhost:3000/ and the default user and password are:
- user: admin
- password: admin
You will be asked to change it after the first successful login.
Cloudflare Edge Workers have certain limitations that prohibit any connection between the edge worker
and any outside resource that cannot be reached through the ports 80 or 443. By default Loki is
listening on port 3100, you can either change this or run Loki behind a transparent proxy. Grafana is listening in the default port (3000).
Another security practice of Cloudflare Edge Workers is that requests from the edge worker can only be made
against endpoints that are associated with a domain. This means that if you try to set the
LOKI_HOST environment variable to an IP address, the edge worker will not be able send any data.
It is still possible to run loki locally, we need to expose the loki instance to the Internet directly in a domain/subdomain. Another posibility (especially useful for development) is to use a service like ngrok to forward the traffic.
In order to deploy the edge worker a workable node/npm environment is needed. After installing node/npm on your development environment, we need to install wrangler which is the CLI tool that cloudflare offers to interact with the edge workers platform.
❯ npm install -g @cloudflare/wranglerwrangler CLI tool needs access to your Cloudflare account. This is normally achieved by running:
❯ wrangler configOr you can directly go to https://dash.cloudflare.com/profile/api-tokens, and create a new token
using the "Edit Cloudflare Workers" template. You can also expose the token via the CF_API_TOKEN
environment variable.
There are two values needed for wrangler to work: CF_ACCOUNT_ID and CF_ZONE_ID. CF_ACCOUNT_ID is
your Cloudflare's Accound ID and you can get it (along with the CF_ZONE_ID) from your Cloudflare
dashboard: dash.cloudflare.com.
You can use the .envrc.example file as an example of the variables that should be set. We recommend
copying the .envrc.example file into .envrc and loading the configuration into your shell
environment after editing the file:
❯ cp .envrc.example .envrc
# edit `.envrc` to adjust the values
❯ source .envrcThis is a list of the environment variables that are needed for the Dashflare edge worker to generate the events:
We extract the country name from your visitor's requests. We also provide additional geolocation capabilities via the integration with the ipgeolocationapi.com API.
-
IPINFO: (optional) ipgeolocationapi.com is used to capture additionl geolocation data from your visitors. It is still possible to opt out of this feature by setting this variable tofalse. -
CLIENT_ID: If you're self hosting Dashflare,CLIENT_IDcan be omitted, or set to any value. By default it is set tofakein.envrc.example. -
LOKI_HOST: URL where the Loki instance is accessible, it cannot be an IP address (1.2.3.4) nor a domain containing a custom port (loki.example.com:31001). A subdomain will work just fine (i.e loki.example.com) -
FINGERPRINT: Its used as the key for the session id hash calculation. A random key can be generated using:❯ openssl rand -base64 32 | md5 -
DOMAIN: URL of your "primary domain". The edge worker will be deployed into a custom subdomain (within.workers.devif you're using the free tier). This variable is used to generate automatic routes. This can be configured through the Cloudflare's Dashboard as well.
When the edge worker is deployed it will be running in a custom domain (.workers.dev if you're
using the free tier). We need to "forward" the requests from the main domain to the edge worker
domain. Cloudflare handles this via routes
routes. When using the make wrangler
command a default set of routes will be generated using the DOMAIN environment variable.
Since the forwarding will be done by Cloudflare there is no change required to the website on your
original domain. Not even a new script tag is needed.
After wrangler is installed, and the environment variables are set, we can deploy our edge worker.
Before we need to generate a valid wrangler.toml file. A handy make target is provided to do this:
❯ make wranglerThe
make wranglercommand depends on envsubst.
This command will take the wrangler.toml.template file as a template a
generate a valid wrangler configuration file (wrangler.toml).
You can inspect/edit the
wrangler.tomlfile. Especially theroutessection might be of interest to you.
Finally we can publish/deploy our edge worker:
❯ wrangler publishThis command will build and publish the worker to Cloudflare's edge network.
If you'd like to contribute, please fork the repository and use a feature branch. Pull requests are warmly welcome.
- Project Homepage/Demo/Waiting List: https://jorgelbg.me/dashflare
