Tutorial
The first screen you'll find is the login prompt.
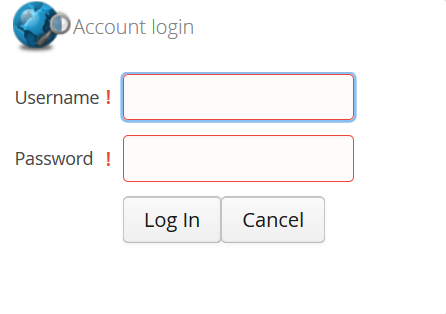
Here you can enter your user credentials.
If using a Demo instance, the available accounts will be displayed in the Demo Tab. Also you can see them below:
Based on the account selected you'll see different parts of the page made available to you. In the following sections we'll cover those.
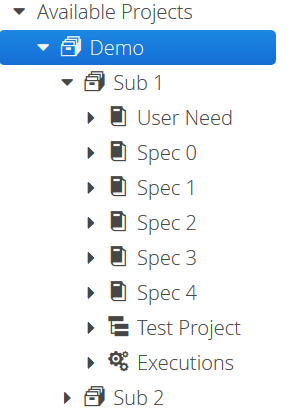
The project tree shows all projects, requirements and related items available to you to see and/or interact with. It also provides the menus of the different actions available for each said item. Those will be enabled/disabled based on your permissions.
Here's where most of the common action will take place. For example when selecting an item on the project tree, the values will be displayed on this tab. Also when editing those items this will allow to edit the appropriate fields.
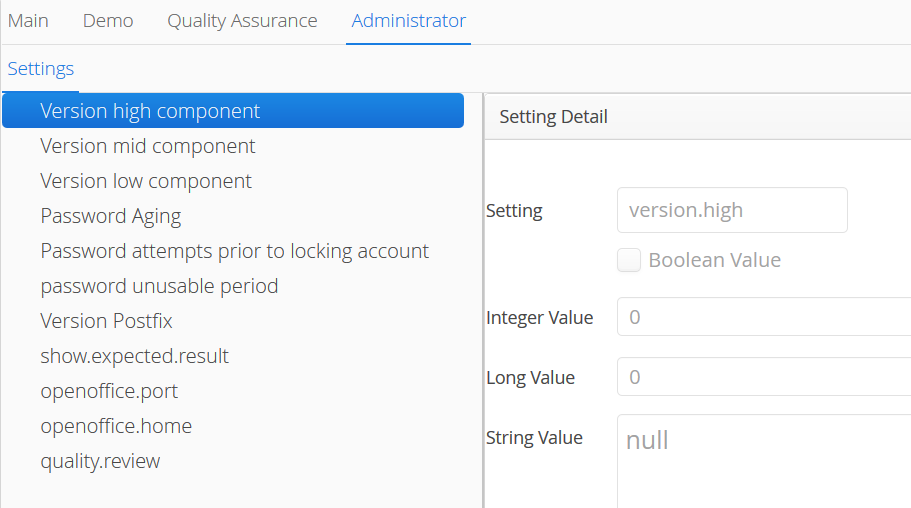
The administrator tab allows to perform the administrator level tasks like changing settings and managing the system.
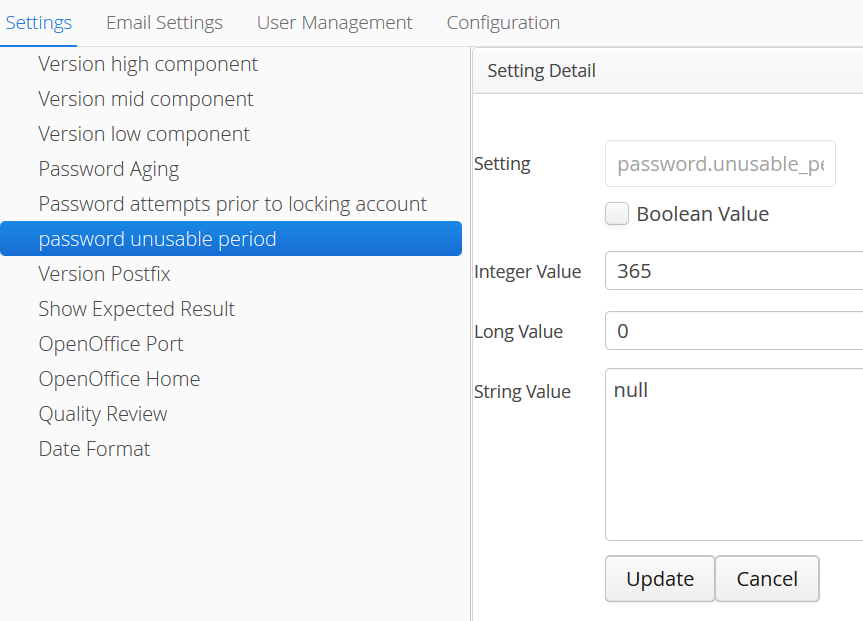
Here you can change various settings to affect features available and certain behaviors.
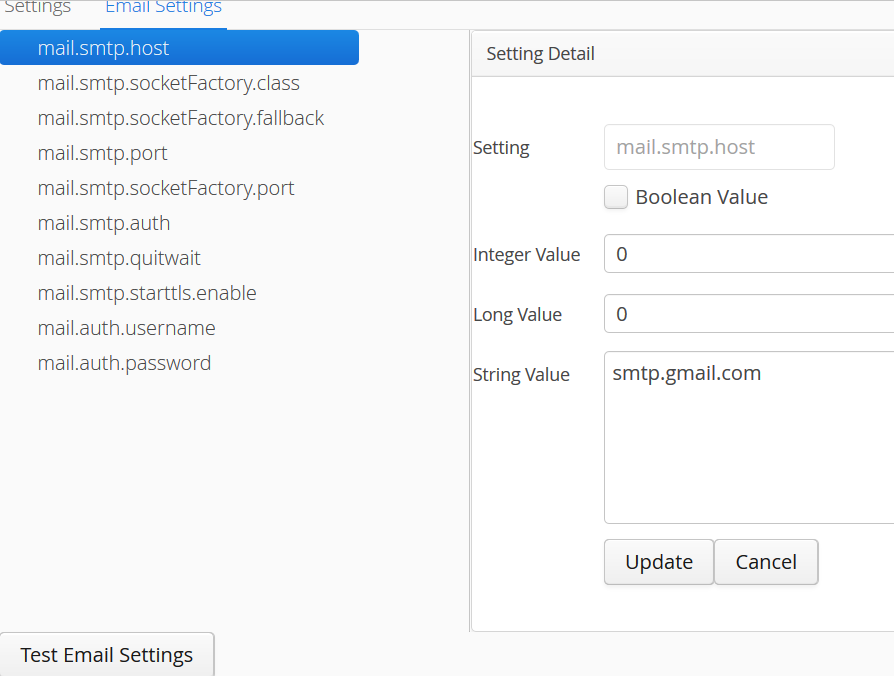
The Email settings tab allows you to configure Validation Manager to send emails to users. As well as testing the settings by sending a test email.
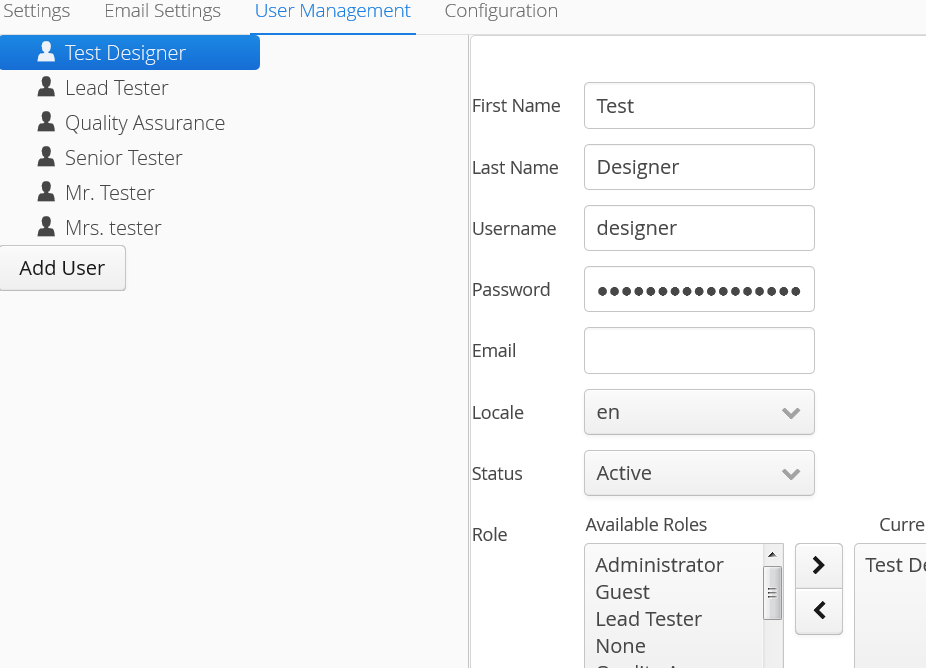
Manage users. From creation to modification.
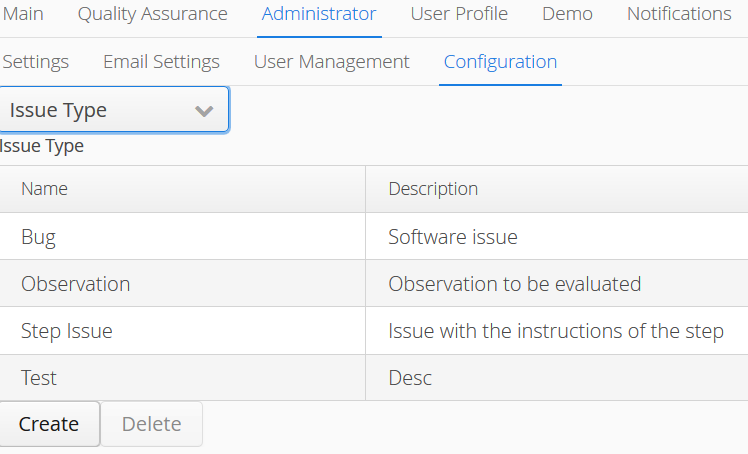
Configure various items from the system here. This affects drop downs and options across the system for customization.
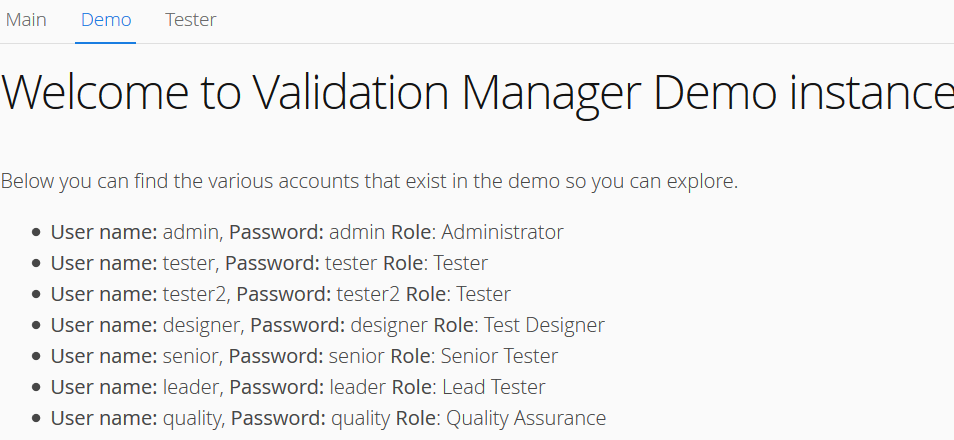
The demo tab contains the accounts available to use the system. This is only available when the application is on demo mode.
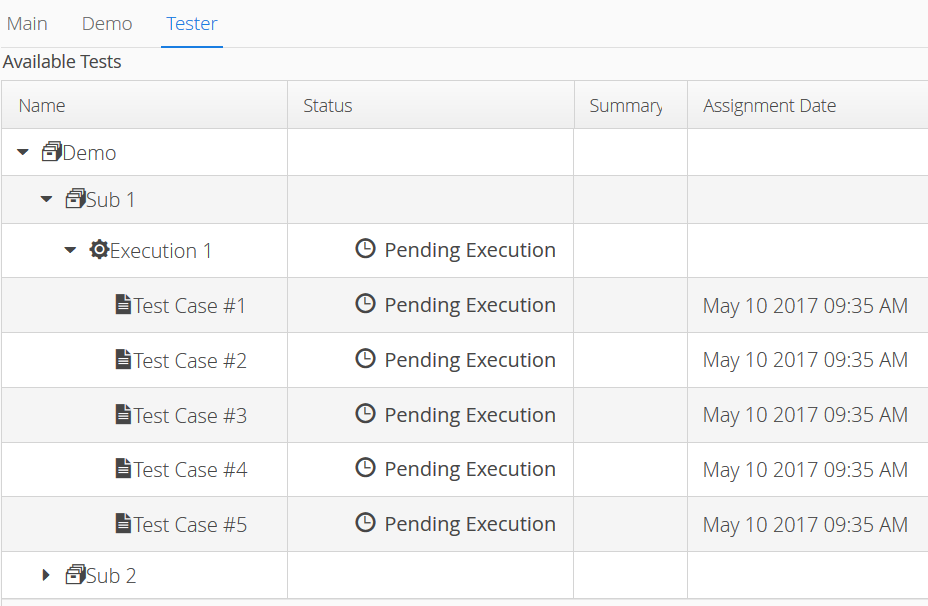
In the tester tab you'll find all test cases assigned to you for execution, including the status of the ones you already executed. They will show here while you haven't locked them. See more on the testing page.

In this tab you'll be able to review completed test cases from your testers after they lock the test case. This is only available if the setting for quality review is enabled.
From there the review can be marked as pass or fail.
Note: Not clear yet how this will be handled on a failure in the review. So far my idea is to keep this record and create a new one to be re-executed. I usually want to keep the record of any failures.
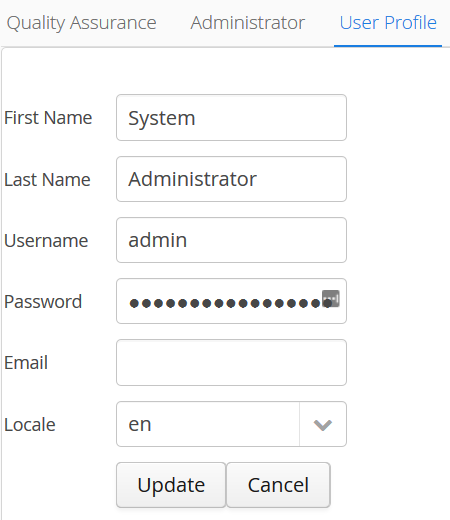
In this tab you can change the following:
- First Name
- Last Name
- Username
- Password
- Locale (to change UI language)
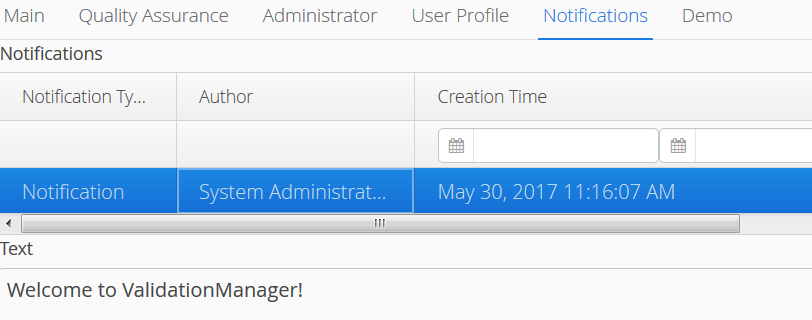
In this tab you can find the various notifications from the system. There you can read, mark as unread and archive the notifications.
You can sort by date and various other options.
Notifications will be generated by various triggers on the system.
The system allows to export certain aspects of the information held within. Details of those are listed below.
Test Cases can be exported to an Excel file so they can be printed.
While on the project tree, right click the desired Test Case and select Export.
Test Cases can be exported to an Excel file so they can be printed.
While on the Execution Window, right click the desired Test Case or Execution and select Export.