-
Notifications
You must be signed in to change notification settings - Fork 588
Use LiteX on the Acorn CLE 215
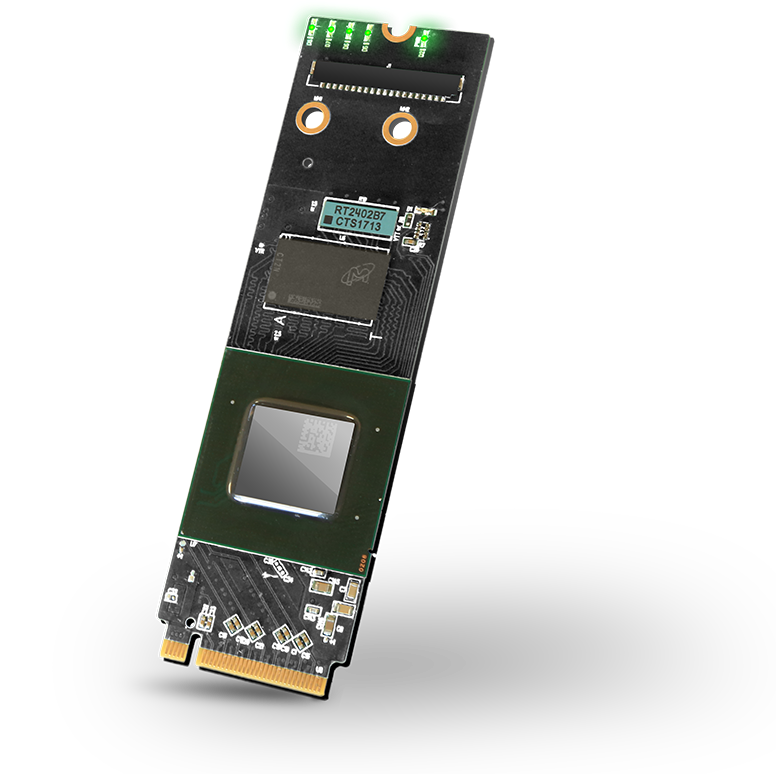
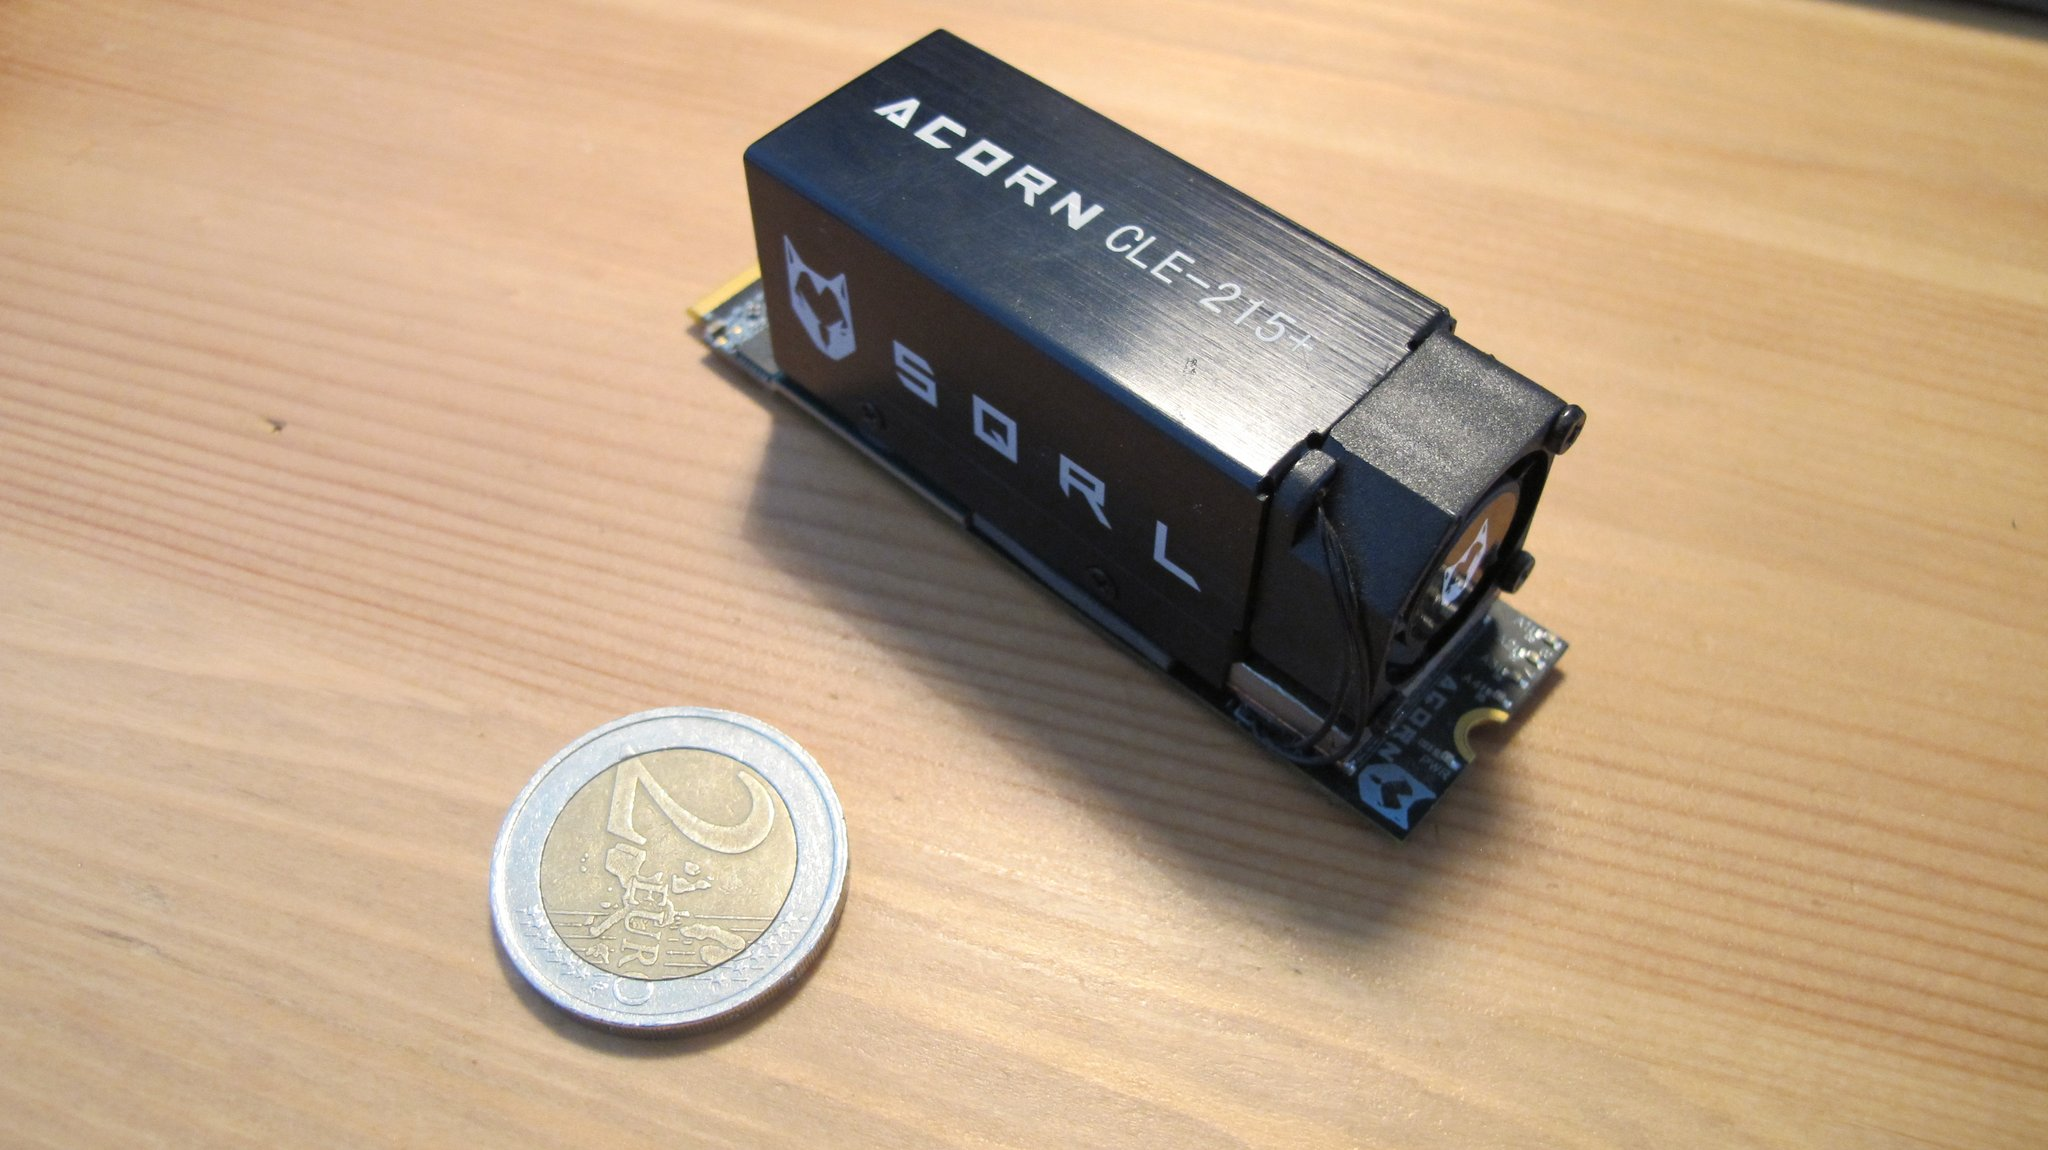
The Acorn CLE 215+ is a cryptocurrency mining accelerator card from SQRL that can be repurposed as a generic FPGA PCIe development board:


It features:
- An Artix7 XC7A200T speedgrade -3.
- A 16-bit / 1 GiB DDR3.
- A 32MiB QSPI Flash.
- A PCIe Gen2 X4 M2 connector (exposing the 4 GTP transceivers! - up to 6.6 Gb/s)
- 4 User leds.
- A JTAG connector.
- 4 General purpose IOs.
- 4 LVDS pairs IOs.
The Acorn CLE215+ is in fact the NiteFury board with more memory: 1GB instead of 512MB. Both NiteFury and LiteFury boards are really interesting boards, but what makes the Acorn CLE215+ even more interesting is that it's available for very cheap: from ~60 euros to 100 euros on eBay at the time we write this Wiki page... The boards can be found at these prices since no longer useful in cryptocurrency mining... but still interesting for us as FPGA dev boards :)
To use the Acorn CLE215+ as a LiteX development board, the following hardware is recommended:
- A PCIe 1X to 16X powered riser adapter card (ex this one)
- A M2 NVME to PCIe Gen2 X4 adapter card (ex this one).
- A JTAG Cable (ex this one).
- A USB to TTL serial cable (ex this one).
- A Molex PICOEZMATE 6 cable (ex this one).
- 2 X 6 pin headers.
An extra PCIe riser + SATA cable will be useful if you want to create SoCs with LiteSATA.
The Acorn exposes the JTAG pins and general purpose IOs to 6-pin Pico-EZmate connectors. We need to create adapters for both connectors. The JTAG will be used to program the FPGA and the second connector for IOs (UART in our case):

You can cut the Pico-EZmate cable in half and solder the pin-headers according to the pin mapping provided:
You can now mount the cable adapters on the board and the board on the PCIe adapters:
If not already done, make sure to install LiteX by following the LiteX installation guide and you are ready to use LiteX your board!
It's possible to easily create a SATA Adapter using a spare PCIe X1 to USB3 connector (from a PCIe riser kit) and a SATA cable as demonstrated recently:
To create the SATA adapter, cut a SATA cable in half and solder it to the PCIe X1 using the following pinout:

This adapter will allow you to use LiteSATA on FPGA boards with a PCIe connector through a PCIe riser and USB3 cable. P/N polarity will automatically be detected/corrected by LiteSATA, so is not important when building the adapter.
You are now ready to use LiteX on your board, let's first run a classical LiteX SoC on the board:
python3 -m litex_boards.targets.sqrl_acorn --build --load
This will build a LiteX SoC with CPU/ROM/SRAM/DDR3 and load if to the board. At the end of the build you should see the LiteX BIOS prompt and be able to interact with it.
You can explore the LiteX wiki or LiteX-Boards to discover what can already be done and play with it.
Now let's try to run Linux on the board using Linux-on-LiteX-VexRiscv project as demonstrated here:

The SoC we are going to build is very similar to the previous one, but uses a different variant of the VexRiscv CPU (with a MMU) and also integrate the LiteSATA core to allow booting from SATA and storing the Linux file system to a SATA drive:

To build the SoC, first get the Linux-on-LiteX-VexRiscv project:
git clone https://github.com/litex-hub/linux-on-litex-vexriscv
And build the Acorn CLE215+ target:
python3 make.py --board=acorn_cle_215 --build --load
You can then load the Linux images to the board over UART with:
litex_term /dev/ttyUSBX --images=images.json --speed=1e6
And you should see linux booting:

Since the SoC integrates LiteSATA, it's also possible to boot over SATA with the optional SATA adapter, you can copy the Linux images directly to the SATA drive by following this guide, plug the SATA drive and should see the system booting directly from SATA.

You received your Acorn from the giveway and/or want to reproduce the results on your Acorn? Please use the following instructions.
In the demo, a Linux-on-LiteX-VexRiscv design is flashed on the Acorn:

The design has been initially generated and over JTAG with:
./make.py --board=acorn_pcie --build --flash
The Linux driver is then available at build/acorn_pcie/driver and can be loaded with:
cd kernel
sudo ./init.sh
A /dev/ttyLXU0 UART is created and can be used with LiteX-Term:
litex_term /dev/ttyLXU0
And to load the Linux images:
litex_term /dev/ttyLXU0 --images=images/boot.json
FPGA bitstream update over PCIe:
The Acorns are flashed with a Multiboot bitstream composed of a Fallback bitstream and Operational bitstream:
 Updating the Operational bitstream over PCIe is possible with:
cd user
./litepcie_util flash_write acorn_pcie_operational.bin 0x400000
A ./litepcie_util flash_reload will reload the bitstream from SPI Flash and a PCIe rescan or reboot the computer will allow you to use the new bitstream.
Note: Be careful of the 0x400000 offset to only update the Operational bitstream.
In this guide, we demonstrated a classical LiteX SoC with a CPU/ROM/RAM/DDR3 on the Acorn CLE 215+. The design is only using a fraction of the FPGA and leaves plenty of room for the user, so it already makes it a very nice and cheap FPGA development board. The NiteFury and LiteFury boards can also be used and will just require changing the FPGA device in the platform file and DDR3 chip in the target file.
The board also exposes 4 GTP transceivers on the M2 connector which makes it very interesting to explore high speed serial links. We already demonstrated LiteSATA operation over a GTP (with 3 of them still available for user...), but it's also possible to build a Gen2 X4 PCIe design with LitePCIe on this board by following instructions in the LiteX-Boards target or explore low level layers of high speed serial links with LiteICLink bench design, etc...
A quad-core VexRiscv-SMP with DDR3 / PCIe Gen2 X4 has also been demonstrated on this board and should be soon available in Linux-on-LiteX-VexRiscv project:

Since boards with very similar capabilities are already supported by Symbiflow (the Arty for example for but which is lacking GTPs) we could imagine building these designs with a full open-source toolchain in a very near future!
Pretty exciting to see what can now be done with open-source hardware and less than 100$/€ nowadays no ? :)
Have a question or want to get in touch? Our IRC channel is #litex at irc.libera.chat.
- Welcome to LiteX
- LiteX's internals
- How to
- Create a minimal SoC-TODO
- Add a new Board-TODO
- Add a new Core-WIP
- Add a new CPU-WIP
- Reuse-a-(System)Verilog,-VHDL,-Amaranth,-Spinal-HDL,-Chisel-core
- Use LiteX on the Acorn CLE 215+
- Load application code the CPU(s)
- Use Host Bridges to control/debug a SoC
- Use LiteScope to debug a SoC
- JTAG/GDB Debugging with VexRiscv CPU
- JTAG/GDB Debugging with VexRiscv-SMP, NaxRiscv and VexiiRiscv CPUs
- Document a SoC
- How to (Advanced)
