-
-
Notifications
You must be signed in to change notification settings - Fork 116
BlueRetro NVS Config Generator
Jacques Gagnon edited this page Feb 5, 2024
·
2 revisions
Since firmware v1.9.2 it is possible to modify the default config using NVS flash variables. These changes are non-volatile and are restored when the user delete the config or perform a factory reset. The changes are uploaded via an additional binary file using the Flash Download Tool used to program the firmware via USB Serial.
- Make a copy of the Google sheet to your Google Drive:
https://docs.google.com/spreadsheets/d/1qam4NyRg7Pec7PtPjEmYr2pjvLkCnkXyByLVaz7dG30/copy

- Make changes to the default config in the Configuration sheet.
Note: Due to NVS partition size limit, only about 75% of the config can be customized. - At the top right corner of the Configuration sheet press Generate CSV.

- Click OK on the Authorization required window that pop-up.

- Select your Google account.

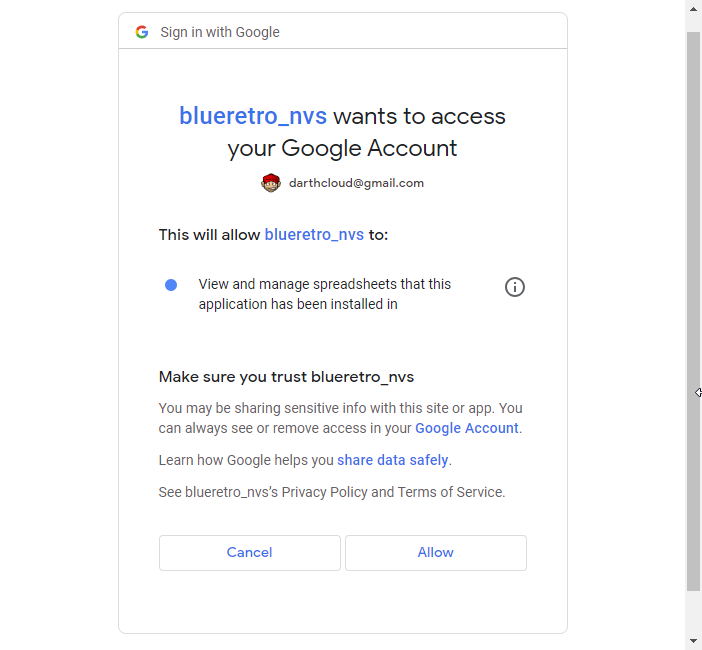
- At the blueretro_nvs wants to access your Google Account click Allow.

- At the top right corner of the Configuration sheet press Generate CSV again.

- A new sheet named nvs_csv will be generated, wait for the script to finish.
- Click on File->Download->Comma Separated Values (.csv) to download the config in CSV format.

- Rename the file to nvs.csv .
-
Download the following script localy:
https://github.com/espressif/esp-idf/blob/master/components/nvs_flash/nvs_partition_generator/nvs_partition_gen.py -
Install esp-idf-nvs-partition-gen:
pip install esp-idf-nvs-partition-gen -
Generate the nvs.bin file:
python nvs_partition_gen.py generate nvs.csv nvs.bin 0x4000Note: You will get an error here if you modified too much setting.
- Upload nvs.bin to the ESP32 at address 0x9000.

See Flashing firmware Windows 10 for more detail.
-
RE notes
- ESP32 RTOS + Bare Metal: Best of Both Worlds?
- Learning Bluetooth Classic (BR/EDR) with HCI traces
- Xbox One Adaptive controller
- Evolution of SEGA's IO Interface from SG-1000 to Saturn
- Famicom & NES controller shift register: Parallel-in, Serial-out
- SNES 2P & Super Multitap
- PlayStation & PlayStation 2 SPI interface
- 3DO interface
- PC-FX interface
- CD-i interface
- PCE & TG16 interface
- Jaguar Interface
-
Deprecated content