A live and anonymous system for hackers, security professionals, and tech geeks.
- Amnesic and Live System
- Application Security
- Vast Tools Repository
- Tor Integration and Tor Browser
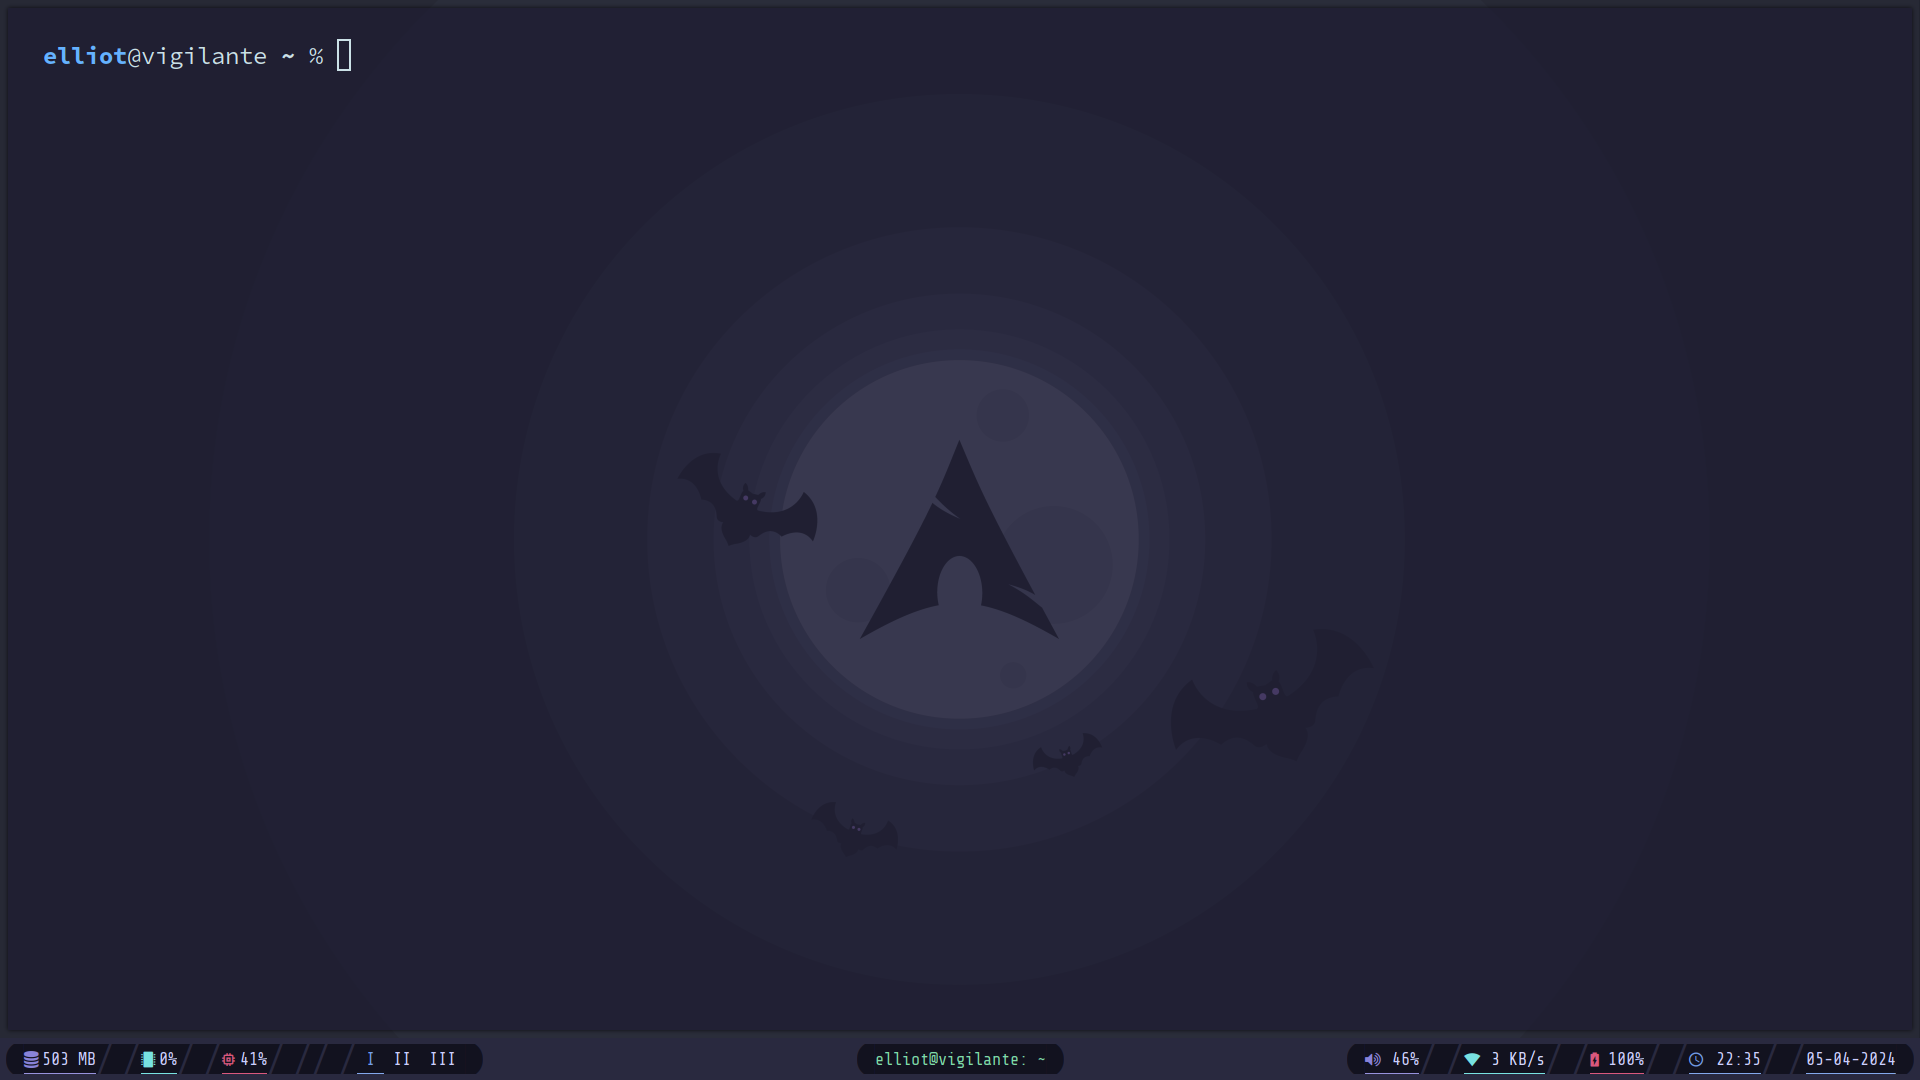
- Minimal Interface
- High Customizability
While alternatives like Tails OS prioritize security and anonymity, they often lack the comprehensive suite of tools and tailored environment desired by hackers and enthusiasts. Similarly, live systems such as Kali Linux and BlackArch offer robust toolsets but may lack the anonymity features integral to Vigilante Arch. Moreover, they tend to be more bloated, compromising performance and efficiency.
Here is the wiki, for step by step setup guide and other pieces of information.
The installation process is simple enough, a straightforward process.
- Download the ISO here
- Write the ISO on a USB Drive, Use
ddfor Linux andEtcherfor Windows. - Plug the USB and boot the live system.
The default creds are:
elliot:elliot
And for the setup part, There aren't any particular things, just some good practices like
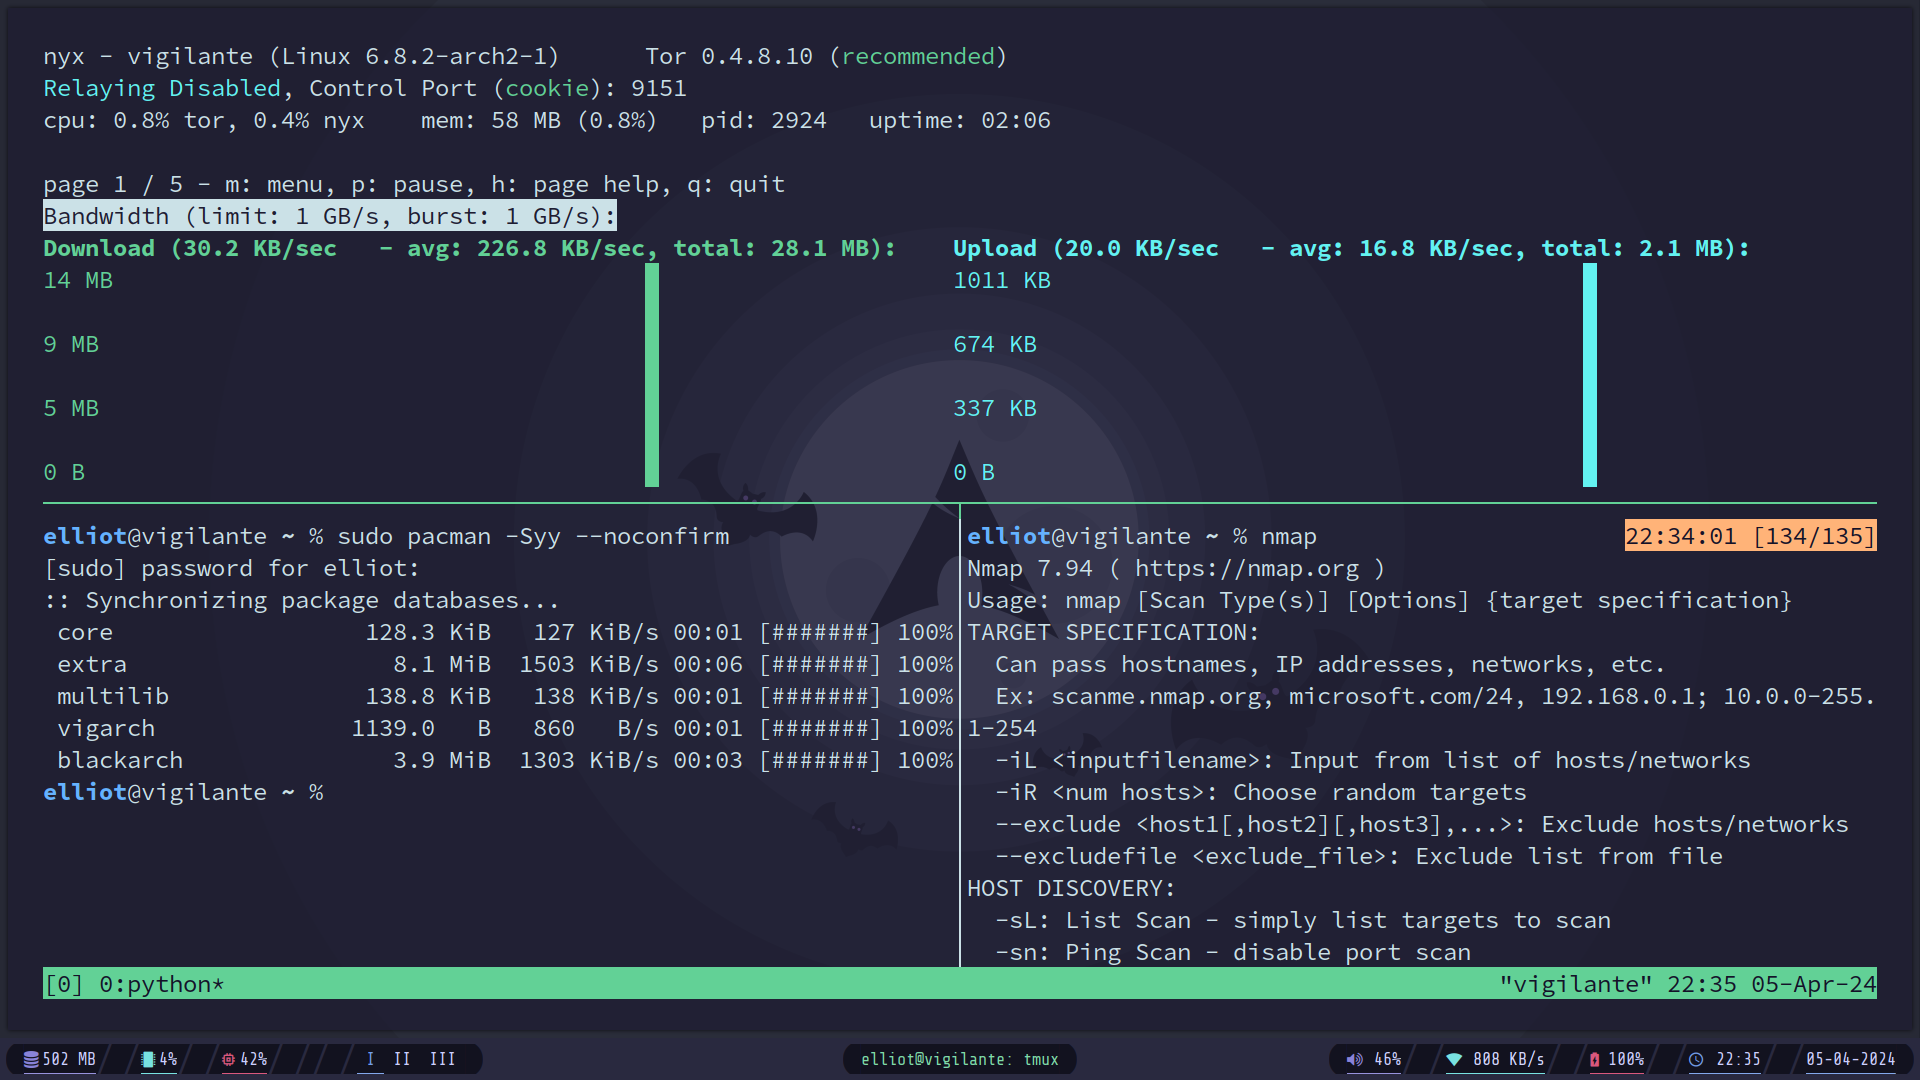
- Update the repositories
sudo pacman -Syy --noconfirmAs the system boots, when we are hacking, we would need some tools and packages to be installed in our live system. And if you know, By default when a live system of Arch Linux is started, It has the default storage of 256MB named tmpfs. It is crucial as while running a live system, The live system copies itself on the hardware RAM. This means we have only 256MB of live storage to work with, but it can almost immediately used up while installing any packages and tools.
So the way we get around this is to utilize a swap partition, which, in our case, can be used as the tmpFS to give us the amount of storage space we need to work with.
So the steps to do this are relatively simple, after writing the ISO file in the USB, make sure to create a swap partition of your desired size to work with (8GB Recommend).
So here's the complete process:
- Write the ISO on the USB.
- Create a
swappartition using tools likecfdisk,gdisk,fdisk - Modify the partition to be of type
swapFS
sudo mkswap <partition-name>
# sudo mkswap /dev/sda3- Now boot the system.
- In the live system, you'll have a utility called
extfsto configure the swap to be used astmpFS. Just run the tool with<partion-name>and<size>[G/M].
extfs <partition-name> <size>[G/M]
# extfs /dev/sda3 8G- And now you're all set, just update the system
sudo pacman -Syyu --noconfirmWhen it comes to TOR integration and setup, Vigilante Arch OS takes a slightly different approach compared to TailsOS. While TailsOS provides a prompt to set up TOR either for the entire system or specifically for the browser and certain applications, our approach caters more to the needs of hackers, security professionals, and enthusiasts.
In our line of work, whether conducting reconnaissance or research, tasks often involve significant time and generate considerable network traffic. Relying solely on TOR for all these activities can quickly raise suspicion among network administrators due to the noticeable increase in TOR traffic. To address this, we adopt a more strategic approach:
-
TOR Browser Default: The TOR Browser is configured to use TOR by default, ensuring anonymity for web browsing activities.
-
Selective Proxying: For other applications and utilities, we employ
proxychainsto selectively route traffic through TOR, avoiding unnecessary attention and potential suspicion.
Within the live system, we've simplified the process by creating an alias named vig with the additional configuration for maximized anonymity, for configuring proxychains through TOR. Here's how you can utilize it:
- Start TOR Service: Initiate the TOR service using the
vigilantealias:
vigilante- Monitor Network Activity: Keep track of network bandwidth and ensure maximum anonymity using the
nyxutility:
nyx- Proxy Commands Through TOR: Utilize the
vigalias (proxychains) to run commands through TOR:
vig <command-to-be-proxied-through-tor>

# Example:
vig curl -v https://check.torproject.org
However, in the upcoming updates, we are going to also provide users with a prompt to either use this approach or just utilize the tor setup systemwide.
By following these steps, you can effectively leverage TOR for specific tasks while maintaining discretion and anonymity, essential in the realm of cybersecurity and privacy.


- A feature to choose using TOR system wise or manually
- Encrypt the SWAP and the live system
- Some way to create a fully encrypted persistent storage (Usually not advised to do so, only if it's very very imporant).