ui_editor

1. To launch the 2D editor go to the Properties (editor) - Scene (tab) in Blender:
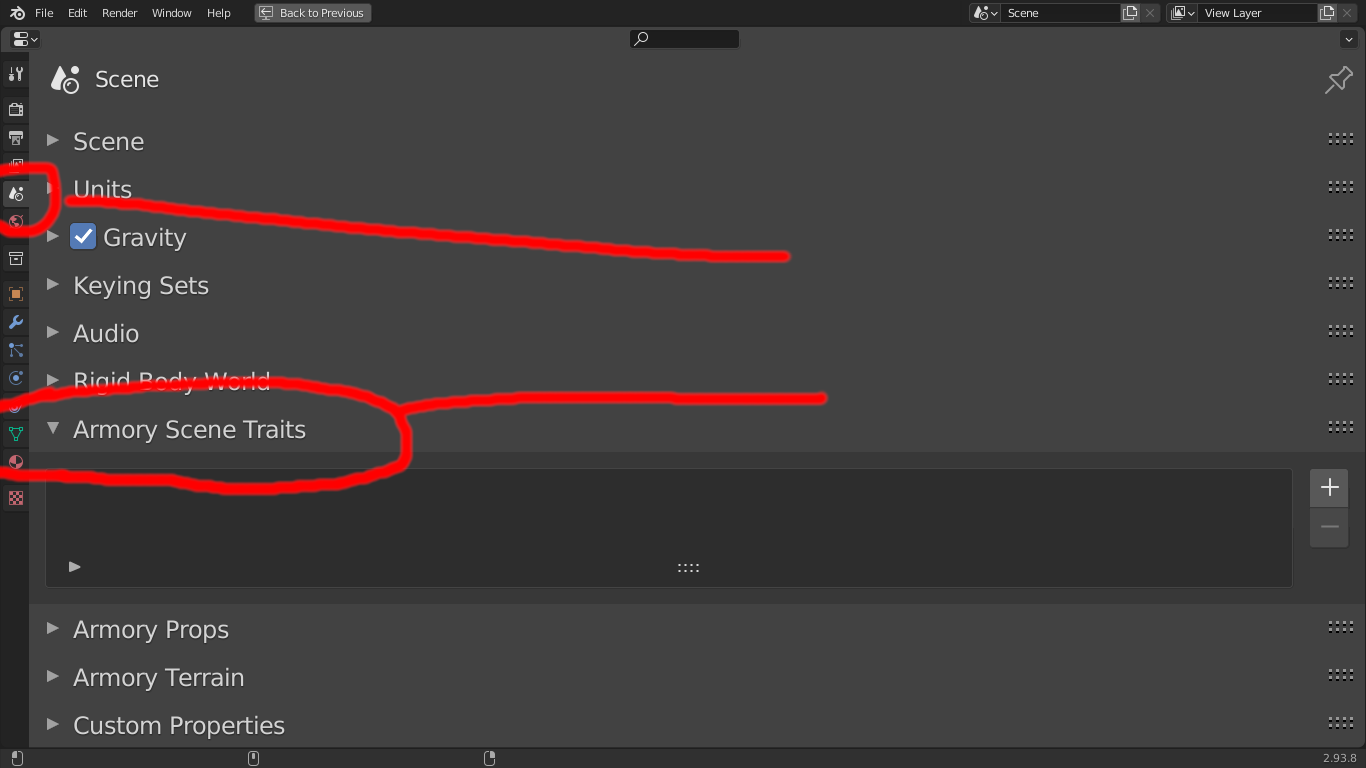
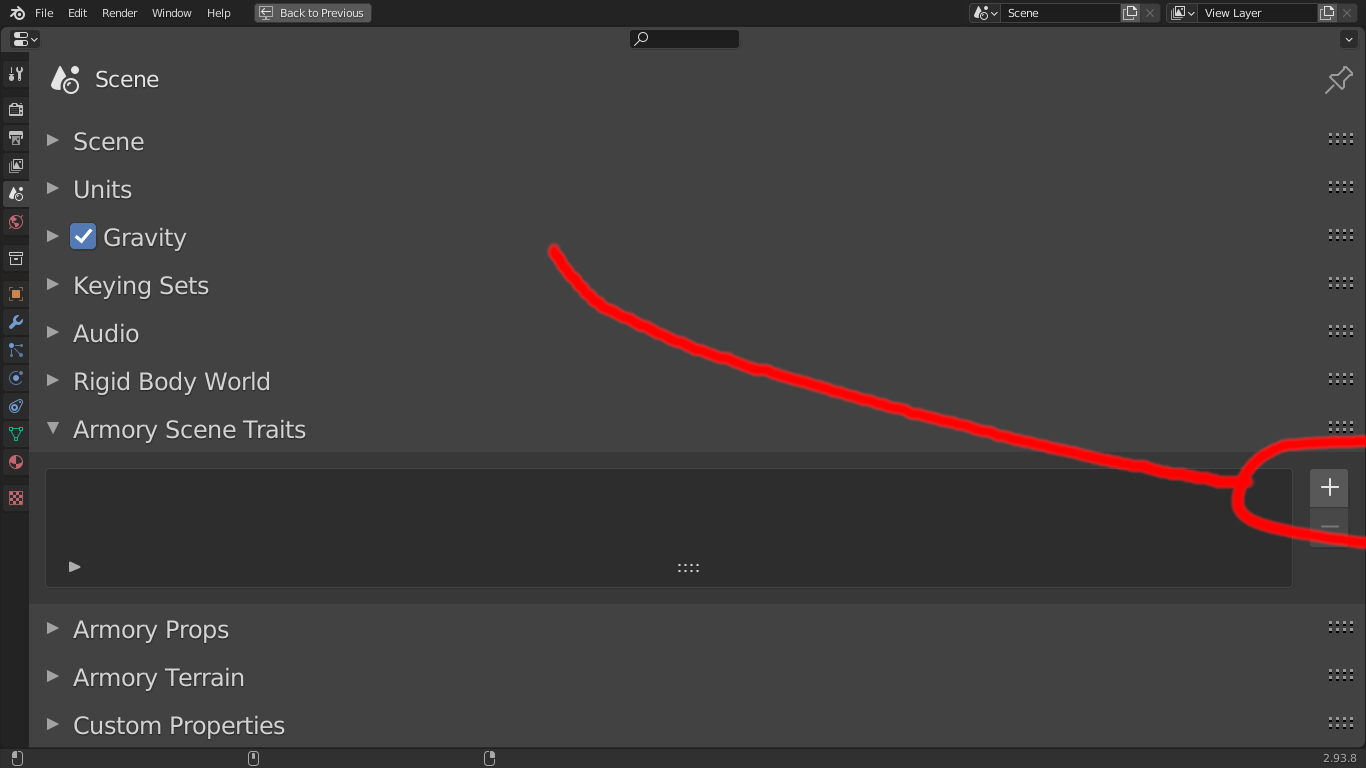
2. Add a new Armory Trait, type: UI in the Armory Scene Traits panel by clicking the + icon-button:
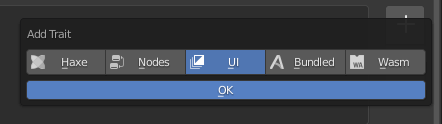
3. Make sure trait type: UI is selected, then click the OK button:
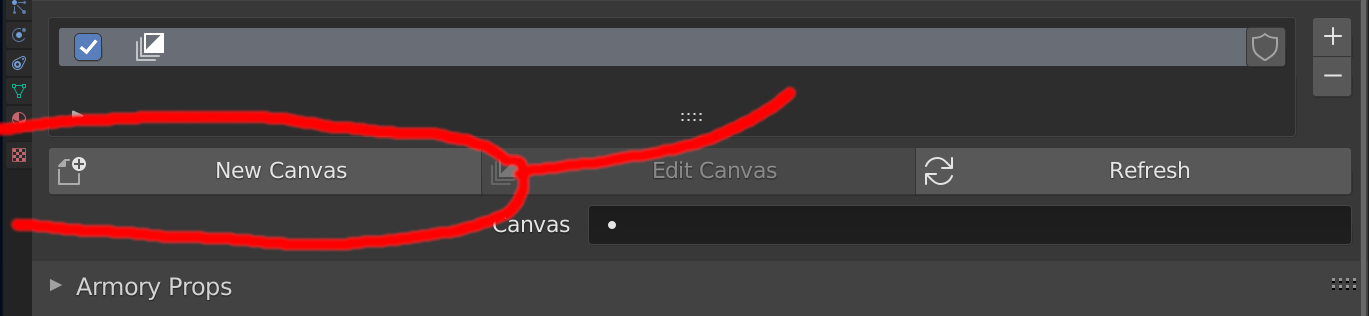
4. Click the New Canvas button to create a new UI Canvas:
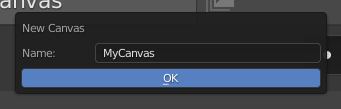
5. Choose a name for the Canvas, then click the OK button:
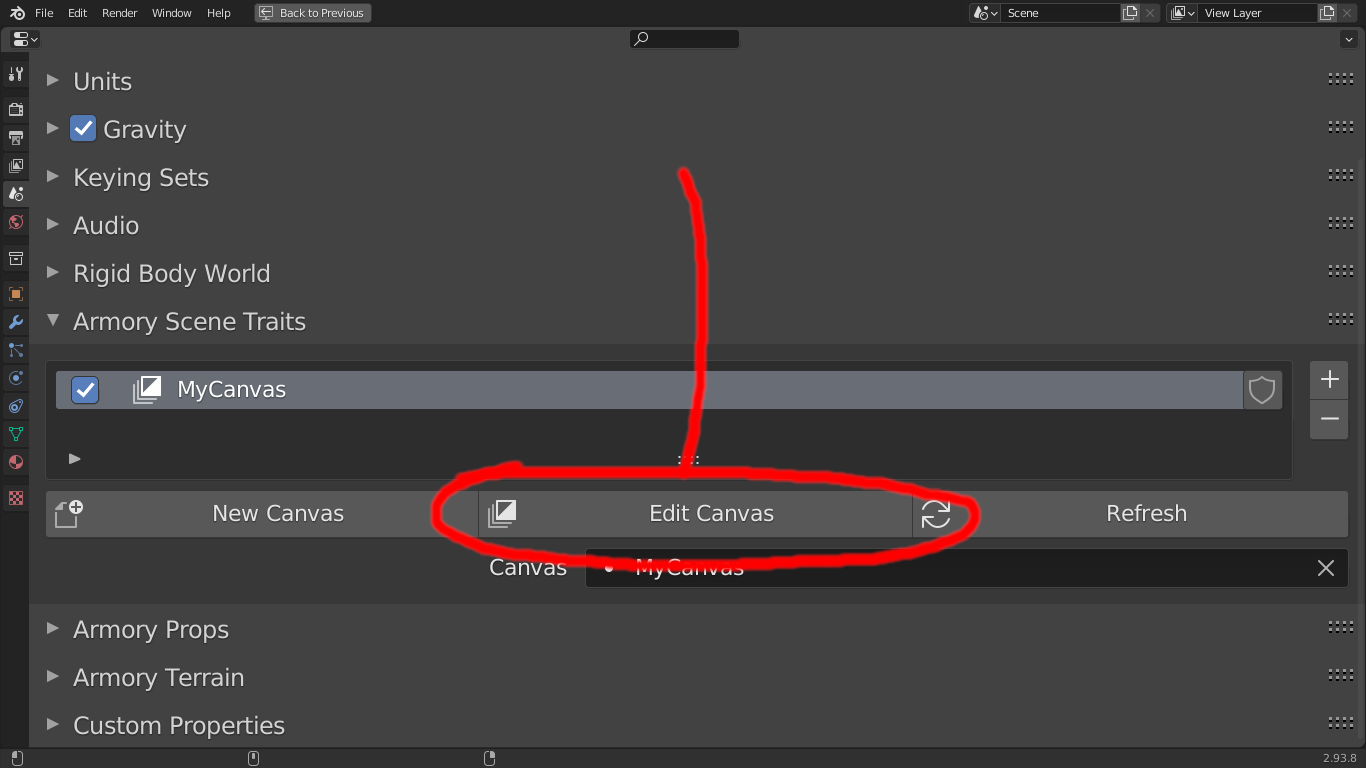
6. Finally, to edit or view a UI Canvas, click the Edit Canvas button:
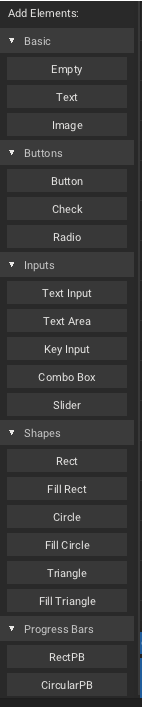
- Use the left-toolbar to create new elements:
- Select existing UI elements by
clickingon a UI element's bounds. - Move/translate existing UI elements by
clicking + draggingwithin a UI element's bounds. - Make sure to click the
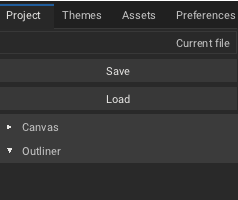
Project - Savebutton in the right-panel before quitting the editor in order for changes to be remembered: