Setup Raspberry Pi
- Download latest Raspi image from Alias release area.
- Use a tool like Etcher to flash the image to an SD card
- Put SD card into your RaspberryPi and boot it up
- Login to your Raspi using ssh and a tool like PuTTY or
MobaXTerm
- Username:
pi - Password:
raspberry
- Username:
- Start UI by typing
ui. This might take a while on the first run because the daemon is synchronizing the blockchain.
wallet-status     # Show if wallet is running or not
wallet-stop       # Stop wallet
wallet-start      # Start wallet
ui                # Start Shell-UI
Important: Stop the daemon before powering down your Raspberry Pi! Otherwise you might end up with a corrupted blockchain which must be resynchronized.
You can easily replace the wallet.dat file on the Raspberry Pi with
another one. A common usecase i. e. is, if you created a wallet using
seed words and want to stake on this wallet. To do so, you need to
perform the following steps:
If you not already know the IP of your Raspi, you need to login on your Internet router and check the list of connected devices. Find the Raspi there and note it's IP address.
Login on the Raspi using ssh and issue the cmd wallet-stop. You can
check with wallet-status, if the wallet is really stopped.
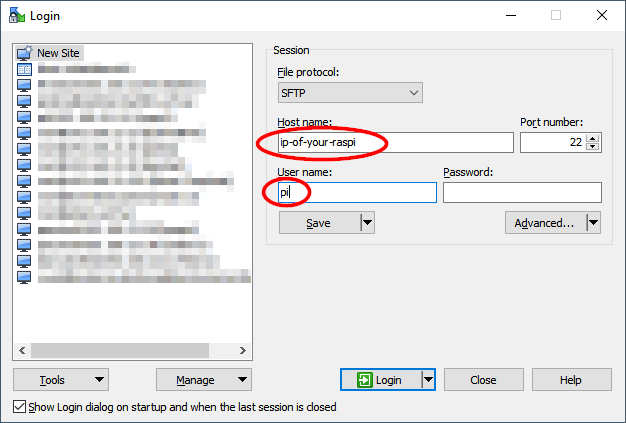
If you're on Windows, you could use a tool like WinSCP for easy access and modification of you Raspi.
Install the tool with default settings or tweak them if you like. After
this is done, create a new session using the noted Raspi IP from the
previous step and username pi:
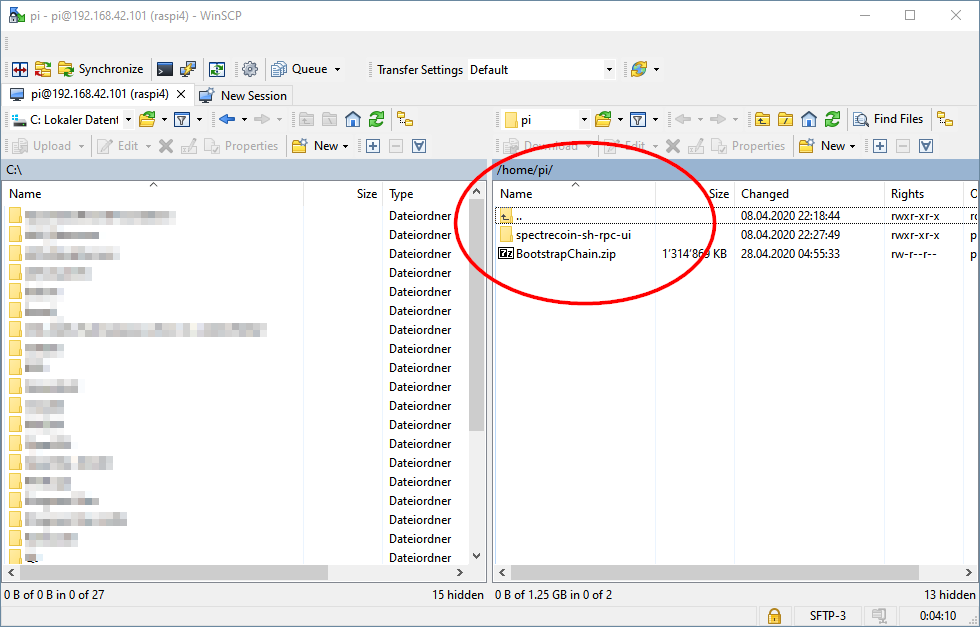
If you connect now, you will see the content of pi's home directory
probably like this:
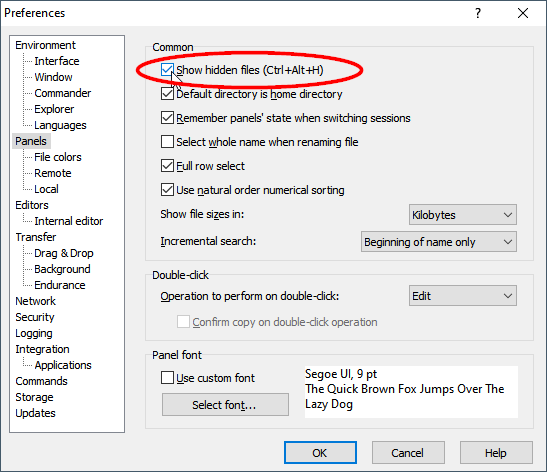
If you can't see the folder .aliaswallet, you need to enable visibility
of hidden files. To do so, go to Options > Preferences, there to
Panels and activate option Show hidden files:
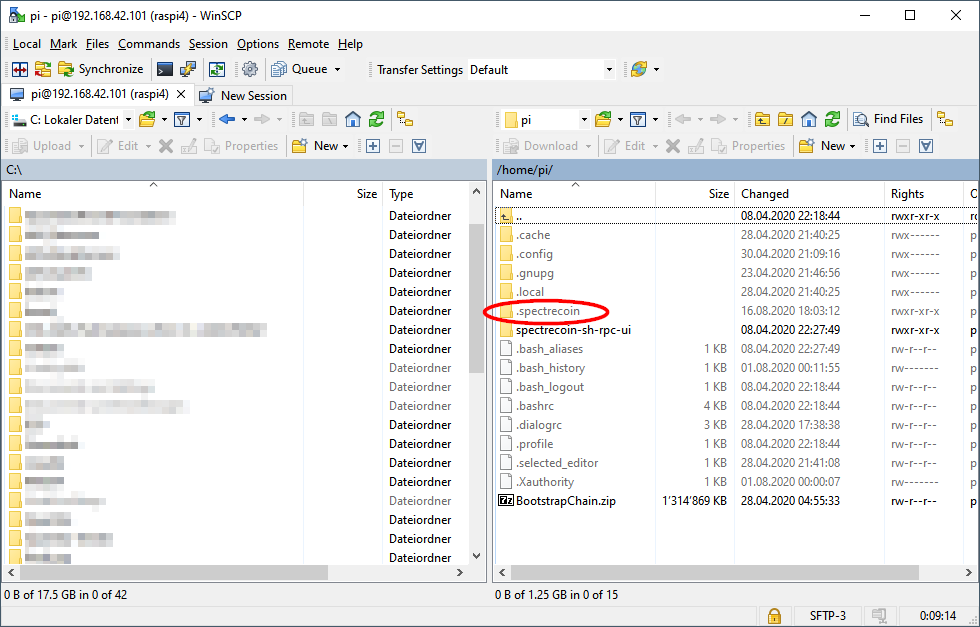
After that, you should see the hidden folder .aliaswallet:
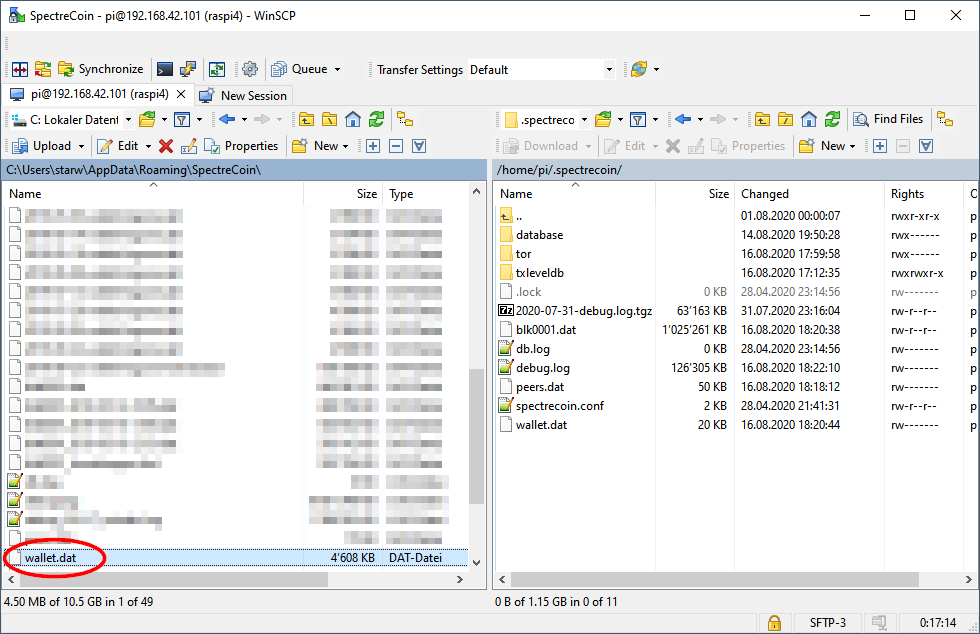
To replace the current wallet.dat file with a different one, open the
folder /home/pi/.aliaswallet/ on the right WinSCP panel.
Open the location of the wallet.dat file you want to use on the left
WinSCP panel. If you want to use the file from an existing Alias
installation, the location is C:\Users\<your-username>\AppData\Roaming\Aliaswallet\
Before copying over from the left panel (local machine) to the right panel (your Raspi), make sure that both wallet's are really stopped!
Select wallet.dat on the left panel, drag it with the Mouse to
the right panel and release it there. Now hit OK to copy it to the
remote machine.
You might get a warning because there is already a wallet.dat file
existing on the remote side. If you're setup a new Raspi, you can
overwrite the existing file. Otherwise you should double check if it is
ok to overwrite or not.
To create a backup of wallet.dat, you can perform the same steps as
written above but instead of selecting wallet.dat on the left panel,
select the one on the right panel and drag it to the left panel. So
the copy step will copy from the remote machine (your Raspi) to the
local machine.