WIP (Work In Progress) WARNING: I am editing html files from Zonelet to be 100% inline/compatible with IMP!
- DONE: index.html, Backup-index.html, 2020-11-10-Post-Template.html & Backup-Post-Template.html.
- NOT DONE: Update the guide, to fit my edits. So its a simple/easy process to edit & add menu entry.
- NOT DONE: about.html, archive.html, not-found.html, & 2020-11-10-HTML-cheat-sheet.html.
- NOT DONE: Full, tested, CSS "Themes", combined from both IMP! & Zonelet.
- NOT DONE: Auto "Post Array" Title/Date "naming", Currently you need to type H1-Title & Date line, in IMP!
- I need to play with CSS files. Currently I am only testing with the default zonelet "style.css" file.
- Issue matching IMP!'s footer to Zonelet's footer, have moved effected content to header (it works) until I solve.
- THIS PROJECCT IS TWO NOTCHES OVER MY CURRENT SKILL LEVEL 😅 (I started with markdown, & worked up).
- Thank you: Harvard OCW CS50AP (CS50: t/s/x), & to Scratch/Code Monkey, helping me "see" what was going on.
- Its also my "1st real", public, coding project (& I'm 41). Evertthing else I have done was art or "kit packaging".
- My Neocities Site
Mostly MIT, respecting sources licenses:
- Laymen's terms: JS-CMS is FOSS (Free Open Source Software).
- Project is 100% HTML/CSS/JS and its all 100% transparent. Please feel free to inspect, copy or edit.
- Zonelets (v1.4 & Theme's) is MIT licensed
- IMP! (Current version) is MIT licensed, except:
- CC BY-CA - IMP!'s default theme based on Cutenberg (which is licensed under CC BY-CA)


I dont really know HTML/CSS that well, nevermind JS (javascript)...I blame "mordern" CMS's! Markdown & Python are more my speed.
- But I was able to cobble this Frankenstien, OF OTHER PEOPLE'S WORK!, together.
- Made with two (2) ".js" files, "imp.js" (The, single page, "Client-side" CMS) & "script.js" (The "Blogging Engine", powering on menus/etc.).
- Only "script.js" needs to "live" online ("Server-side", by uploaded with site's files, to host). Remember: As above, its powers Menus/Etc.
- "Theme" support via custom CSS linking per page (or as default via style.css). There are just under 15 "themes", currently.
- Fully supports add in (it doesnt have any currently), js powered, json/xml (& geojson/kml), flat file, databases.
- For best results, of "on host files", please use webp (& svg, ico) images, gif videos & MIDI (mid/midi) audio files.
- Soundcloud/Etc. & Youtube/Etc. to embed audio/video in to your web page.
- For encrypted files use: pgp & asc
- Add code to "imp.js", so it automatically updates the "post array" of the "script.js" file,... IS THIS EVEN POSSIBLE?
- Change "View CSS location" so its a "drop down", that populates from styles folder, with option for manual text entry of location
- Convert all CSS to IMP!'s "Gutenberg" style, with (a cleaner) Zonelet's "Menu/Header/Footer" updating menu/post array (aka: match structure/style)
Well, Have you ever had a host that didnt support PHP/databases (A POPULAR & TARGET example would be Neocities)?
Where you couldnt run Wonder CMS, let alone Grav CMS... forget about WordPress CMS?
- Its easy: ONE TINY "script.js" edit in notepad per post (so its "codeless") & CSS linking is "hand held".
- Its cheaper (ITS FREE!), easier & more accessable than Node.js based CMS's.
- For beginners: This beats "free-hand" HTML/CSS, for ease of entry & speed, at least.
This is also a better learning tool than a "fiddle" as it produces IRL results, on Neocities/Etc.
There are a few, but for the target users, HTML/CSS learners looking to upload to Neocities, they arnt as attractive or useful, IMHO.
- Publii CMS is over all more cmplicated (Desktop install, files may need "reordering", depending on target web host).
- Netlify CMS has a complex setup (Git/Bitbucket Backend'ed...for beginners its abit much).
- Home: https://zonelets.net/index.html
- Download: https://zonelets.itch.io/zonelets
- Home/Download: https://github.com/girobusan/imp

How it works
When you load IMP! Locally, it opens up an editor, where you can enter or import your text, setup SEO tags and custom CSS. When the very same page is served over http, user gets a light, static HTML. Page does not require Java Script to be viewed, it's just plain HTML.
 Caption: Behold the wonder that is... IMP!
System requirements
Descent browser, Firefox or Chrome preferred (tested). If you've updated your browser within last 4 years, it should be fine.
Step by step guide
-
Download and unpack. There are 3 files: index.html, style.css and imp.js
-
Open the index.html in your browser (Firefox or Chrome is recommended)
-
Edit it, import or enter your text, preview it. Click the big "Export HTML" ("Save" in newer version) button and save file to the same directory. If you didn't change file name, overwrite old file.
-
Upload files to server, you may skip imp.js, as it's not required for viewing file.
-
That's it.
Known problems
- If you use NoScript extension, you'd need to disable it for IMP! page (not just set to TRUSTED mode, but disable all restrictions completely)
To get started with Zonelets, follow the text on this site or the video tutorial playlist on YouTube!
videoplayback.mp4
Contents:
- Downloading the Zonelets files
- Uploading the files to Neocities
- Writing your first post
- Adding your name and blog name
- Gazing upon your handiwork
- What's next?
Downloading the Zonelets files
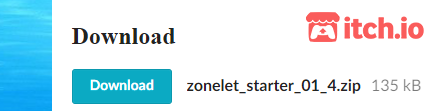
Click here to download the files from itch.io
Uploading the files to Neocities
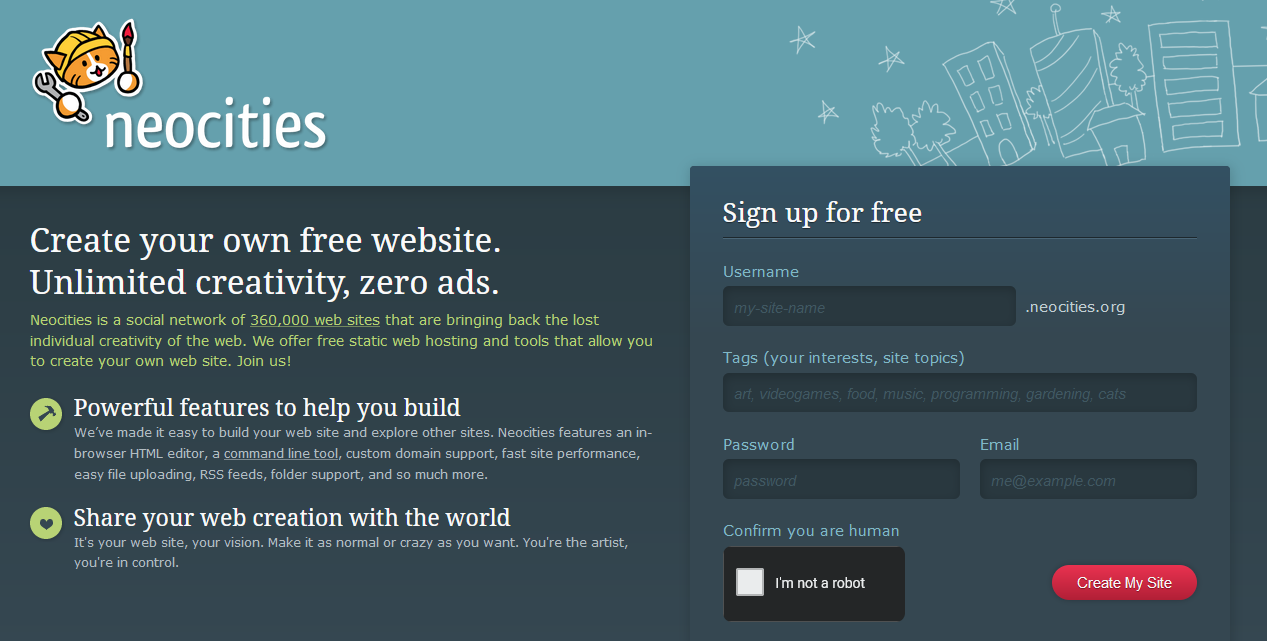
Caption: Neocities simple sign-up page
- Create an account at Neocities. Tag your site "zonelets" among other things, if you'd like! (Don't worry: tags can be changed later from your Neocities profile).
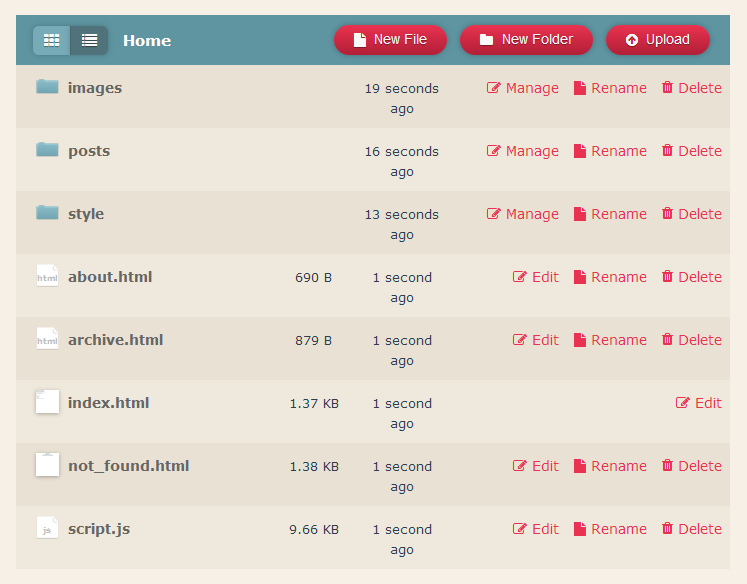
- Once your account is up and running, delete the existing Neocities starter files (aside from index.html, which cannot be deleted. "index.html" is the default home page file name for websites in general.)
Caption: Neocities site editor with everything deleted except index.html
- Unzip the Zonelets files that you loaded from itch.io and open the folder.
- Navigate to "Edit Site", and upload all the Zonelets files/folders to your Neocities site (drag and drop or use the upload button). NOTE: Neocities file uploader has trouble uploading multiple folders at once. Save yourself some confusion and upload each folder individually. It's fine to upload multiple regular files at once.
NOTE: If you upload a file to Neocities and it has the same name as an existing file in that folder, the old file will be overwritten! So the Neocities default index.html will automatically be overwritten by the Zonelets index.html, which in this case is what we want!
Caption: After uploading the files, your site should look like this (readme.txt and whatsnew.txt are not necessary to upload)
Writing your first post
Zonelets posts are written in HTML. If you haven't done much coding before, it may appear visually overwhelming at first. But for now you can safely ignore virtually ALL the weird-looking stuff. That said, at some point, you should read a beginner's guide to HTML---Neocities has one that's a cute cat comic!
- Back on the dashboard, navigate to the posts folder.
- Create a new file following the naming conventions of the example posts. For example: 2020-11-12-Plover-Appreciation.html
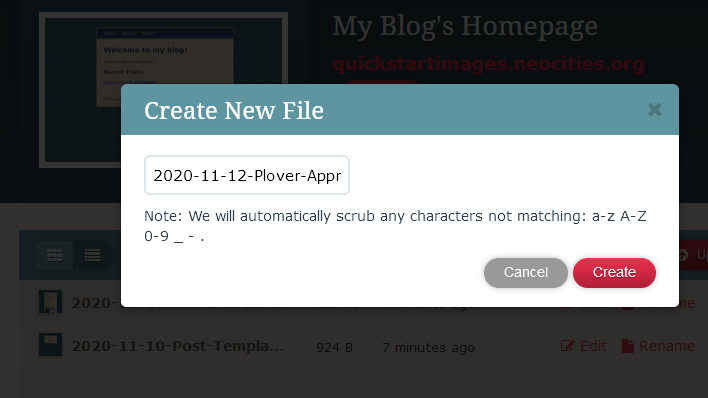
Caption: creating and naming a new post
- Copy the contents of 2020-11-10-Post-Template.html into your new file
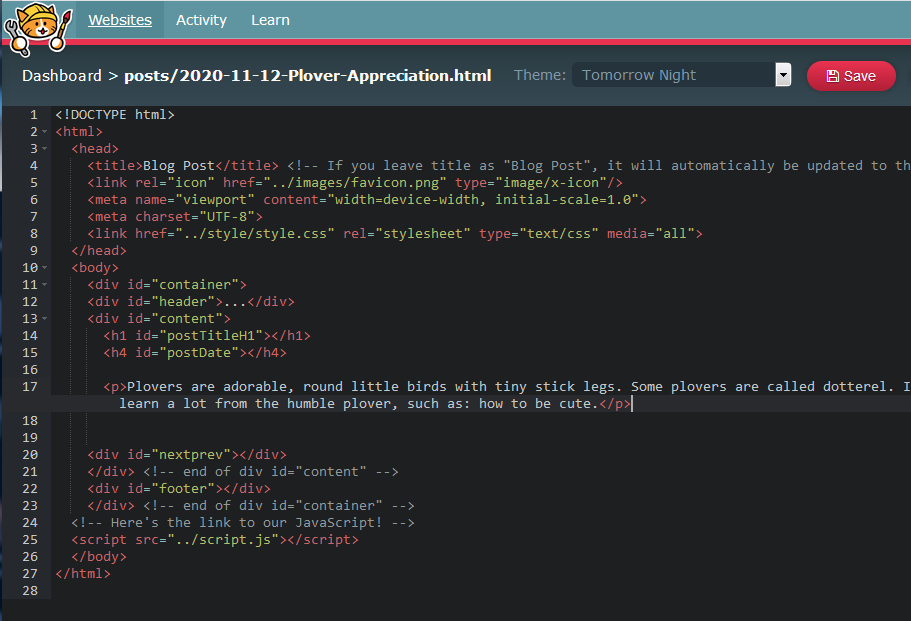
- Open your post and write some stuff in the
tag on line 17. For example:
Plovers are adorable, round little birds with tiny stick legs. Some plovers are called dotterel. I think we can all learn a lot from the humble plover, such as: how to be cute.
- Save your file by clicking the red Save button in the top right, or with the keyboard shortcut Ctrl+S or Cmd+S.
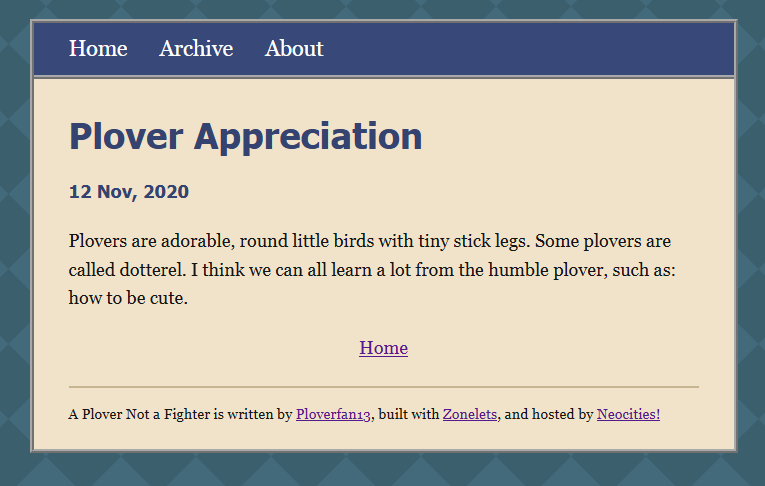
Caption: this is how your first post should be looking
Updating the script
- Copy the name of your file you just edited, including the posts/ part. This should look something like posts/2020-11-12-Plover-Appreciation.html. You can copy this from the top left corner of the HTML editor, or by going back out to the posts folder and clicking rename (cancel after you copy the filepath, you don't actually want to rename it!).
- Now head to the scripts folder and open scripts.js.
- Paste the filename that you just copied into postsArray (line 23), following the format of the example posts. Now your post will appear in your Archive and the list of recent posts!
- Before you go, update the values for blogName, authorName, and authorLink in Section 1: Basic Info.
- Save your work and return to the Dashboard. You did it!

Caption: This is how script.js should look after you add your first post to the posts array and update the "Basic Info" section
Gazing upon your handiwork
- Click on the big red link on your dashboard to preview your site! You can also just type "yourusername.neocities.org" into your web browser (replacing "yourusername" with your actual neocities username, of course!).
- You should now see a sample homepage with a list of recent posts at the bottom. The post you just made should be at the top!
- At the very bottom of the page, you should see a footer saying that [Your blog's name] is written by [you], and if you click on your name it should go to your website/social media link. Remember, you just entered all those values in the script, so you can go back and change them at any time.
- If you click on the link to your post in the Recent Posts section, you should see the sample text that you just wrote (were you also writing about plovers? Or was that just me?).
Caption: This is how your post should look when you view it live!
IMPORTANT NOTE: In web development, sometimes the effects of the changes you make may be delayed. Try refreshing the page, using a "hard refresh", or simply coming back to it in a few minutes. Checking in on another device or browser can also help. If things aren't changing, it doesn't necessarily mean you did anything wrong!
Congratulations! You now have a blog!
What's next?
- Check out the Neocities cute cat comic beginner HTML tutorial that we procrastinated earlier!
- Go to the theme gallery to browse themes and view an explanation for how to set your theme.
- Customize the contents of your Home page and About page!
- Skim the Frequently Asked Questions. There's a lot of useful info there!
- When you're ready, share your blog with your friends, enemies, and loved ones!