Q) Trip Status Change
As an entrepreneur account, you have the ability to change the status of your trips. To do this, simply follow these steps:
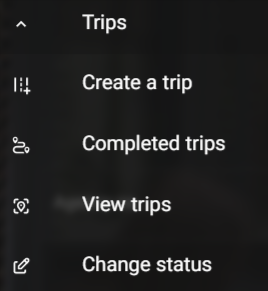
- Click on the "Trips" category in Sidebar on your agency account.
- Look for the "Change status" button and click on it. This will bring up a table of all your trips.
The table contains the following columns:
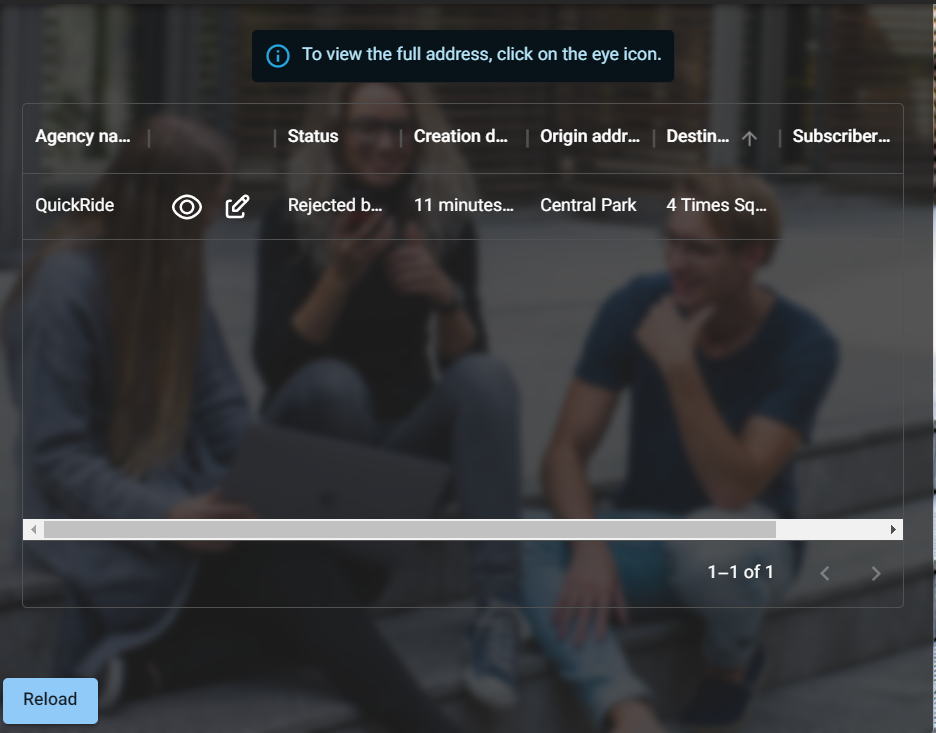
- Agency name: the name of the travel agency that you booked the trip through
- Status: the current status of the trip, which can be one of two moods: accepted or rejected by agency. "Accepted" means the trip was successfully completed, while "Rejected by agency" means that the travel agency personnel rejected the trip.
- Creation date: the date that you requested the trip
- Actions button: This button has two icons:
- View Icon (eye icon): Clicking on this button will show you the full details of the trip.
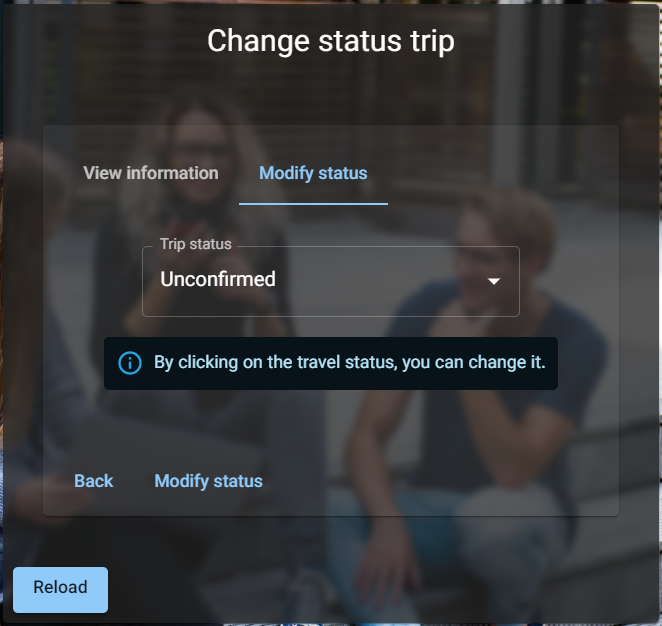
- Modify status Icon (pencil icon): If you click on this icon, you will see the "Modify status" tab. In this tab, you can change the trip status to one of two states: "Rejected by agency" or "Unconfirmed". "Rejected by agency" means that the travel agency personnel rejected the trip, while "Unconfirmed" means the trip goes to the default state where any agency can accept it. If you wish to change the status, click on the "Modify status" button. If the operation was successful, a notification will appear to inform you.
The table also contains the following additional columns:
- Origin address: the address that you departed from on the trip
- Destination address: the address that you arrived at on the trip
- Subscriber ID: a unique identifier for the subscriber who booked the trip
- Description: any notes or additional information about the trip
With these steps and information, you can easily change the status of your trips as an Entrepreneur account on this platform.