This guide provides a step-by-step process to set up Label Studio (LS).
-
Clone the Repository:
-
Clone the repository using the provided link, http or ssh - at your discretion:
git clone "https://github.com/Jorjeous/CAST.git"
cd cast
git clone ssh://[email protected]:Jorjeous/CAST.git
cd cast
-
-
Optional: Create a Virtual Environment:
- It's recommended to create a virtual environment for Python:
python3 -m venv .cast
source .cast/bin/activate
- It's recommended to create a virtual environment for Python:
-
Install Dependencies:
- Install the necessary dependencies for Label Studio:
pip install -e .
- Install the necessary dependencies for Label Studio:
-
Prepare Application:
- Collect static files and migrate the database:
python label_studio/manage.py collectstatic
python label_studio/manage.py migrate
- Collect static files and migrate the database:
-
Run the Application:
- Start the Label Studio application:
python label_studio/manage.py runserver
- Start the Label Studio application:
After completing these steps, you should be able to access Label Studio through your web browser. Usually at http://127.0.0.1:8080. (But terminal could provide another port)
This guide will walk you through using Label Studio for audio labeling.
-
Login or Sign Up:
- Open Label Studio by going to
127.0.0.1:<yourport>. You'll be greeted with a login/sign-in window. - If it's your first time, click on 'Sign in' and create an account using any valid email address (it must pass a sanity check, e.g., [email protected]).
- The password should be between 8 to 12 symbols.
- Remember to uncheck the box for "latest news".
- Open Label Studio by going to
-
Creating a New Project:
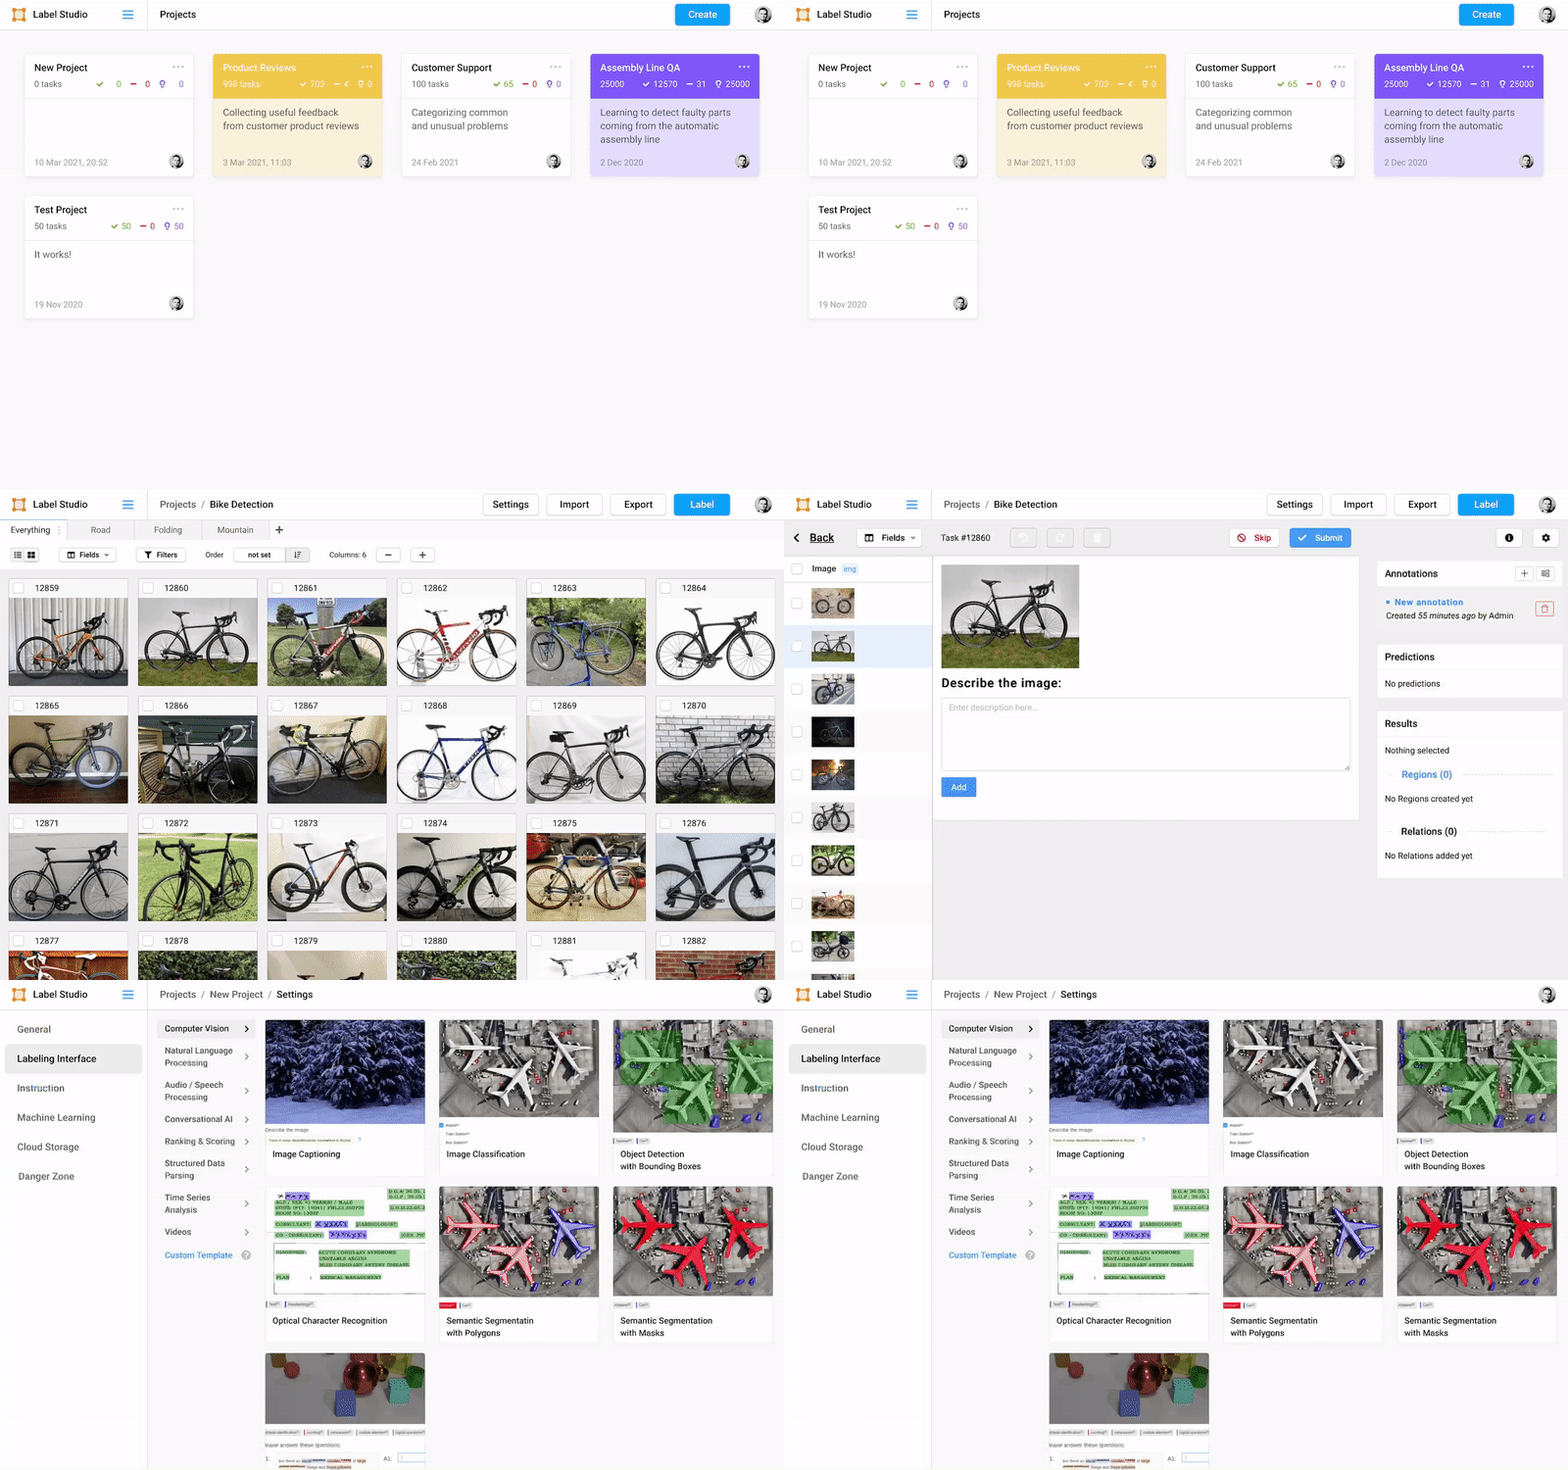
- Once logged in, you'll see the project page. If this is your first visit, you probably won't have any projects yet.
- Click on the 'Create Project' button to start a new project.
-
Data Import:
- Navigate to the 'Data Import' button (top middle of the screen).
- You'll be asked to upload files. For convenience, provide a NeMo JSON manifest containing strings in the NeMo format where
audio_filepathandtextare mandatory.
It is improbable, but in case your manifest consists of only one line - copy it to make at least two, like in example below.
Example:
{"audio_filepath": "/home/user/CAST/audiofile1.wav", "duration": 2.85, "text": "sample text"} {"audio_filepath": "/home/user/CAST/audiofile2.wav", "duration": 3.10, "text": "another sample text"}- Audios and manifest will be loaded into the app.
-
Labeling Setup:
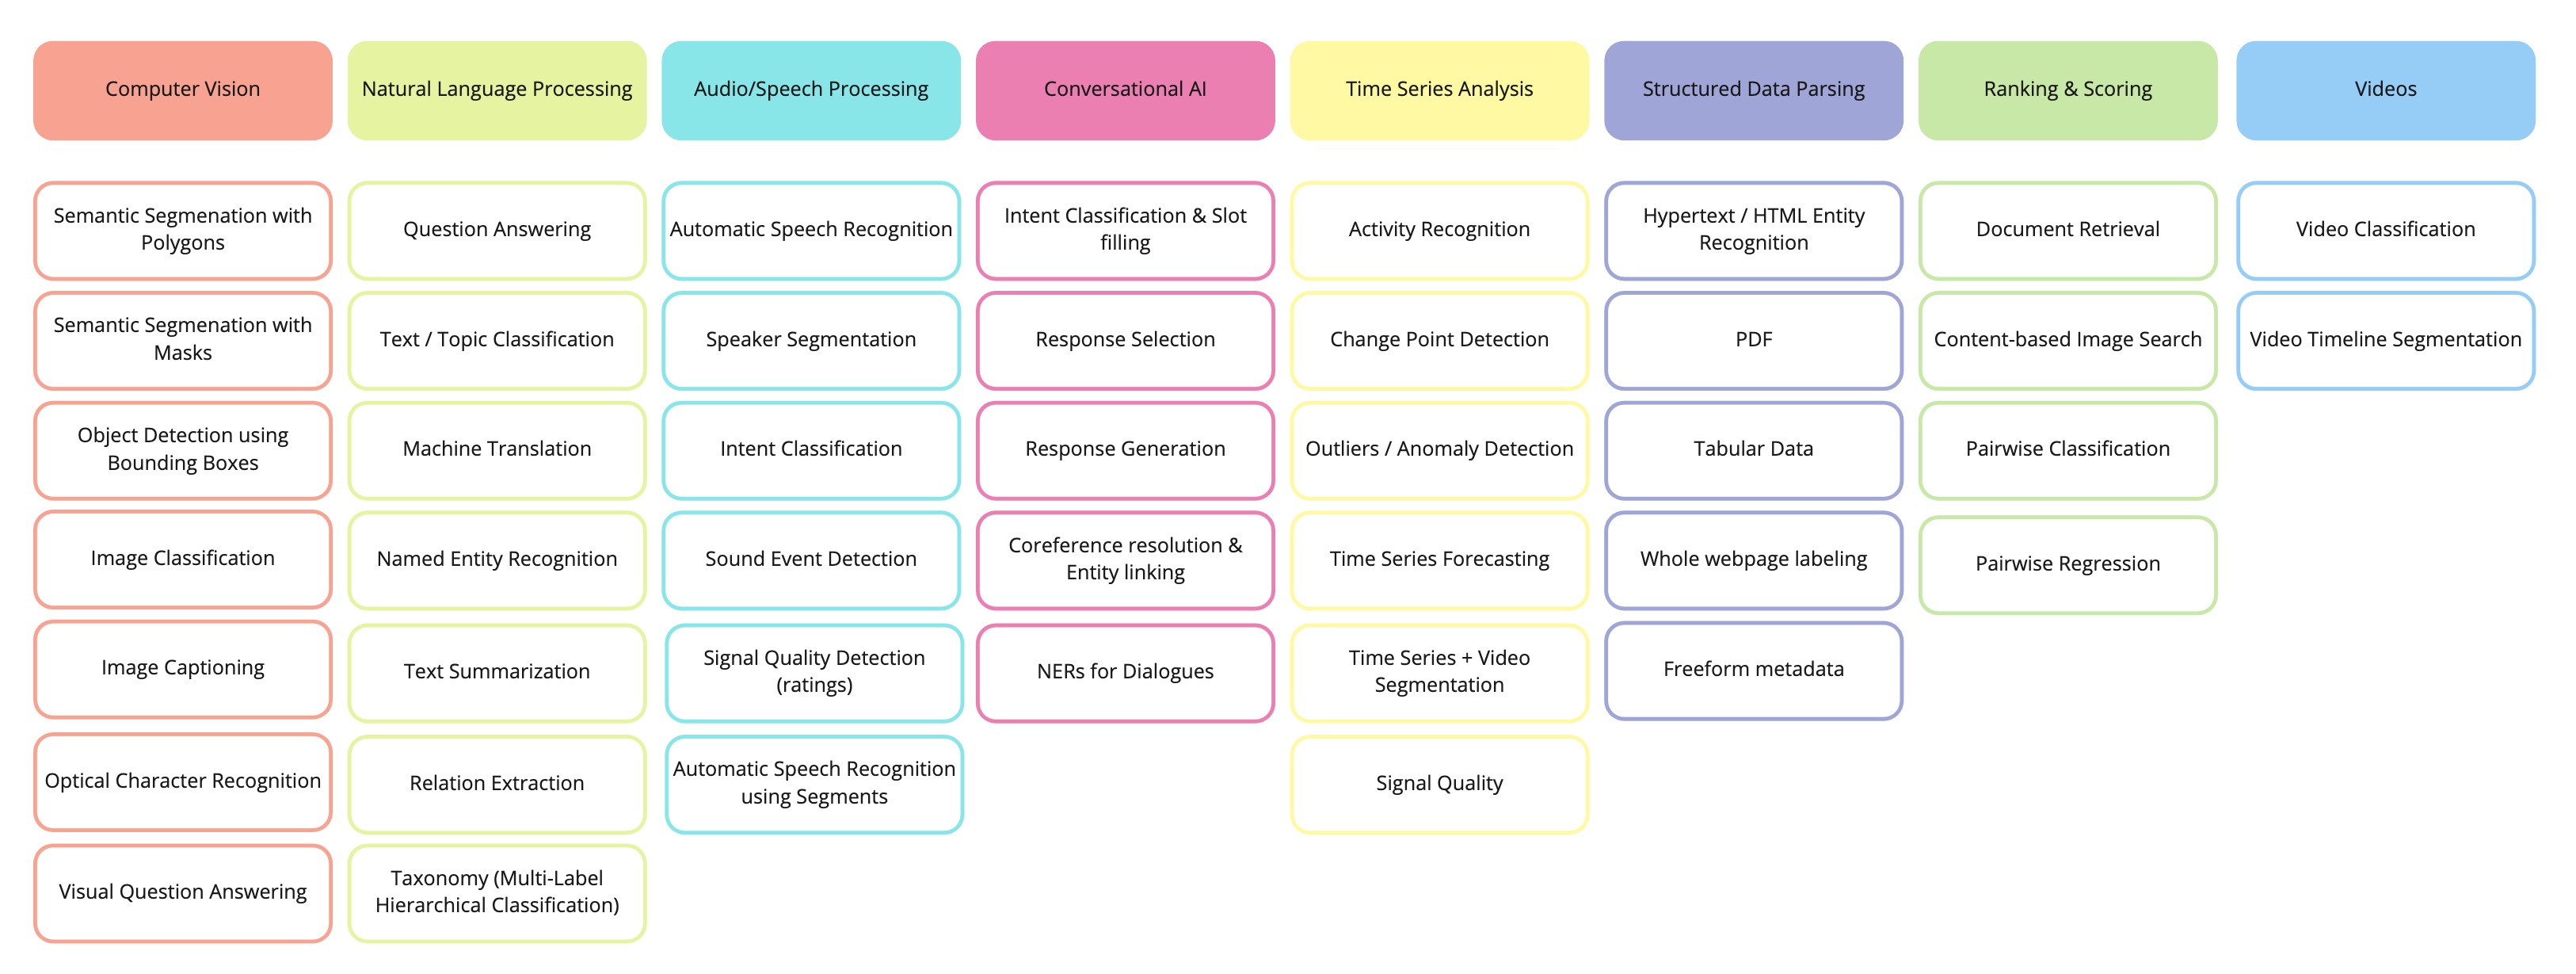
- Click on 'Labeling Setup' (top-right) and then navigate to 'Audio/Speech Processing' (yellow).
- Select the 'ASR + Ground Truth + Model Prediction "[NeMo]"' or 'ASR + Ground Truth "[NeMo]"' template, highlighted in blue, and then click 'Save'. You'll be automatically navigated to the current project.
-
You can also specify which fields from the manifest will match the fields in the template. Click on "code" (top-middle).
-
The corresponding colors (green, yellow) are related fields. In this example, $text corresponds to the ground truth. In the manifest, this field is also called text. The same works for "$pred_text". You can change value to your own one. Do not change "names="
-
Working on Tasks:
- On the project page, you can choose which task to annotate today or click on 'Label All Tasks'.
- There is also the possibility to filter and sort tasks.
- If desired, you can integrate machine learning (ML) to perform inference during task annotation. For more details, please refer to: ML backend (Not avaible for now)
-
Labeling Interface:
- The "Copy Above" inserts the text from field above into Your transctiption field.
- The audio player is interactive, allowing you to play from a specific point, repeat parts of the audio, and adjust the speed.
- To submit your transcription, click 'Submit'. If you wish to skip the current utterance, click 'Skip'.
-
Long Audio Template (preferably working with ML backend):
- There will be Transcript field that will show all utterances, for comfortable navigation you can use the play button on the left side of utterance.
- Ground Truth will contain text from the "text" field in manifest
- Asr Transcript will contain predicted by model text. For you convenience while playing current utterance will be highlighted in Asr Transcript. Also text will be scrolled up to current position. To stop the scrolling you should pause the audio.
-
Exporting Results:
- Once you're done with the tasks, you can export the results of your work.
- Click 'Export', choose the format (likely 'ASR Manifest'), and then click 'Export'.
Website • Docs • Twitter • Join Slack Community
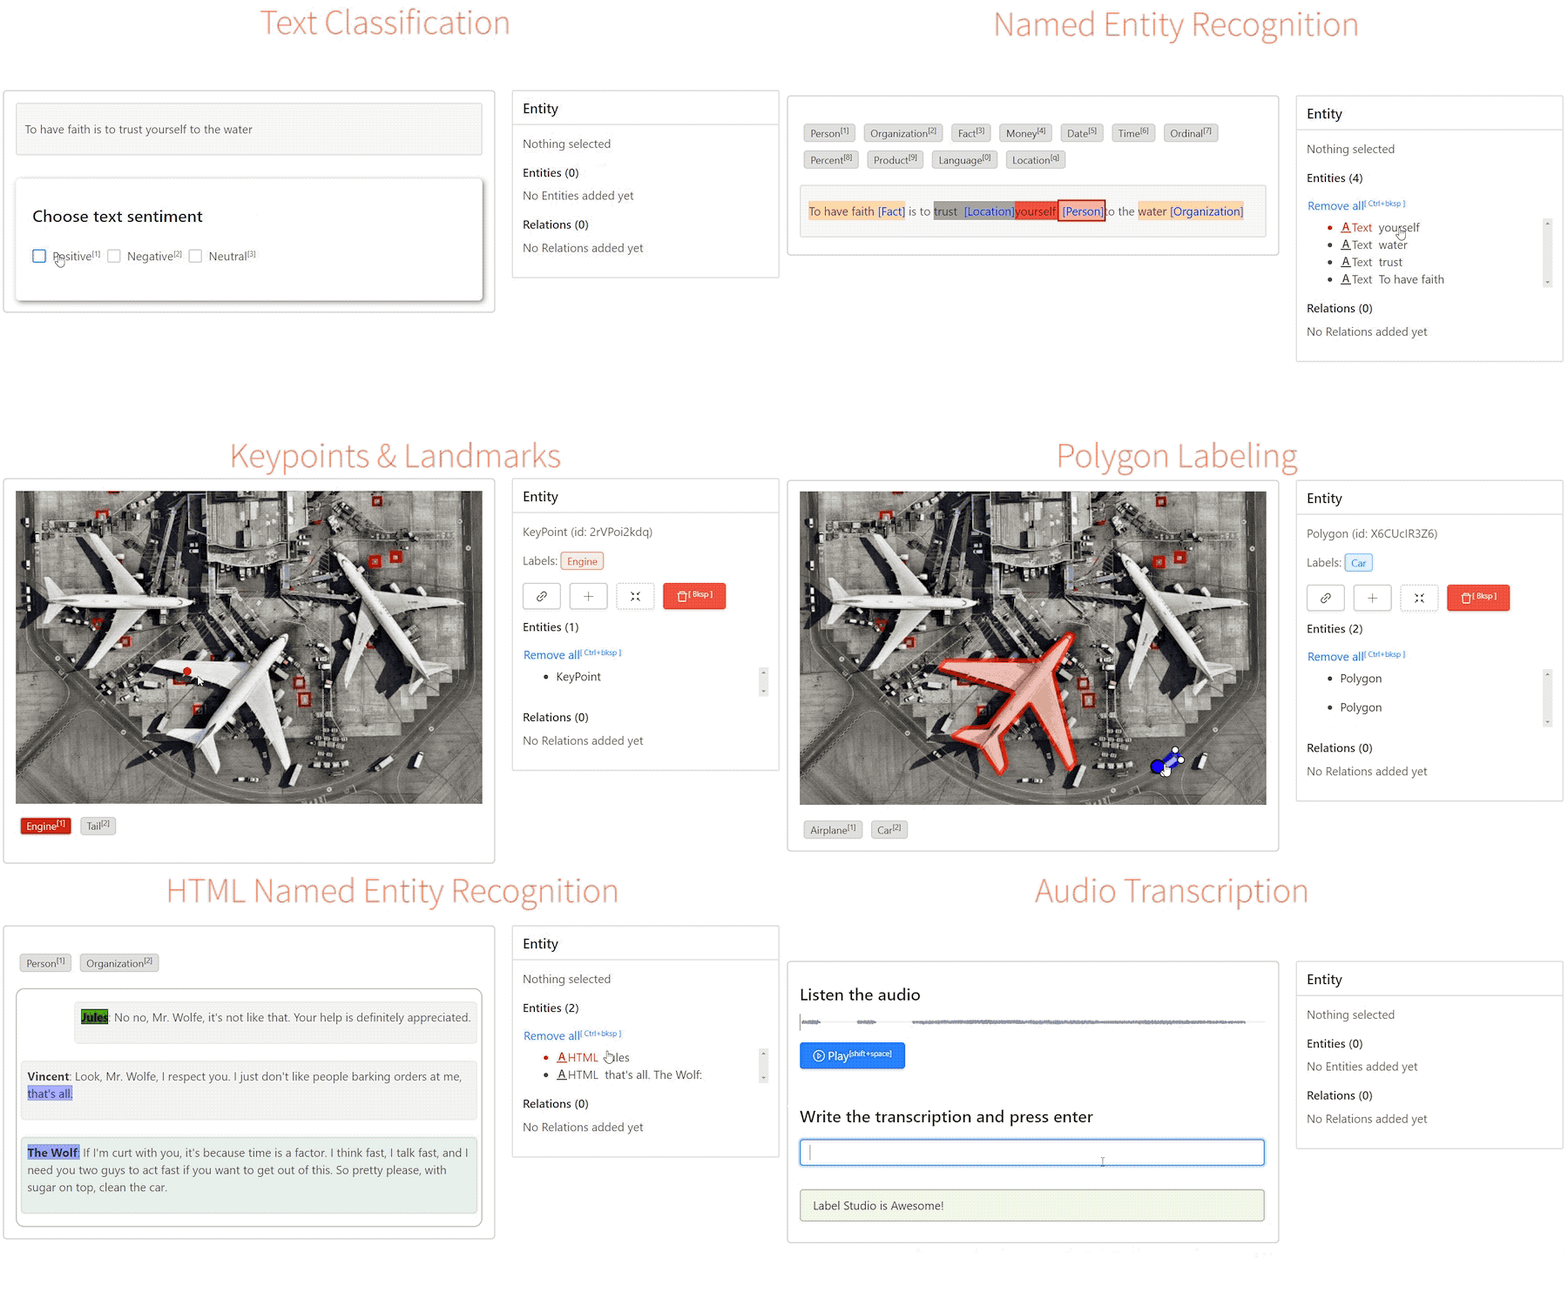
Label Studio is an open source data labeling tool. It lets you label data types like audio, text, images, videos, and time series with a simple and straightforward UI and export to various model formats. It can be used to prepare raw data or improve existing training data to get more accurate ML models.
- Try out Label Studio
- What you get from Label Studio
- Included templates for labeling data in Label Studio
- Set up machine learning models with Label Studio
- Integrate Label Studio with your existing tools
Have a custom dataset? You can customize Label Studio to fit your needs. Read an introductory blog post to learn more.
Install Label Studio locally, or deploy it in a cloud instance. Or, sign up for a free trial of our Enterprise edition..
- Install locally with Docker
- Run with Docker Compose (Label Studio + Nginx + PostgreSQL)
- Install locally with pip
- Install locally with Anaconda
- Install for local development
- Deploy in a cloud instance
Official Label Studio docker image is here and it can be downloaded with docker pull.
Run Label Studio in a Docker container and access it at http://localhost:8080.
docker pull heartexlabs/label-studio:latest
docker run -it -p 8080:8080 -v $(pwd)/mydata:/label-studio/data heartexlabs/label-studio:latest
You can find all the generated assets, including SQLite3 database storage label_studio.sqlite3 and uploaded files, in the ./mydata directory.
You can override the default launch command by appending the new arguments:
docker run -it -p 8080:8080 -v $(pwd)/mydata:/label-studio/data heartexlabs/label-studio:latest label-studio --log-level DEBUGIf you want to build a local image, run:
docker build -t heartexlabs/label-studio:latest .Docker Compose script provides production-ready stack consisting of the following components:
- Label Studio
- Nginx - proxy web server used to load various static data, including uploaded audio, images, etc.
- PostgreSQL - production-ready database that replaces less performant SQLite3.
To start using the app from http://localhost run this command:
docker-compose upYou can also run it with an additional MinIO server for local S3 storage. This is particularly useful when you want to test the behavior with S3 storage on your local system. To start Label Studio in this way, you need to run the following command:
# Add sudo on Linux if you are not a member of the docker group
docker compose -f docker-compose.yml -f docker-compose.minio.yml up -d
If you do not have a static IP address, you must create an entry in your hosts file so that both Label Studio and your browser can access the MinIO server. For more detailed instructions, please refer to our guide on storing data.
# Requires Python >=3.8
pip install label-studio

# Start the server at http://localhost:8080
label-studioconda create --name label-studio
conda activate label-studio
conda install psycopg2
pip install label-studioYou can run the latest Label Studio version locally without installing the package with pip.
# Install all package dependencies
pip install -e .
# Run database migrations
python label_studio/manage.py migrate
python label_studio/manage.py collectstatic
# Start the server in development mode at http://localhost:8080
python label_studio/manage.py runserverYou can deploy Label Studio with one click in Heroku, Microsoft Azure, or Google Cloud Platform:
The frontend part of Label Studio app lies in the frontend/ folder and written in React JSX. In case you've made some changes there, the following commands should be run before building / starting the instance:
cd label_studio/frontend/
yarn install --frozen-lockfile
npx webpack
cd ../..
python label_studio/manage.py collectstatic --no-input
If you see any errors during installation, try to rerun the installation
pip install --ignore-installed label-studioTo run Label Studio on Windows, download and install the following wheel packages from Gohlke builds to ensure you're using the correct version of Python:
# Upgrade pip
pip install -U pip

# If you're running Win64 with Python 3.8, install the packages downloaded from Gohlke:
pip install lxml‑4.5.0‑cp38‑cp38‑win_amd64.whl

# Install label studio
pip install label-studioTo add the tests' dependencies to your local install:
pip install -r deploy/requirements-test.txtAlternatively, it is possible to run the unit tests from a Docker container in which the test dependencies are installed:
make build-testing-image
make docker-testing-shell
In either case, to run the unit tests:
cd label_studio

# sqlite3
DJANGO_DB=sqlite DJANGO_SETTINGS_MODULE=core.settings.label_studio pytest -vv

# postgres (assumes default postgres user,db,pass. Will not work in Docker
# testing container without additional configuration)
DJANGO_DB=default DJANGO_SETTINGS_MODULE=core.settings.label_studio pytest -vv- Multi-user labeling sign up and login, when you create an annotation it's tied to your account.
- Multiple projects to work on all your datasets in one instance.
- Streamlined design helps you focus on your task, not how to use the software.
- Configurable label formats let you customize the visual interface to meet your specific labeling needs.
- Support for multiple data types including images, audio, text, HTML, time-series, and video.
- Import from files or from cloud storage in Amazon AWS S3, Google Cloud Storage, or JSON, CSV, TSV, RAR, and ZIP archives.
- Integration with machine learning models so that you can visualize and compare predictions from different models and perform pre-labeling.
- Embed it in your data pipeline REST API makes it easy to make it a part of your pipeline
Label Studio includes a variety of templates to help you label your data, or you can create your own using specifically designed configuration language. The most common templates and use cases for labeling include the following cases:
Connect your favorite machine learning model using the Label Studio Machine Learning SDK. Follow these steps:
- Start your own machine learning backend server. See more detailed instructions.
- Connect Label Studio to the server on the model page found in project settings.
This lets you:
- Pre-label your data using model predictions.
- Do online learning and retrain your model while new annotations are being created.
- Do active learning by labeling only the most complex examples in your data.
You can use Label Studio as an independent part of your machine learning workflow or integrate the frontend or backend into your existing tools.
- Use the Label Studio Frontend as a separate React library. See more in the Frontend Library documentation.
| Project | Description |
|---|---|
| label-studio | Server, distributed as a pip package |
| label-studio-frontend | React and JavaScript frontend and can run standalone in a web browser or be embedded into your application. |
| data-manager | React and JavaScript frontend for managing data. Includes the Label Studio Frontend. Relies on the label-studio server or a custom backend with the expected API methods. |
| label-studio-converter | Encode labels in the format of your favorite machine learning library |
| label-studio-transformers | Transformers library connected and configured for use with Label Studio |
Want to use The Coolest Feature X but Label Studio doesn't support it? Check out our public roadmap!
@misc{Label Studio,
  title={{Label Studio}: Data labeling software},
  url={https://github.com/heartexlabs/label-studio},
  note={Open source software available from https://github.com/heartexlabs/label-studio},
  author={
    Maxim Tkachenko and
    Mikhail Malyuk and
    Andrey Holmanyuk and
    Nikolai Liubimov},
  year={2020-2022},
}This software is licensed under the Apache 2.0 LICENSE © Heartex. 2020-2022


