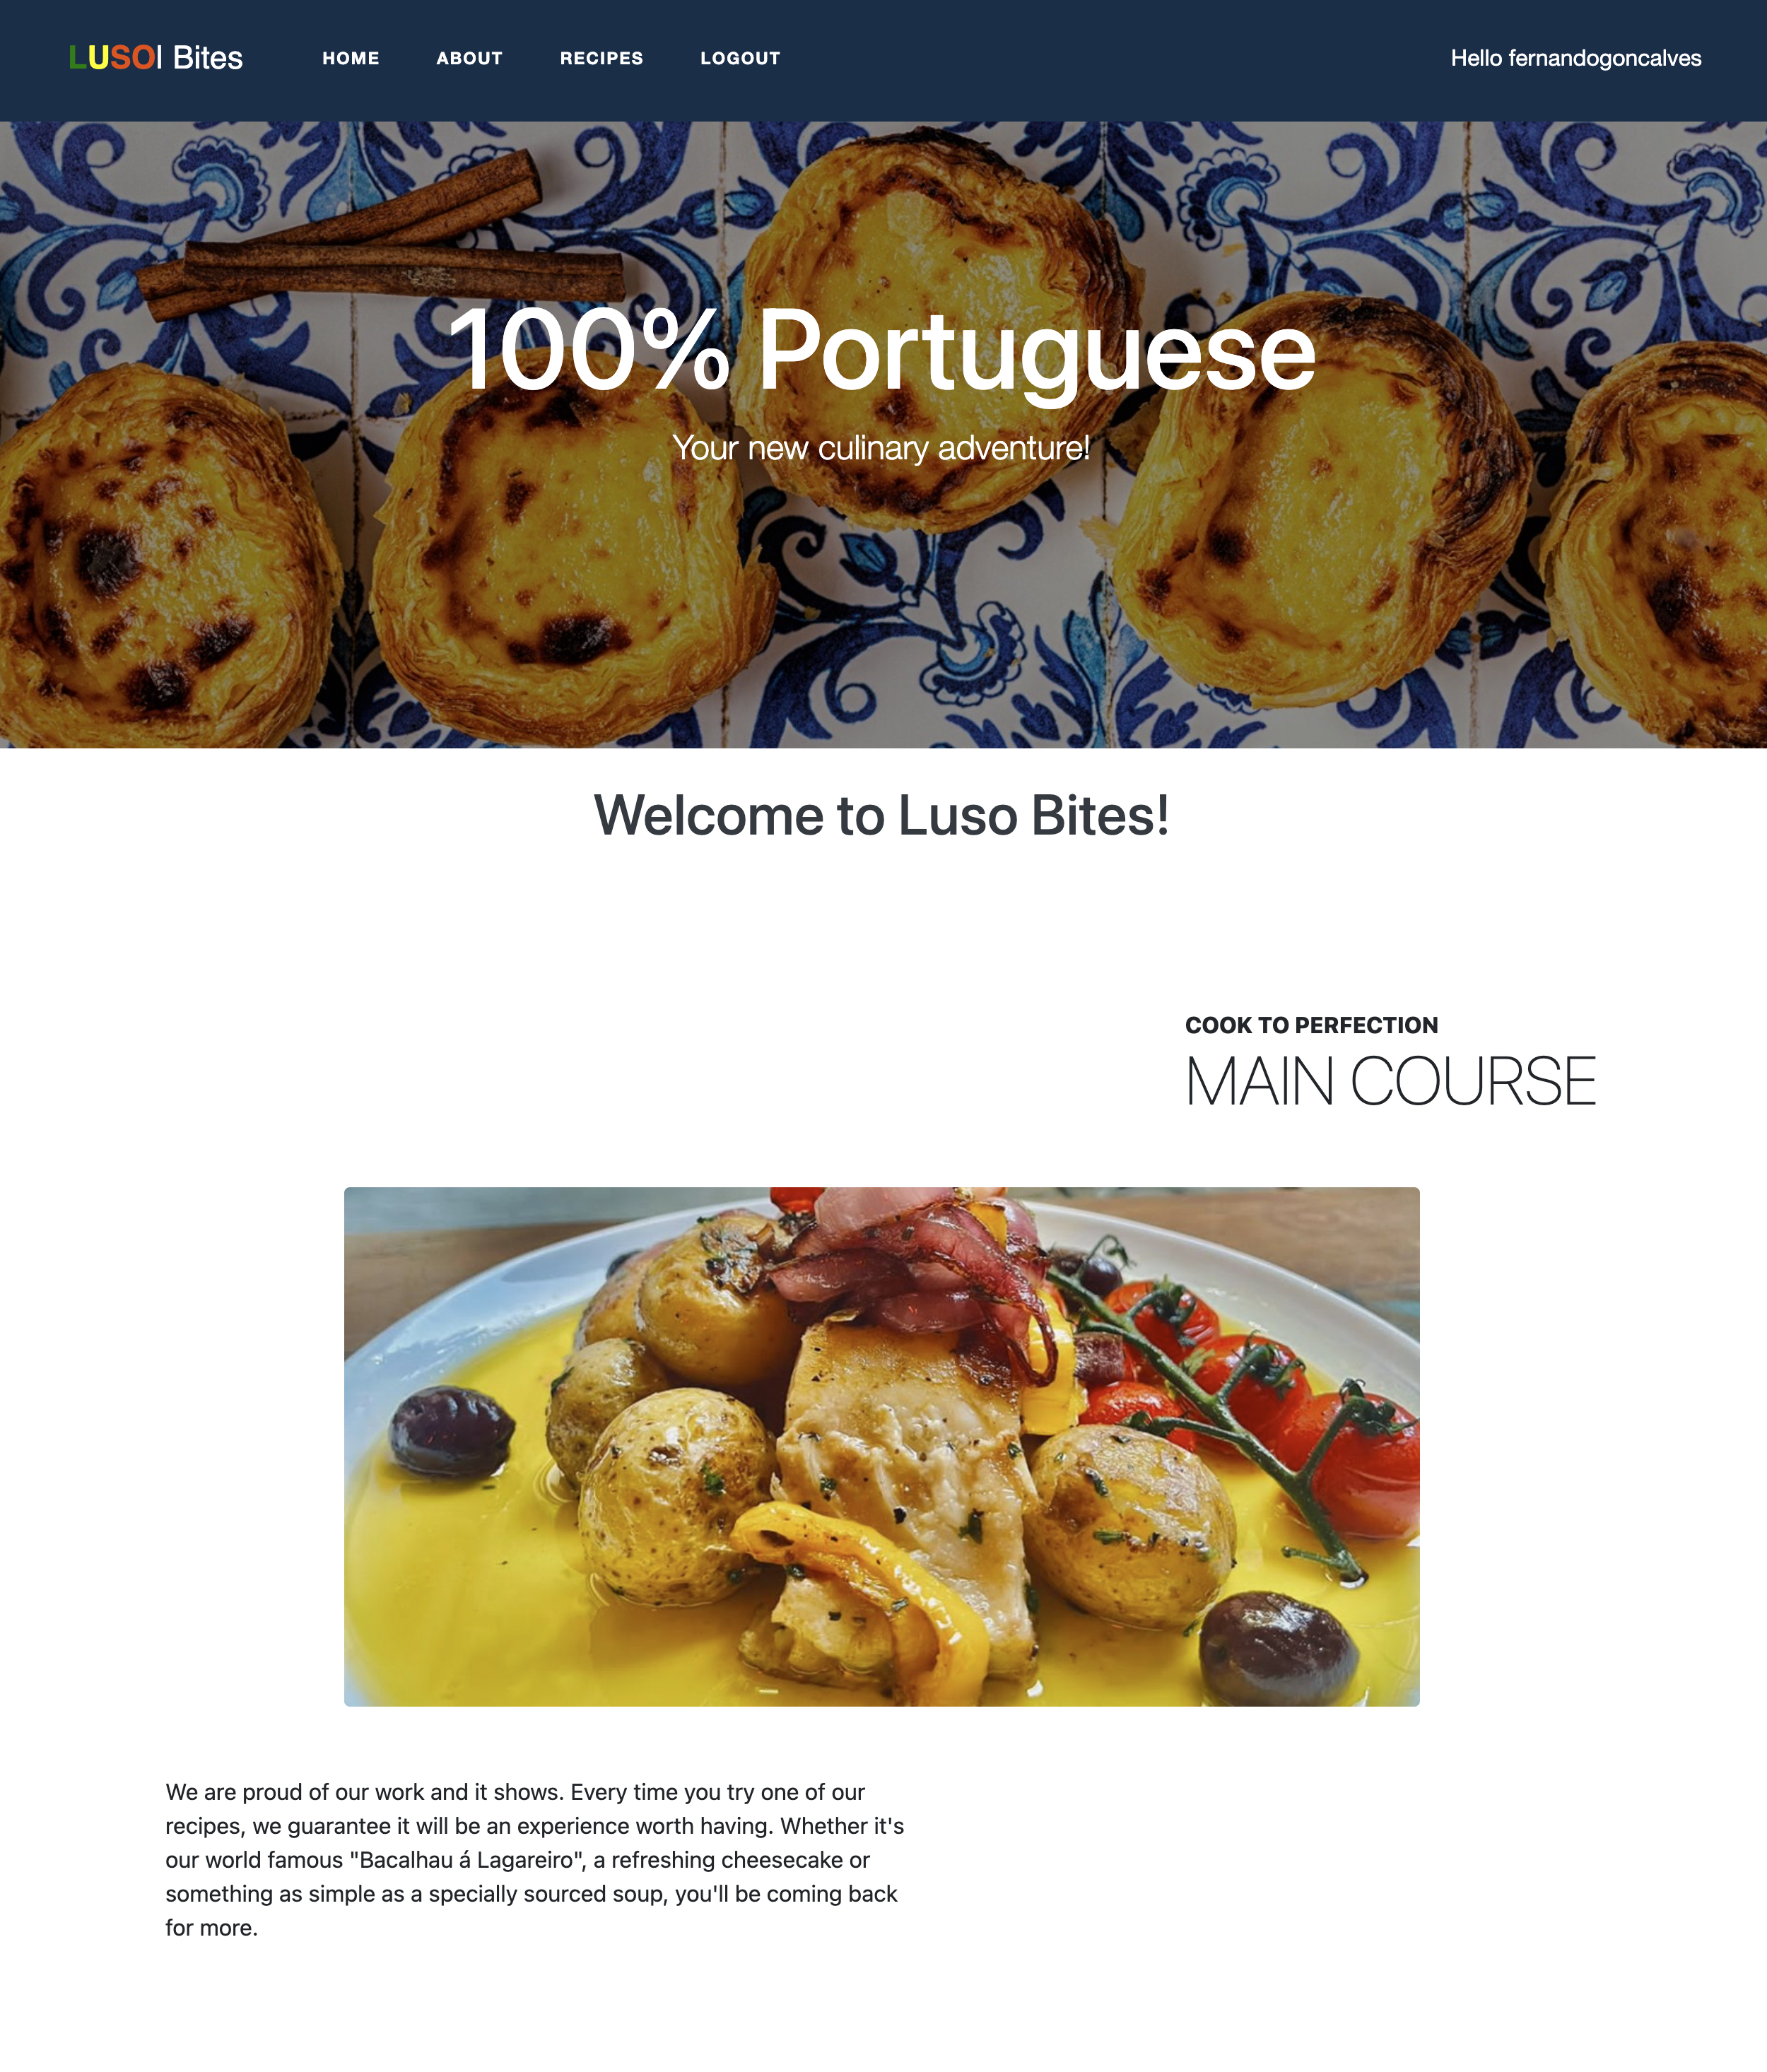
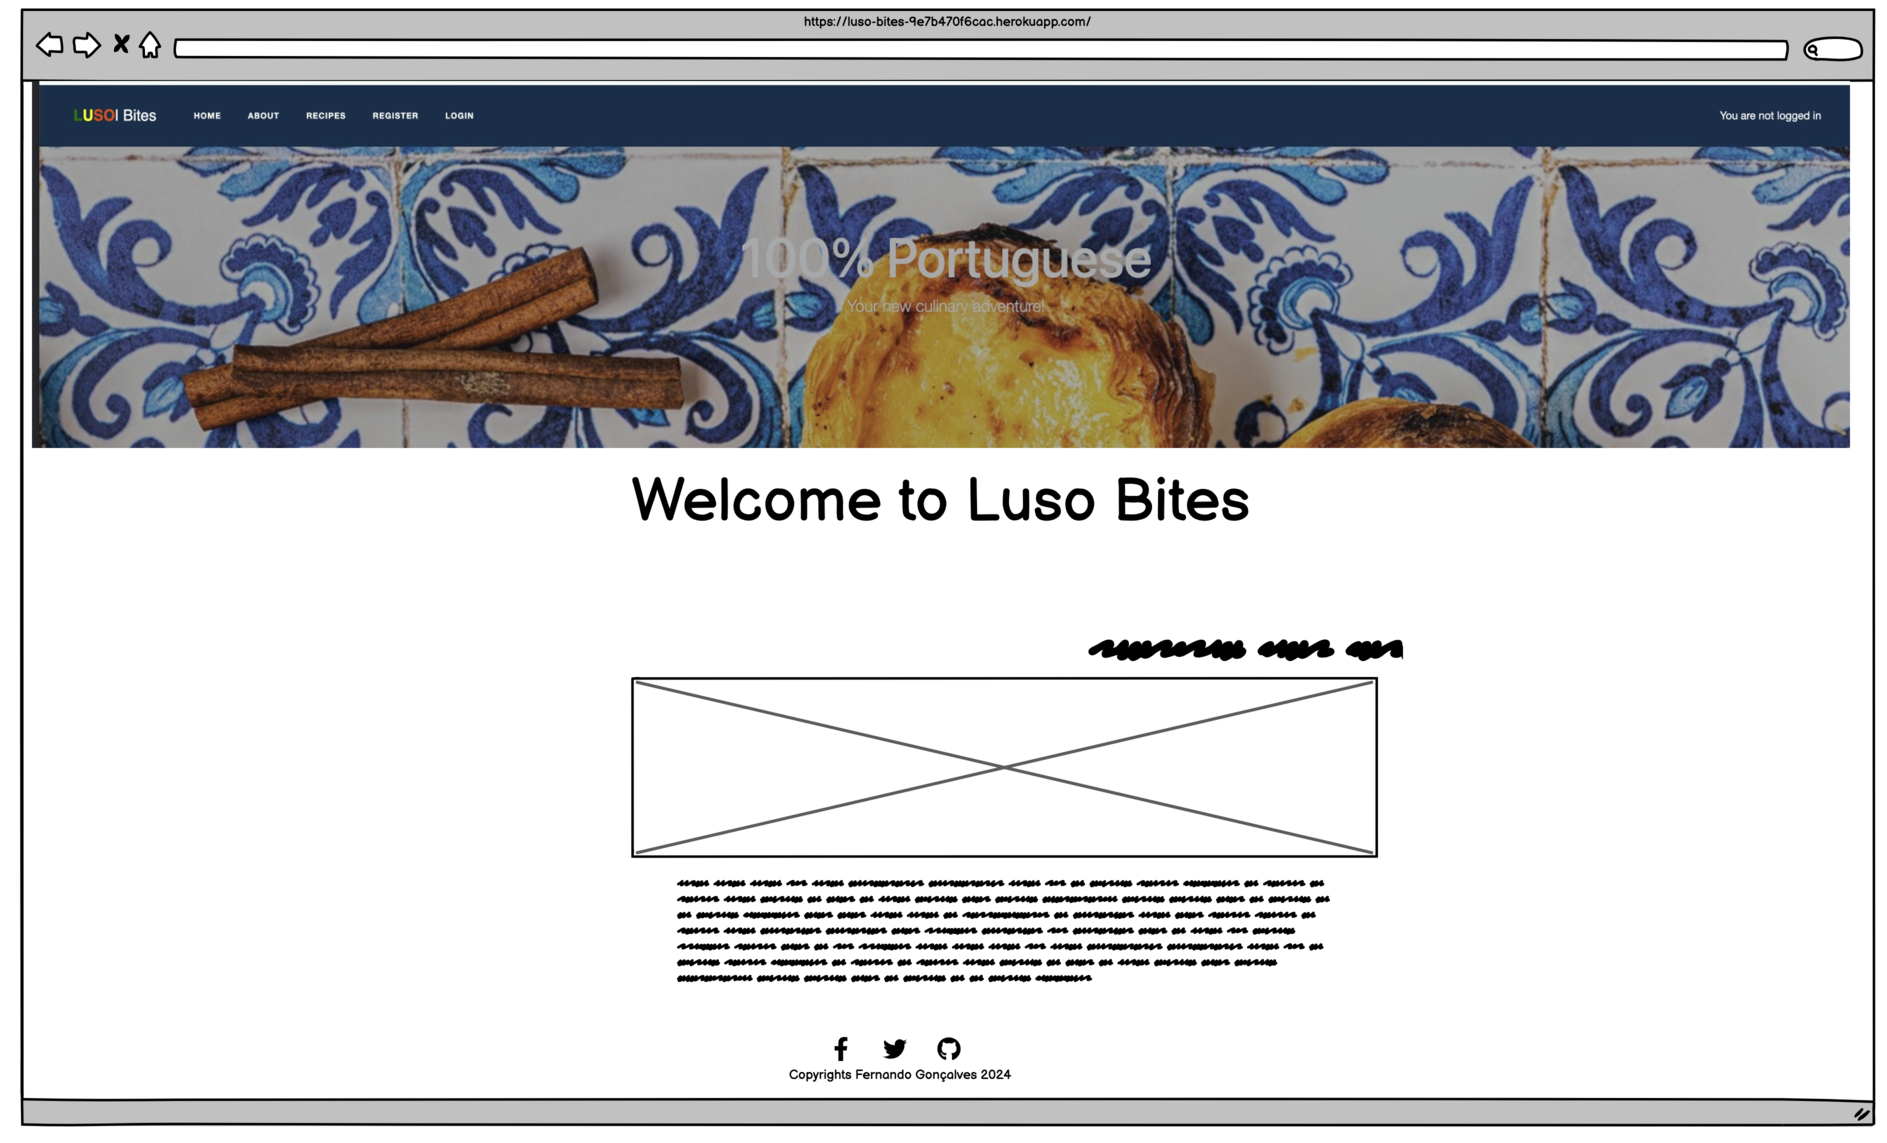
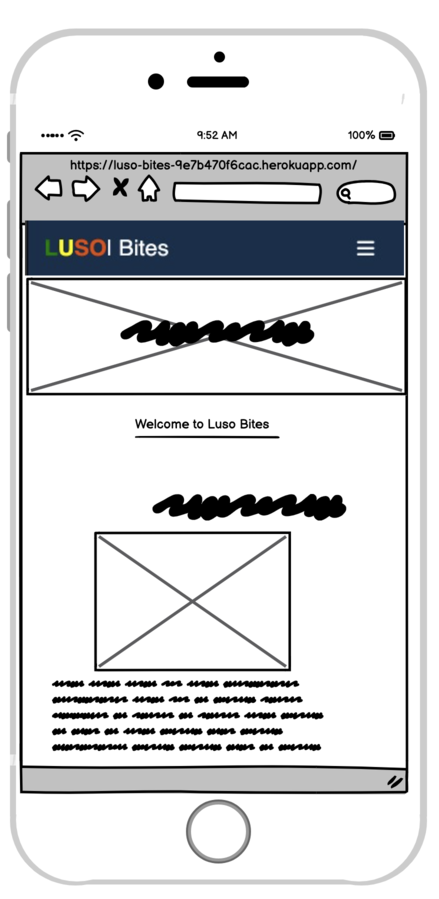
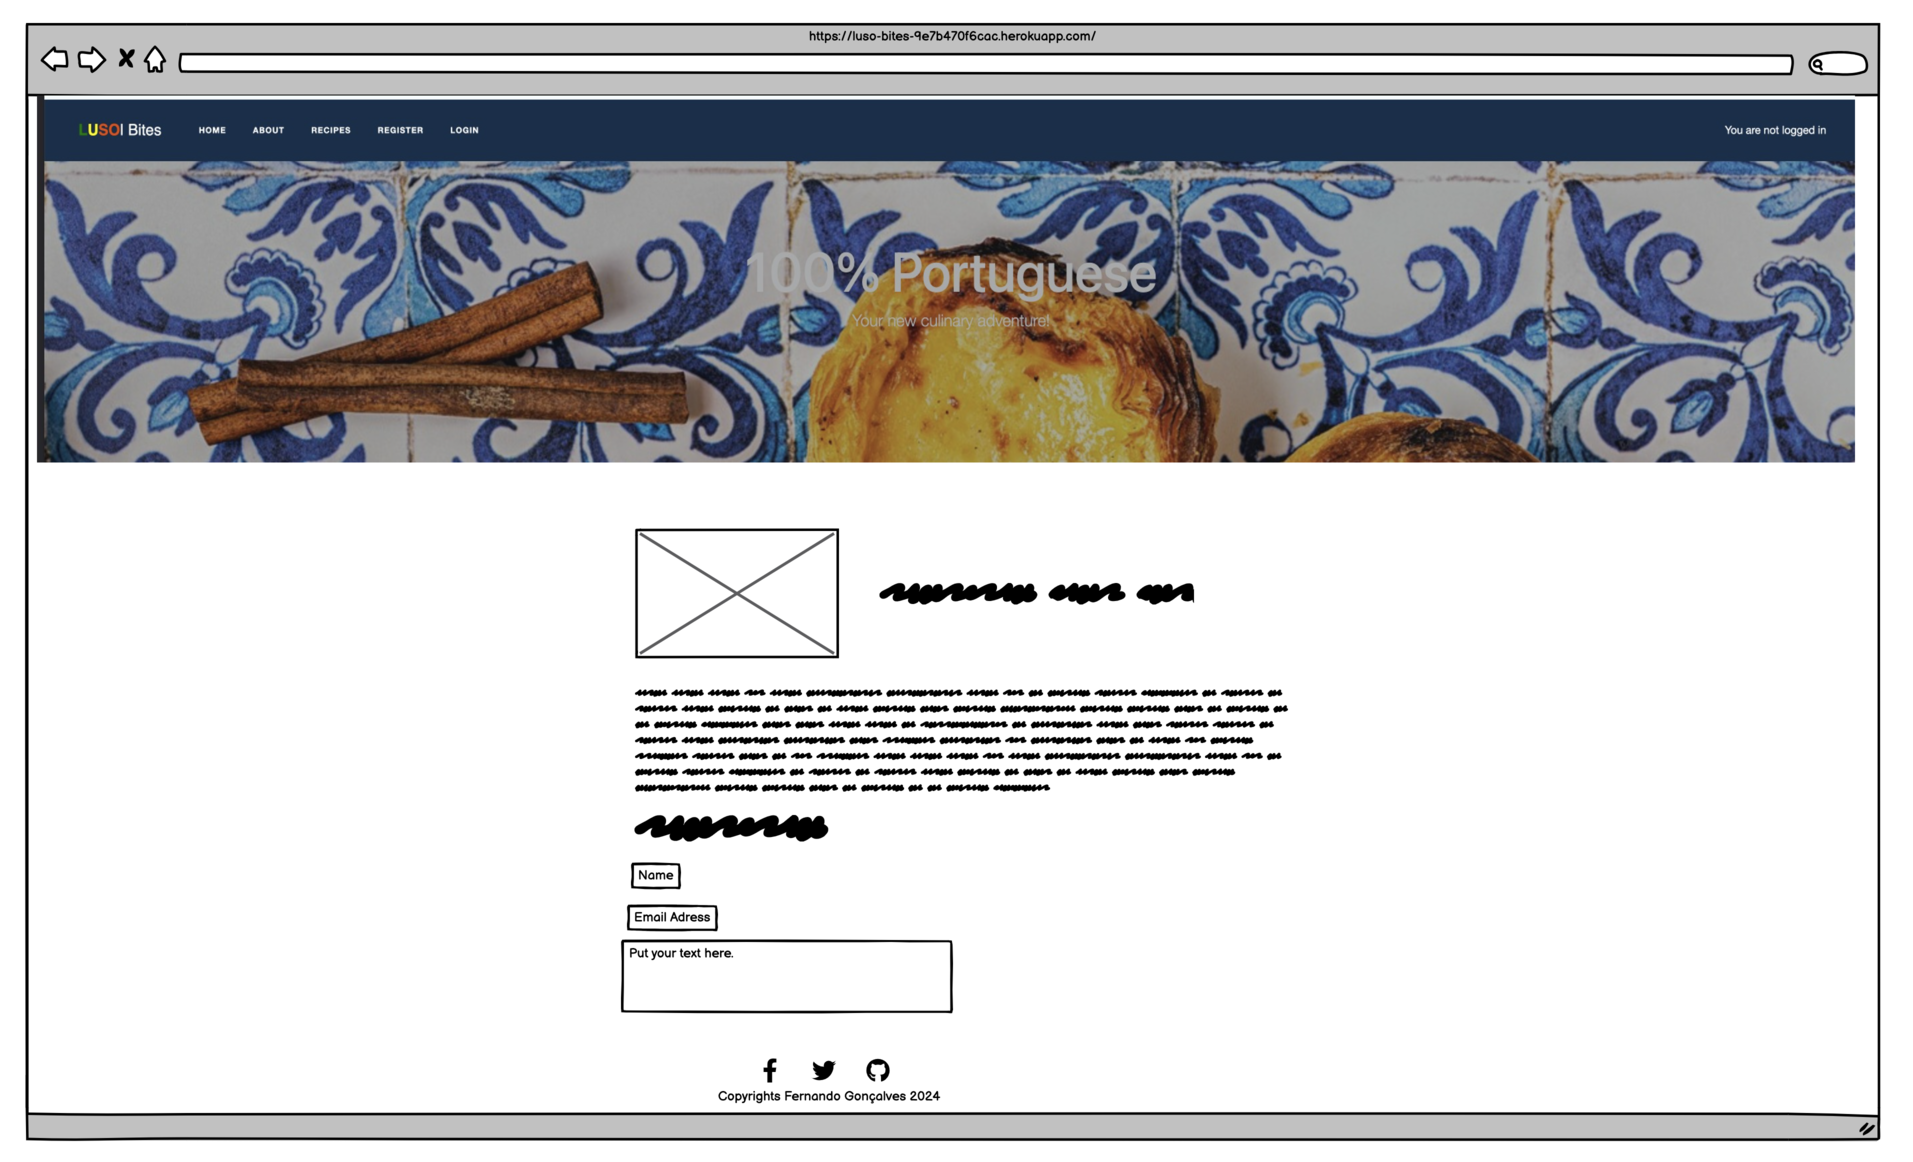
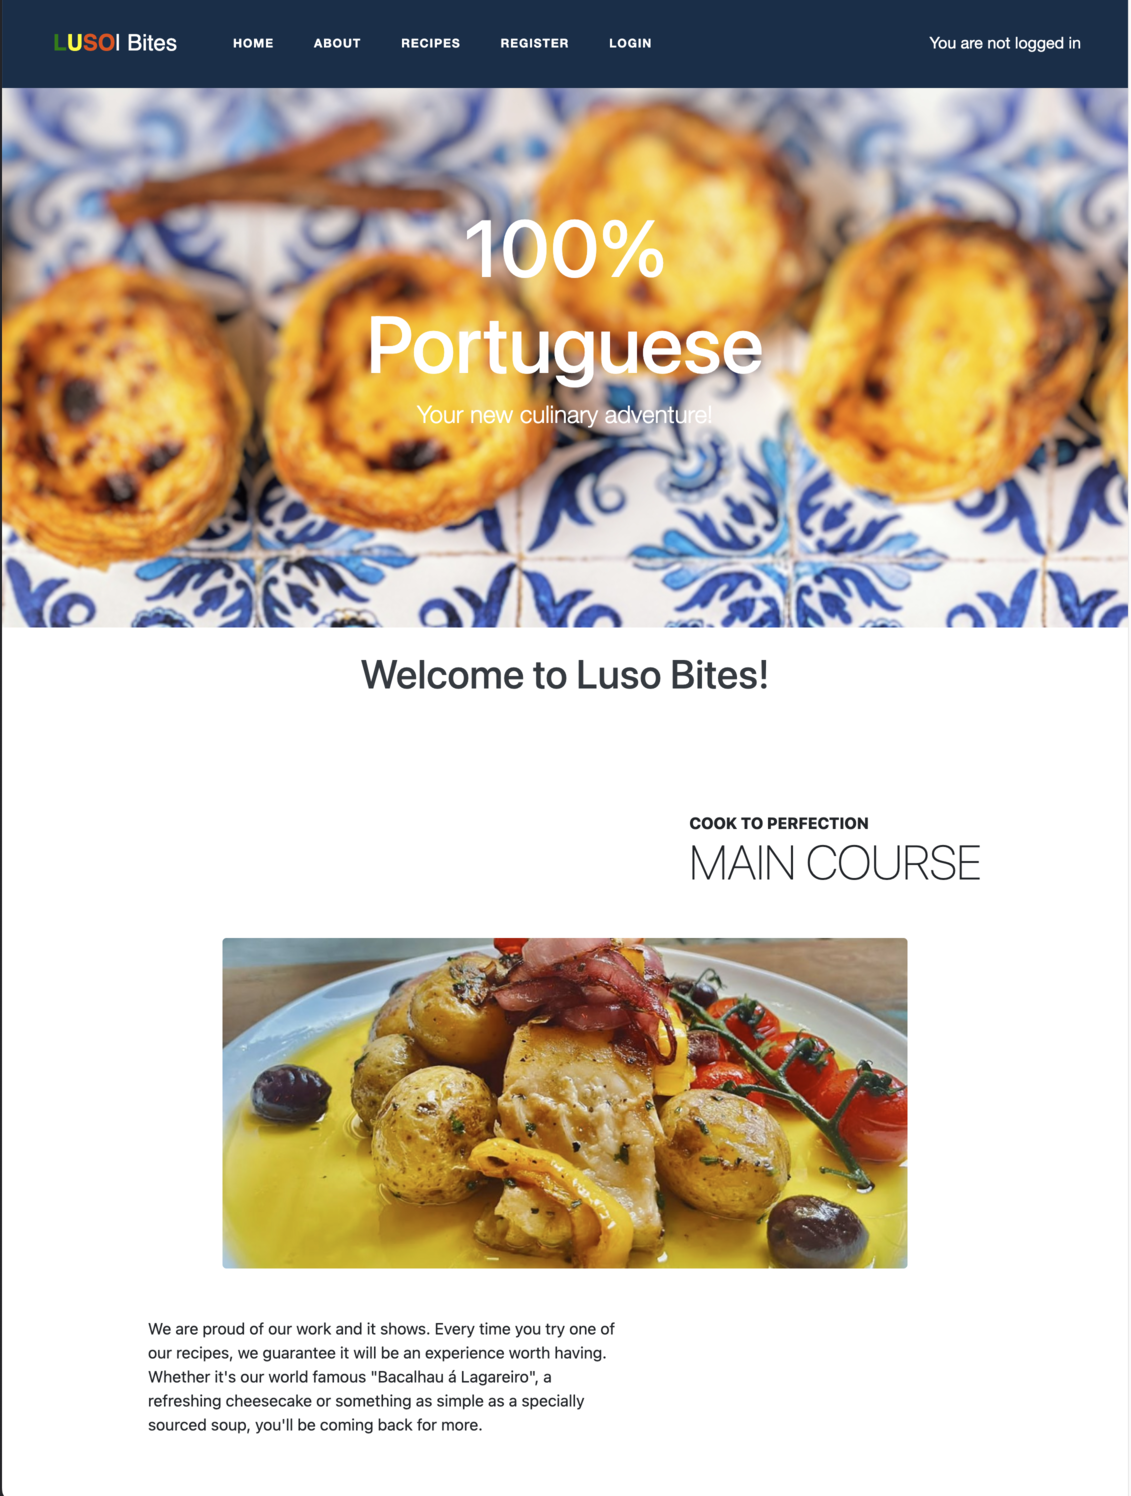
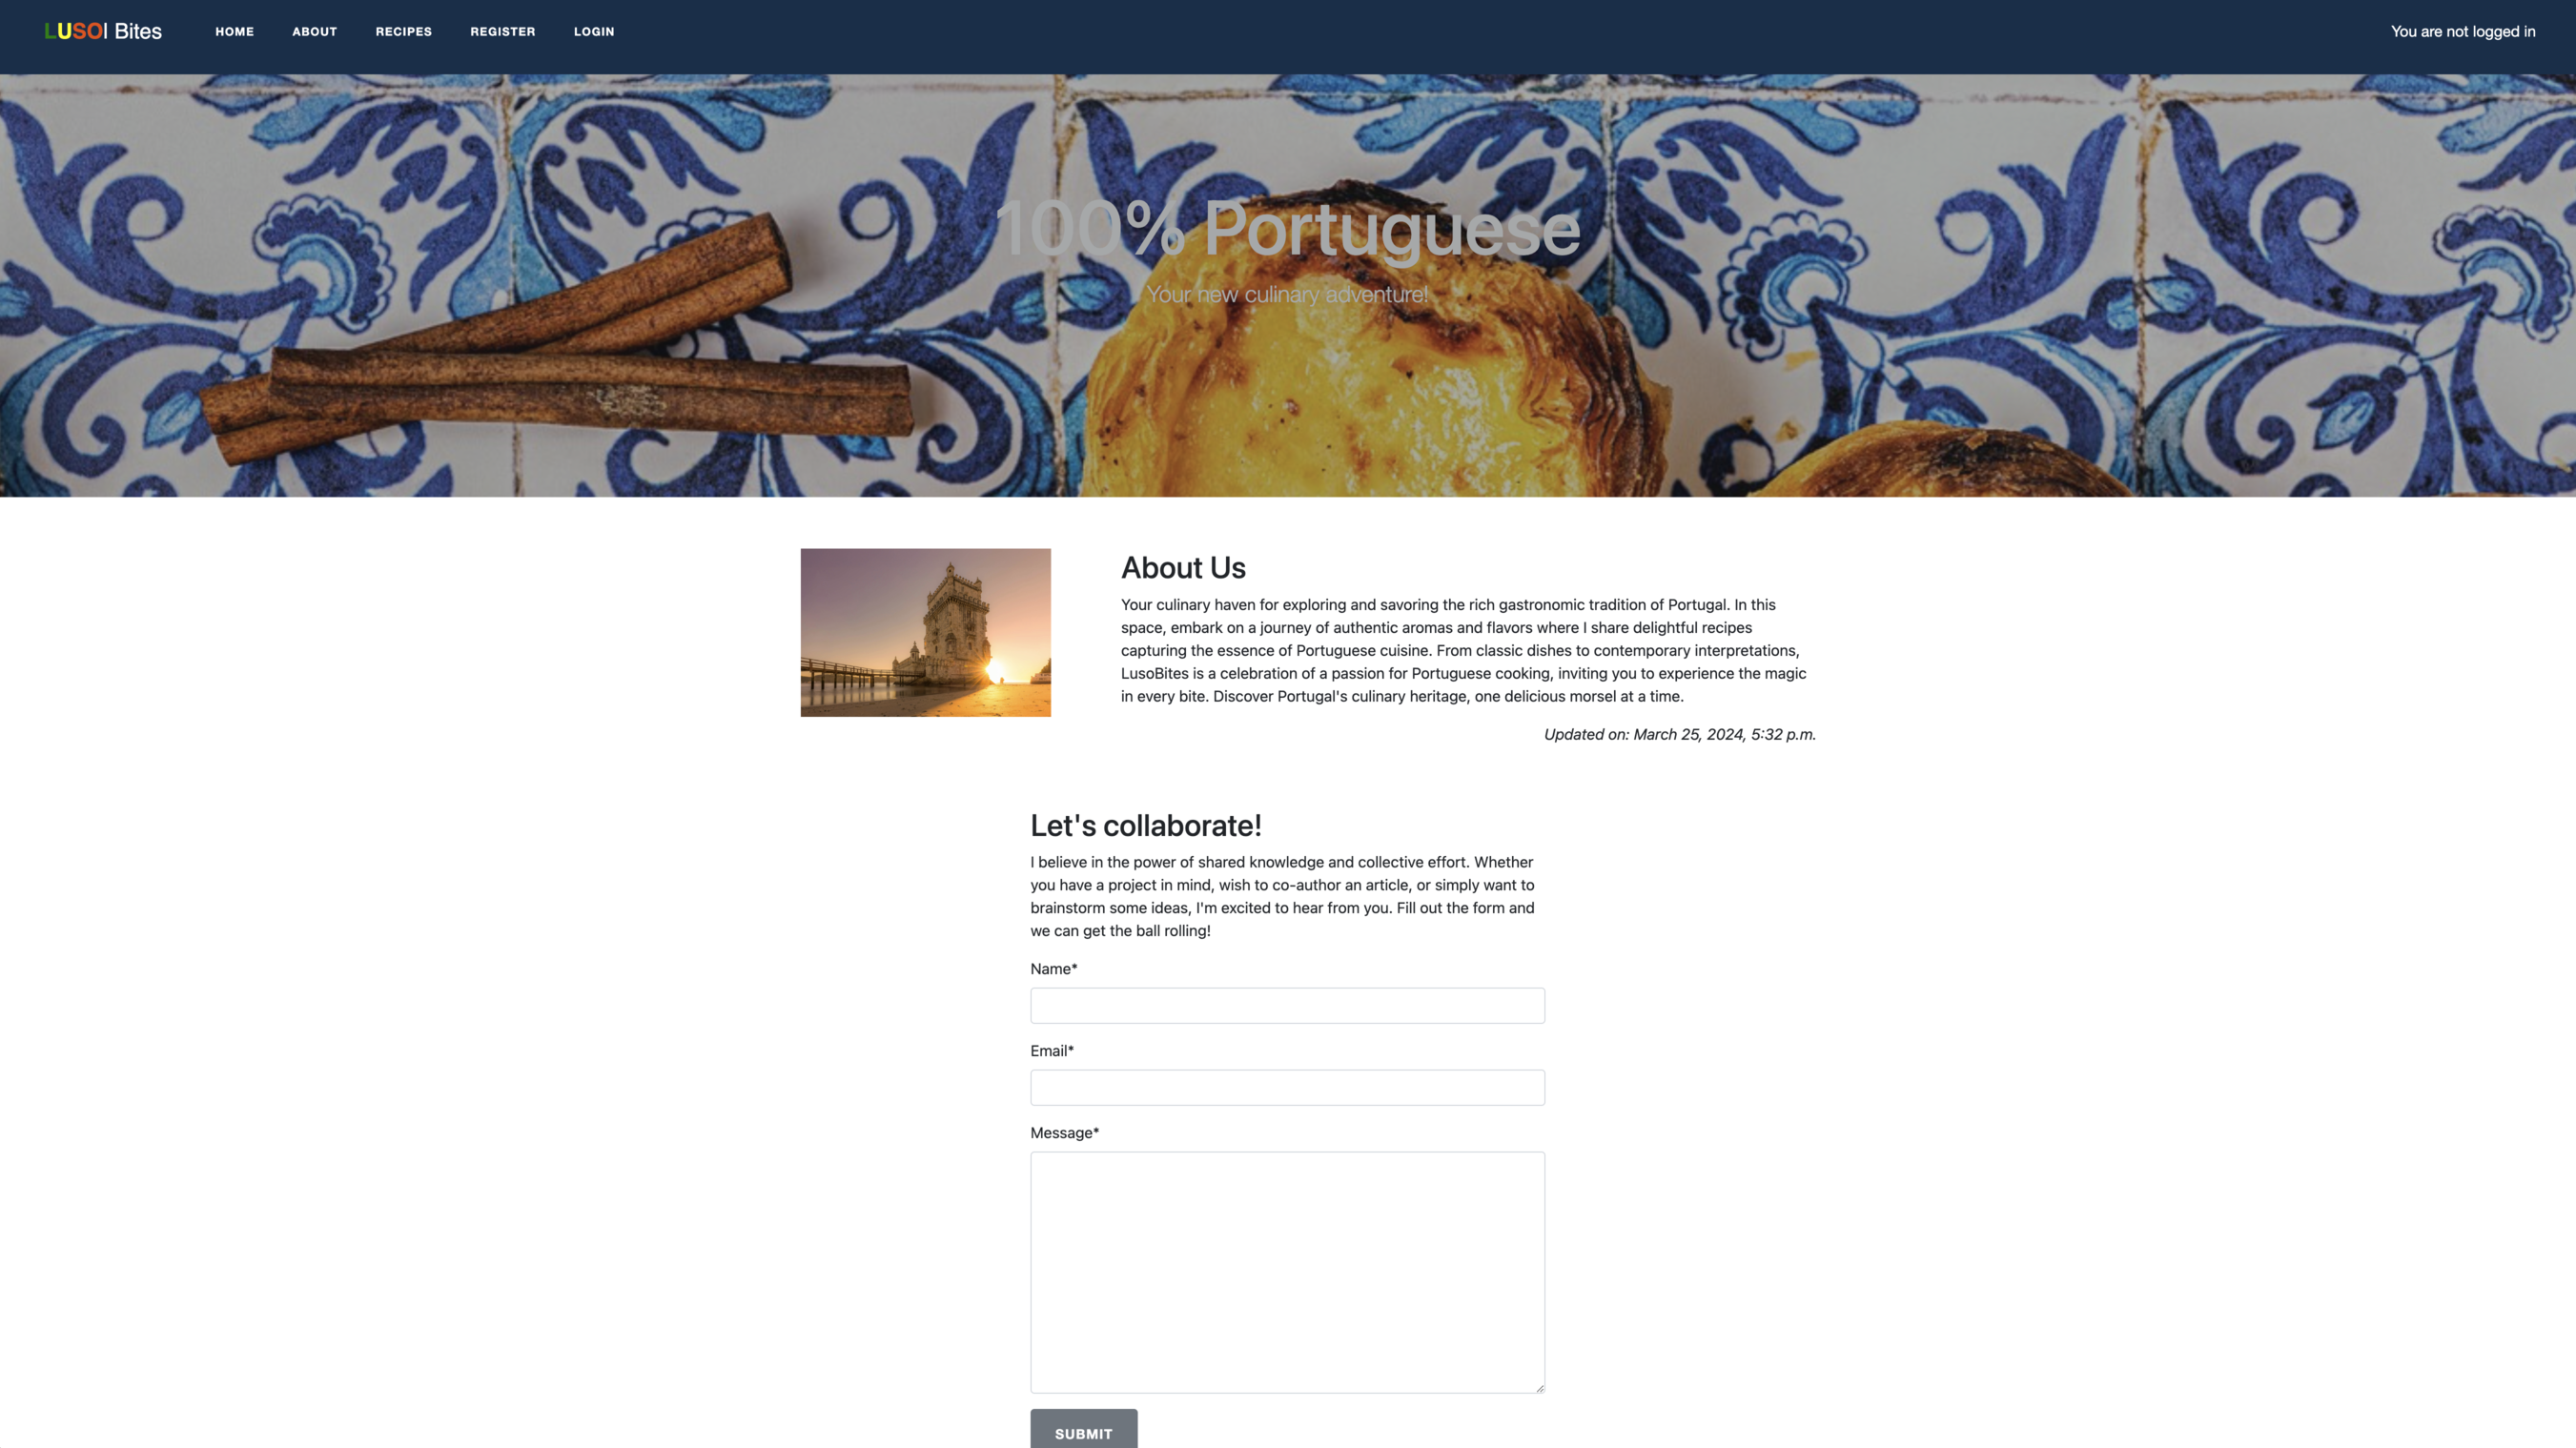
Your culinary haven for exploring and savoring the rich gastronomic tradition of Portugal. In this space, embark on a journey of authentic aromas and flavors where I share delightful recipes capturing the essence of Portuguese cuisine. From classic dishes to contemporary interpretations, LusoBites is a celebration of a passion for Portuguese cooking, inviting you to experience the magic in every bite. Discover Portugal's culinary heritage, one delicious morsel at a time.
Live Blog- LUSO Bites
- Welcome Luso Bites,
A visitor to our blog can be an amateur in the kitchen or even a professional to increase their knowledge of Portuguese cuisine. They are eager to expand and enrich their recipe collection or simply share them with others.
Given that the core of my platform is centered on the world of Portuguese cuisine, I opted for an immaculate white background, accompanied by green details (thus representing the vivid color of nature), and reds (thus representing Portugal).
The web app has no fixed images. All the images is uploaded.
The main font used for the body is the elegant Orienta font. The logo, recipes titles and footer feature the Sigmar font.
To handle the development process using an agile approach, we use GitHub projects. You can check the project board here for reference.
Each User Story is called a title and has its own points to reach so that point can be said to be closed. It is assigned to a person responsible for developing it. And with the labels so that we can focus on the most important points first in the project and then move on to the less important ones.
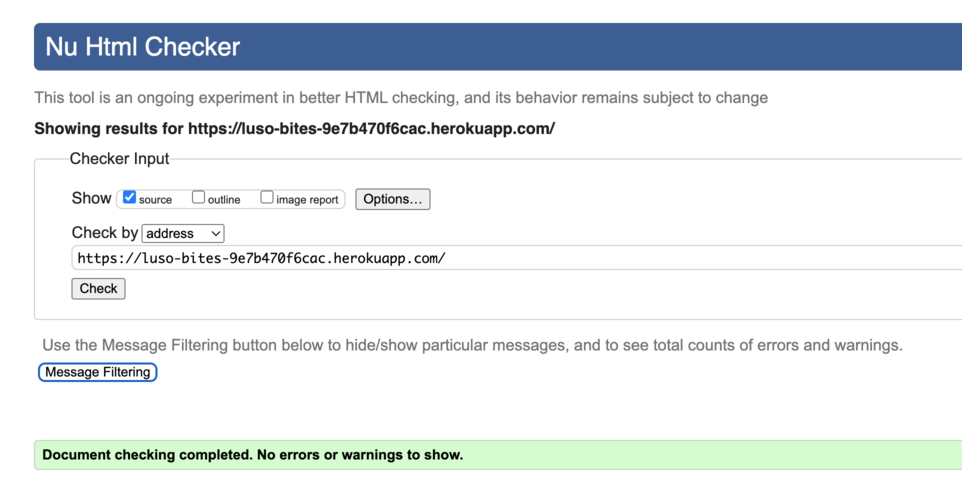
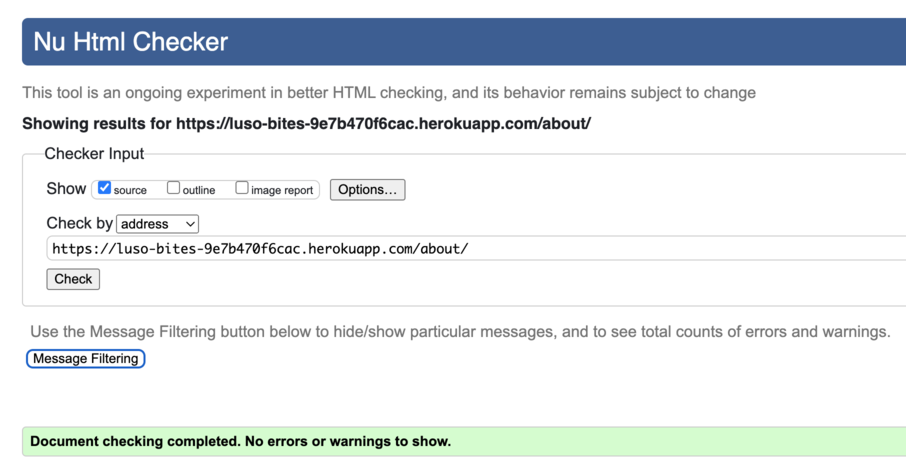
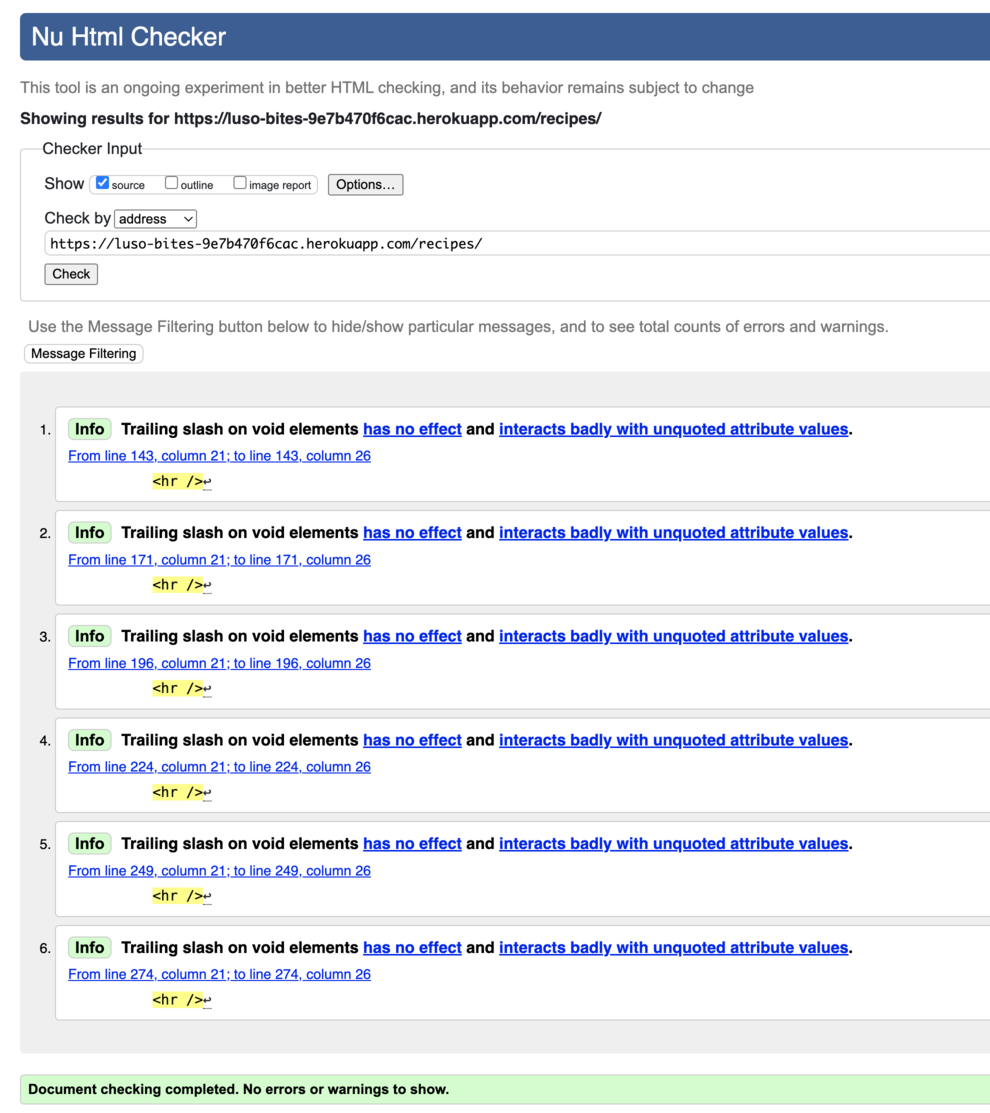
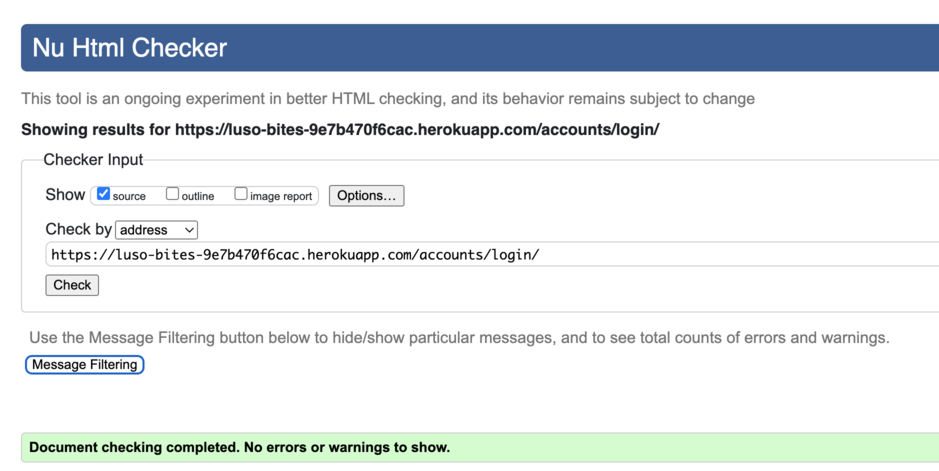
All HTML pages were run through the W3C HTML Validator.
Recipe Update
No errors were found when passing the CSS file through the W3C CSS Validator.
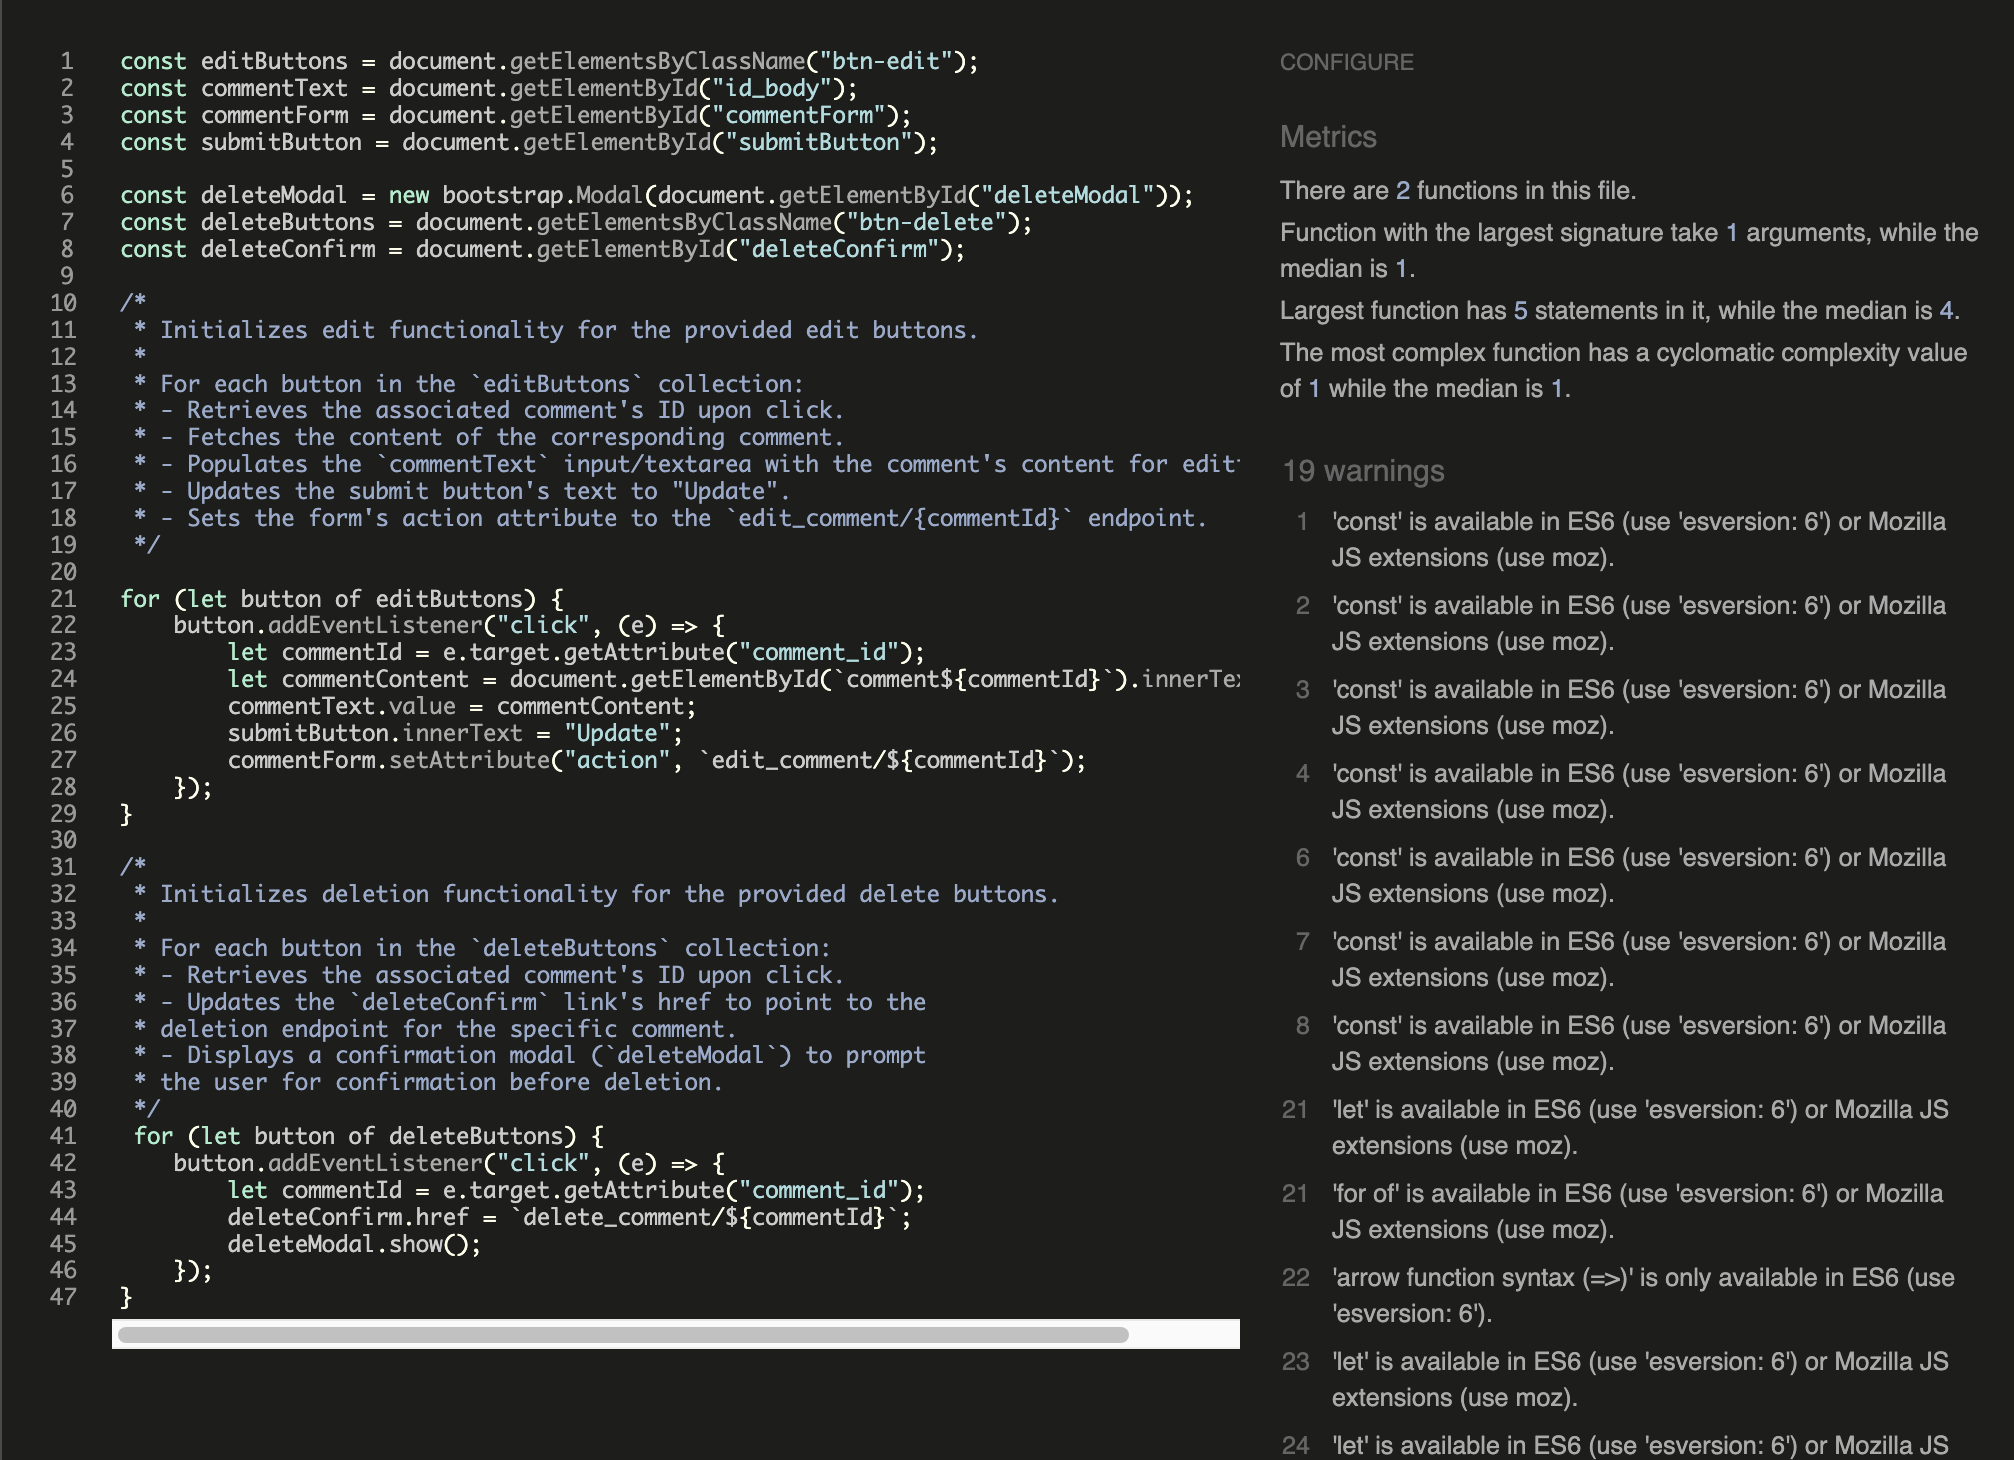
No errors were found when passing through Jshint.
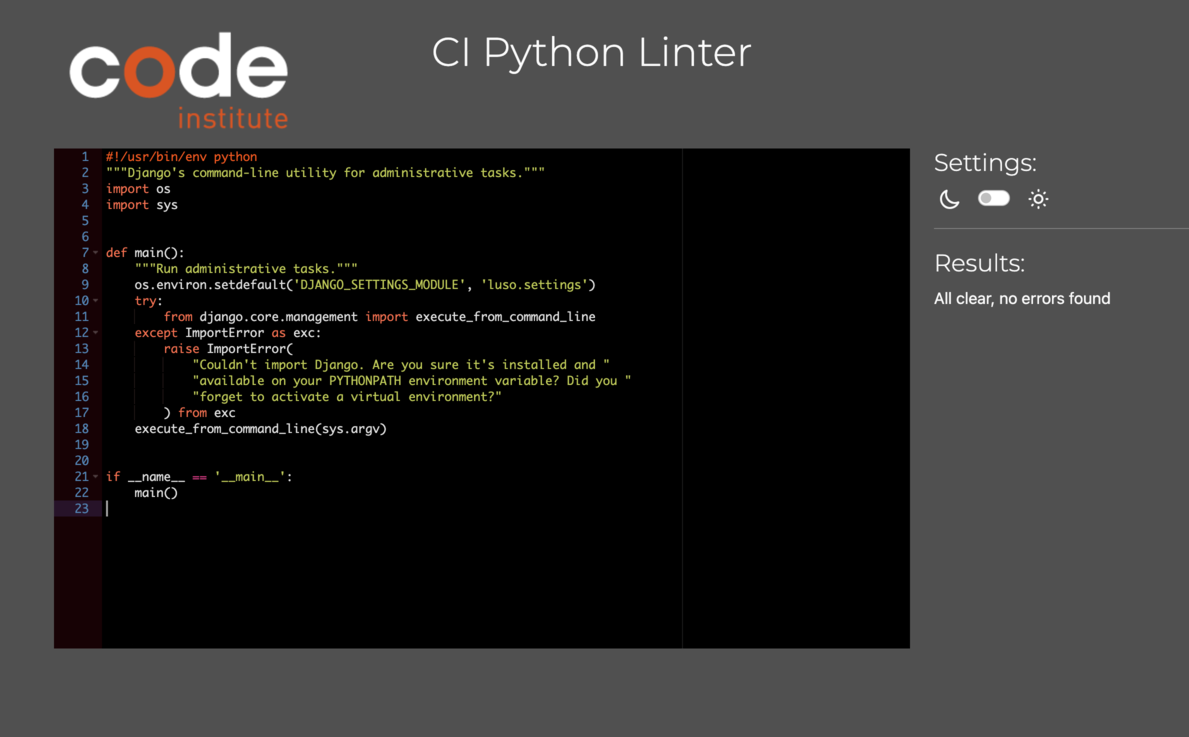
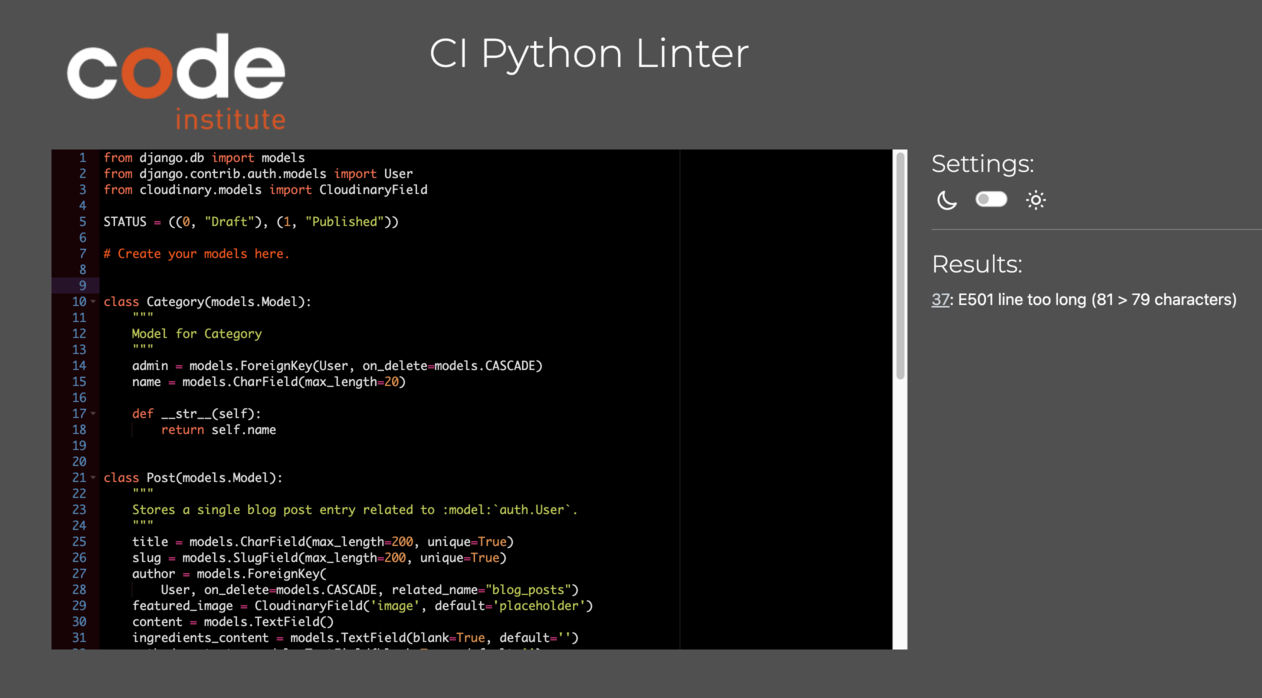
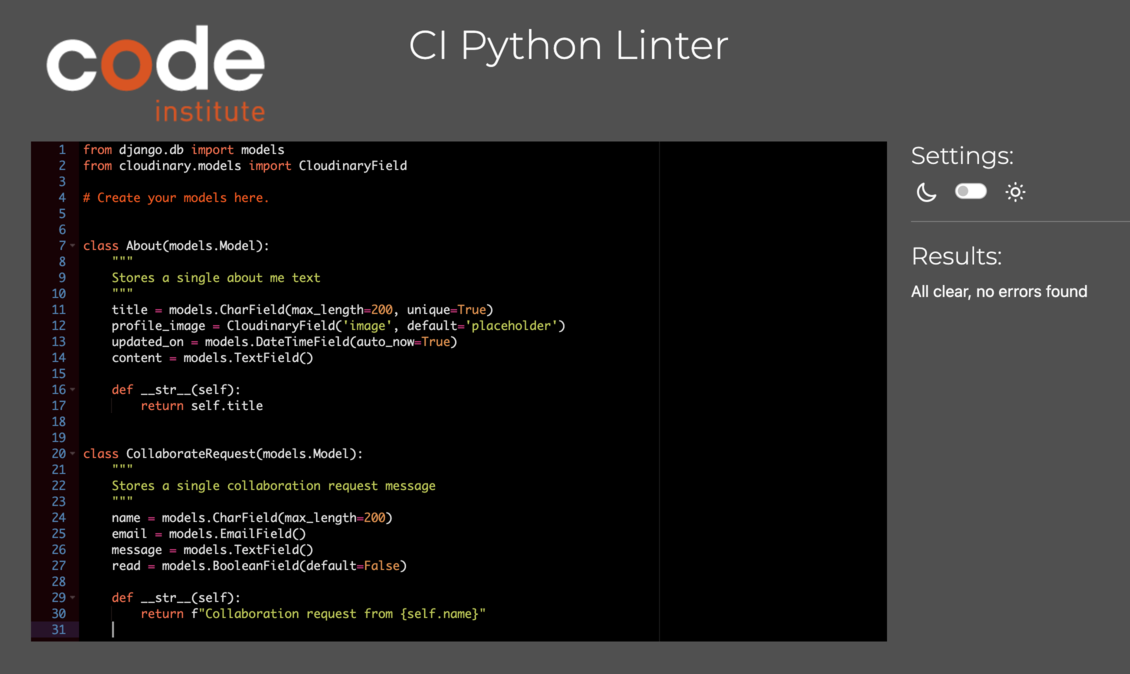
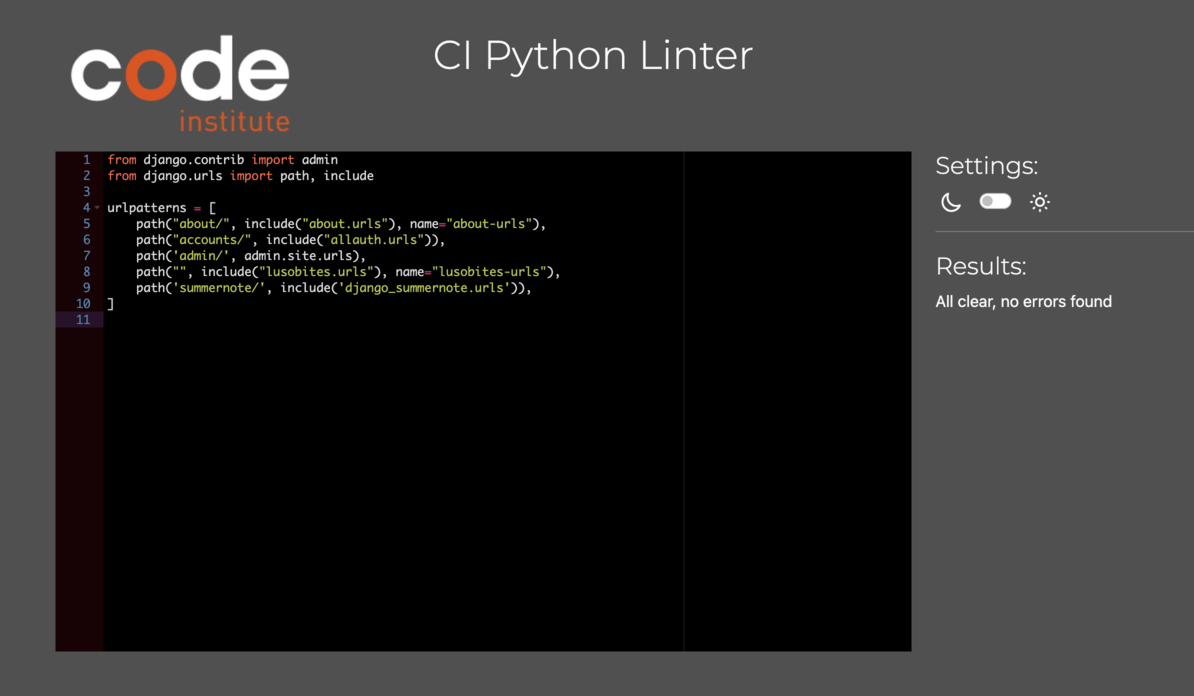
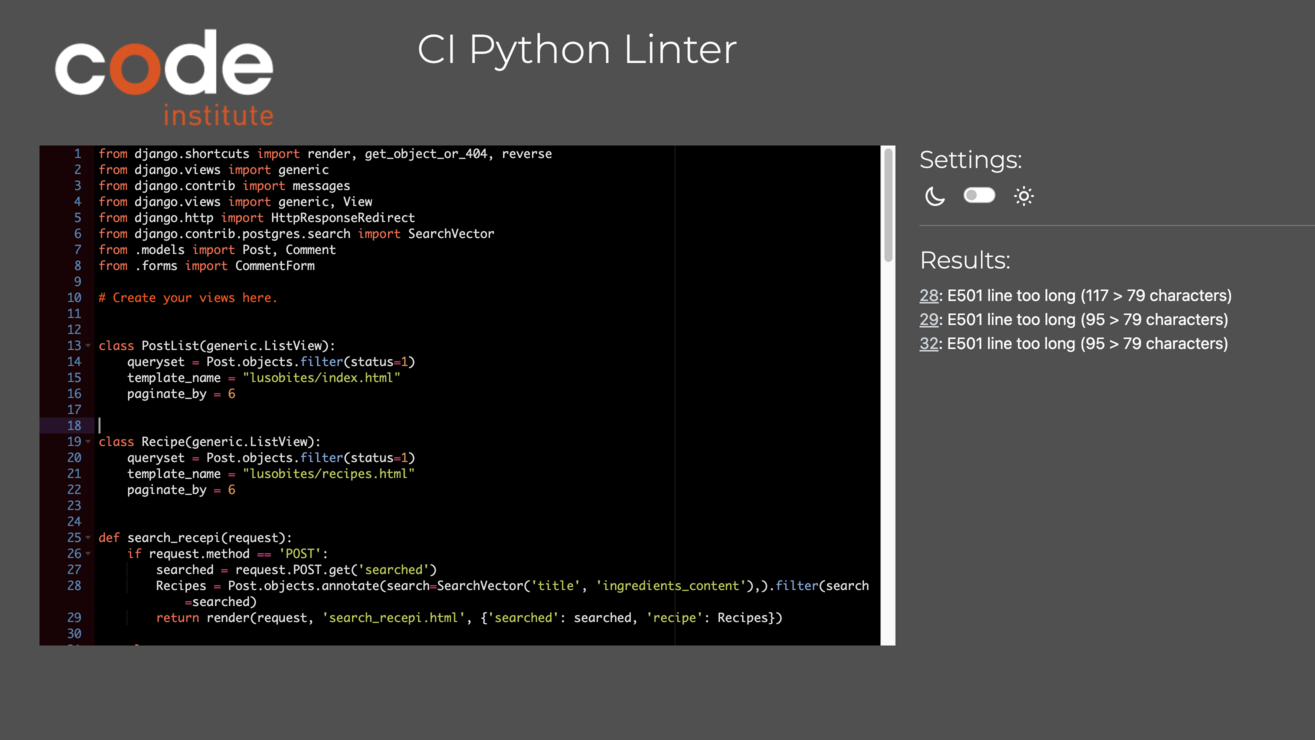
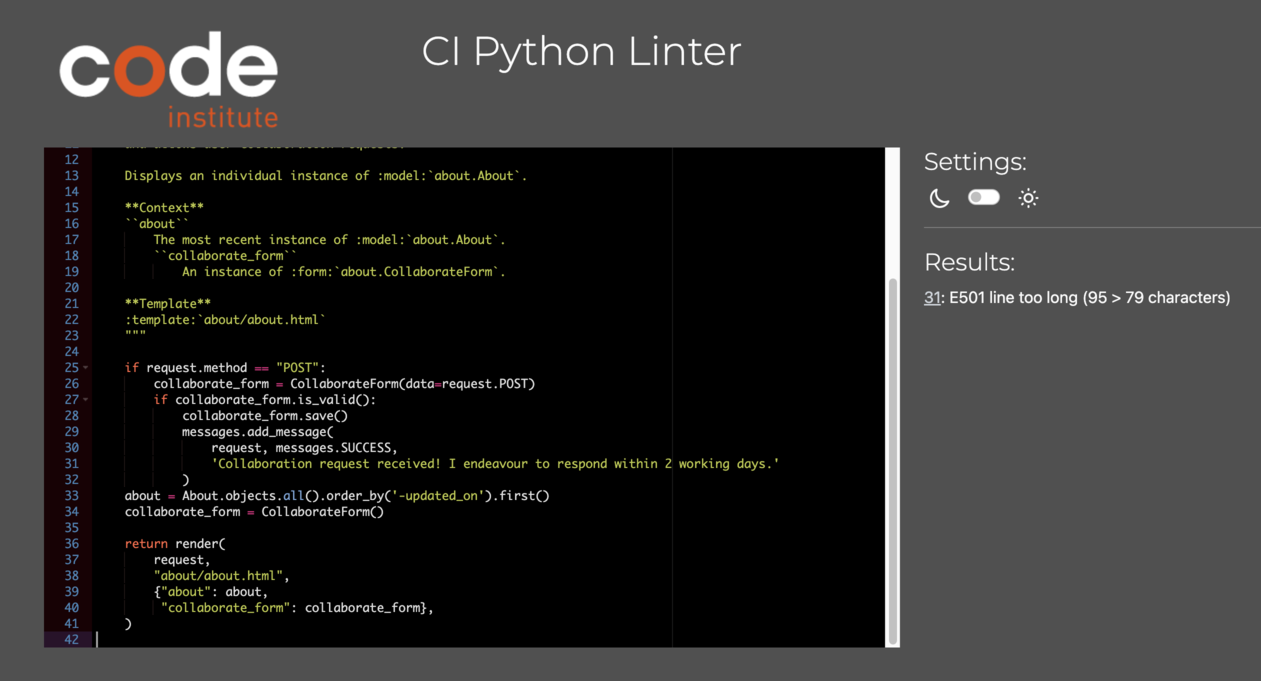
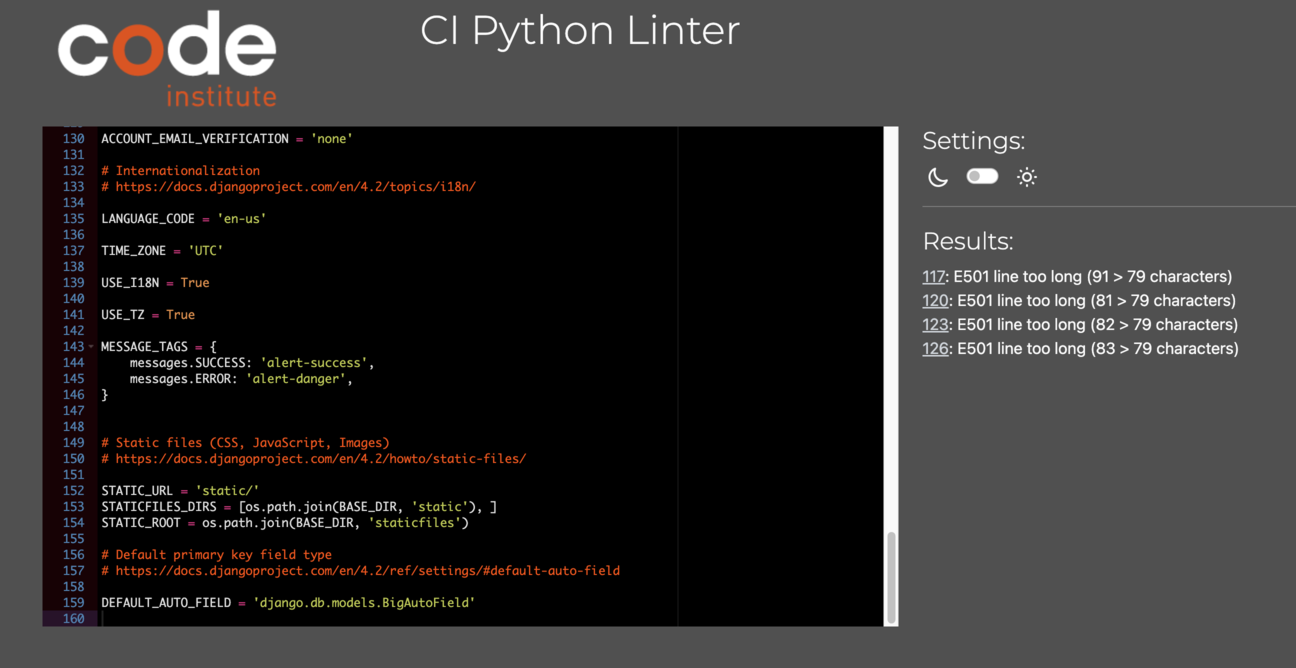
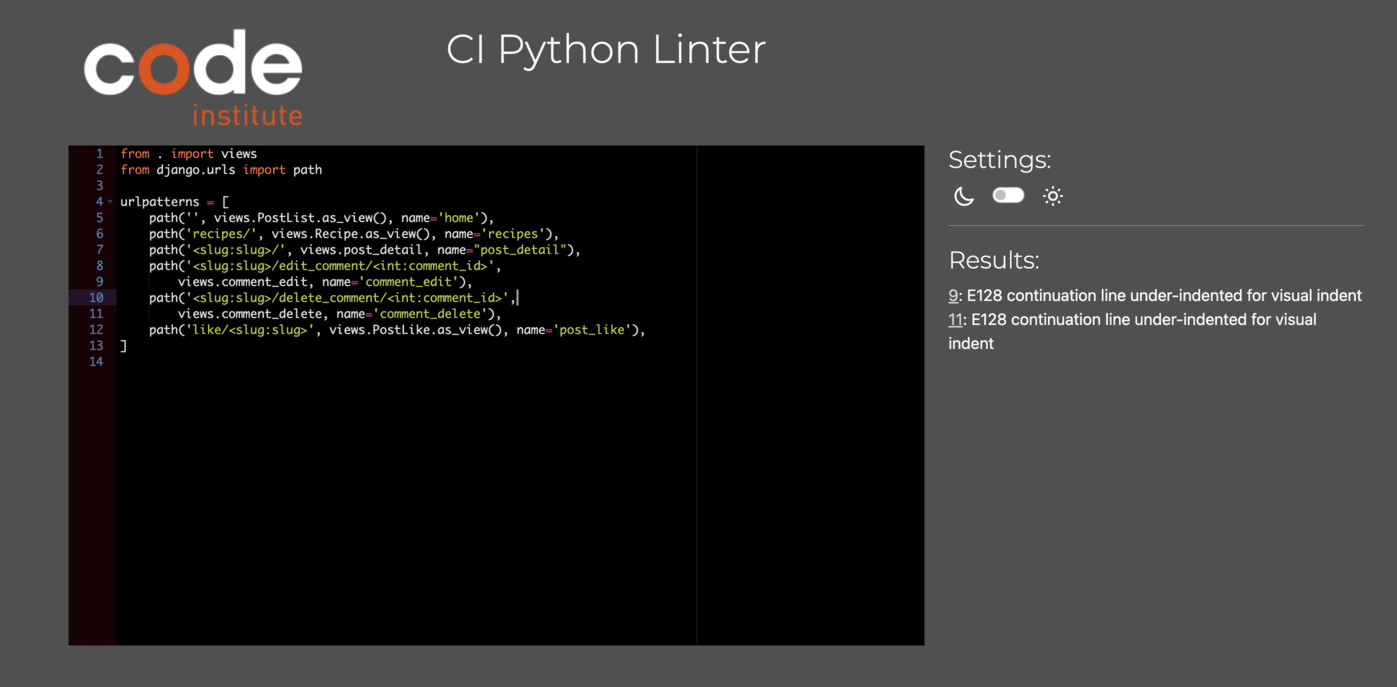
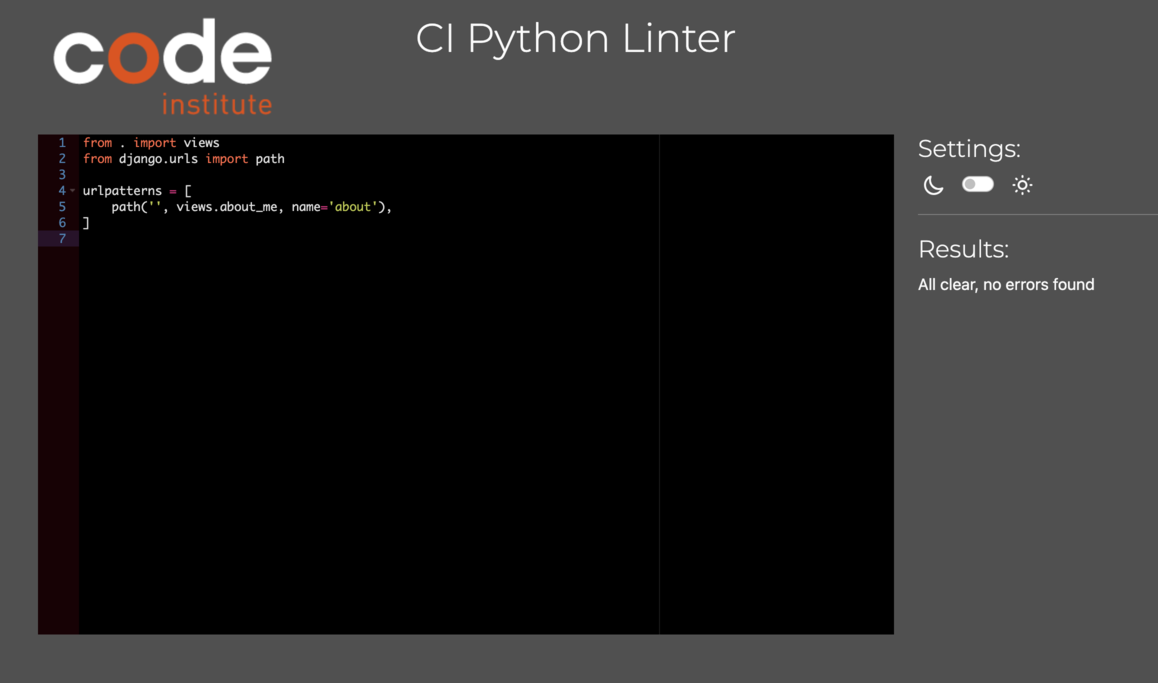
All Python files was check by CI Python Linter.
| Element | Action | Expected Result | Pass/Fail |
|---|---|---|---|
| NavBar | |||
| Site Name (logo area) | Click | Redirect to home | Pass |
| Home Link | Click | Redirect to home | Pass |
| About Us Link | Click | Open About Us page | Pass |
| Recipes Link | Click | Open Gallery Page | Pass |
| Login Link | Click | Open Login Page | Pass |
| Sign Up Link | Click | Open Sign Up Page | Pass |
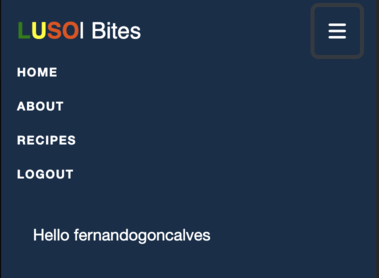
| Logout Link | Click | Open Sign Up Page | Pass |
| Element | Action | Expected Result | Pass/Fail |
|---|---|---|---|
| Picture About | Display | Showing the picture from data base | Pass |
| Info text | Display | Showing information about from data base | Pass |
| Fill up the form | Click | Showing message submisson sucess | Fail |
| Fill up the form | Click | Send the information to data base | Pass |
| Fill up the form | Click | Missing information for fill up apear a message for fill up the fields | Pass |
| Element | Action | Expected Result | Pass/Fail |
|---|---|---|---|
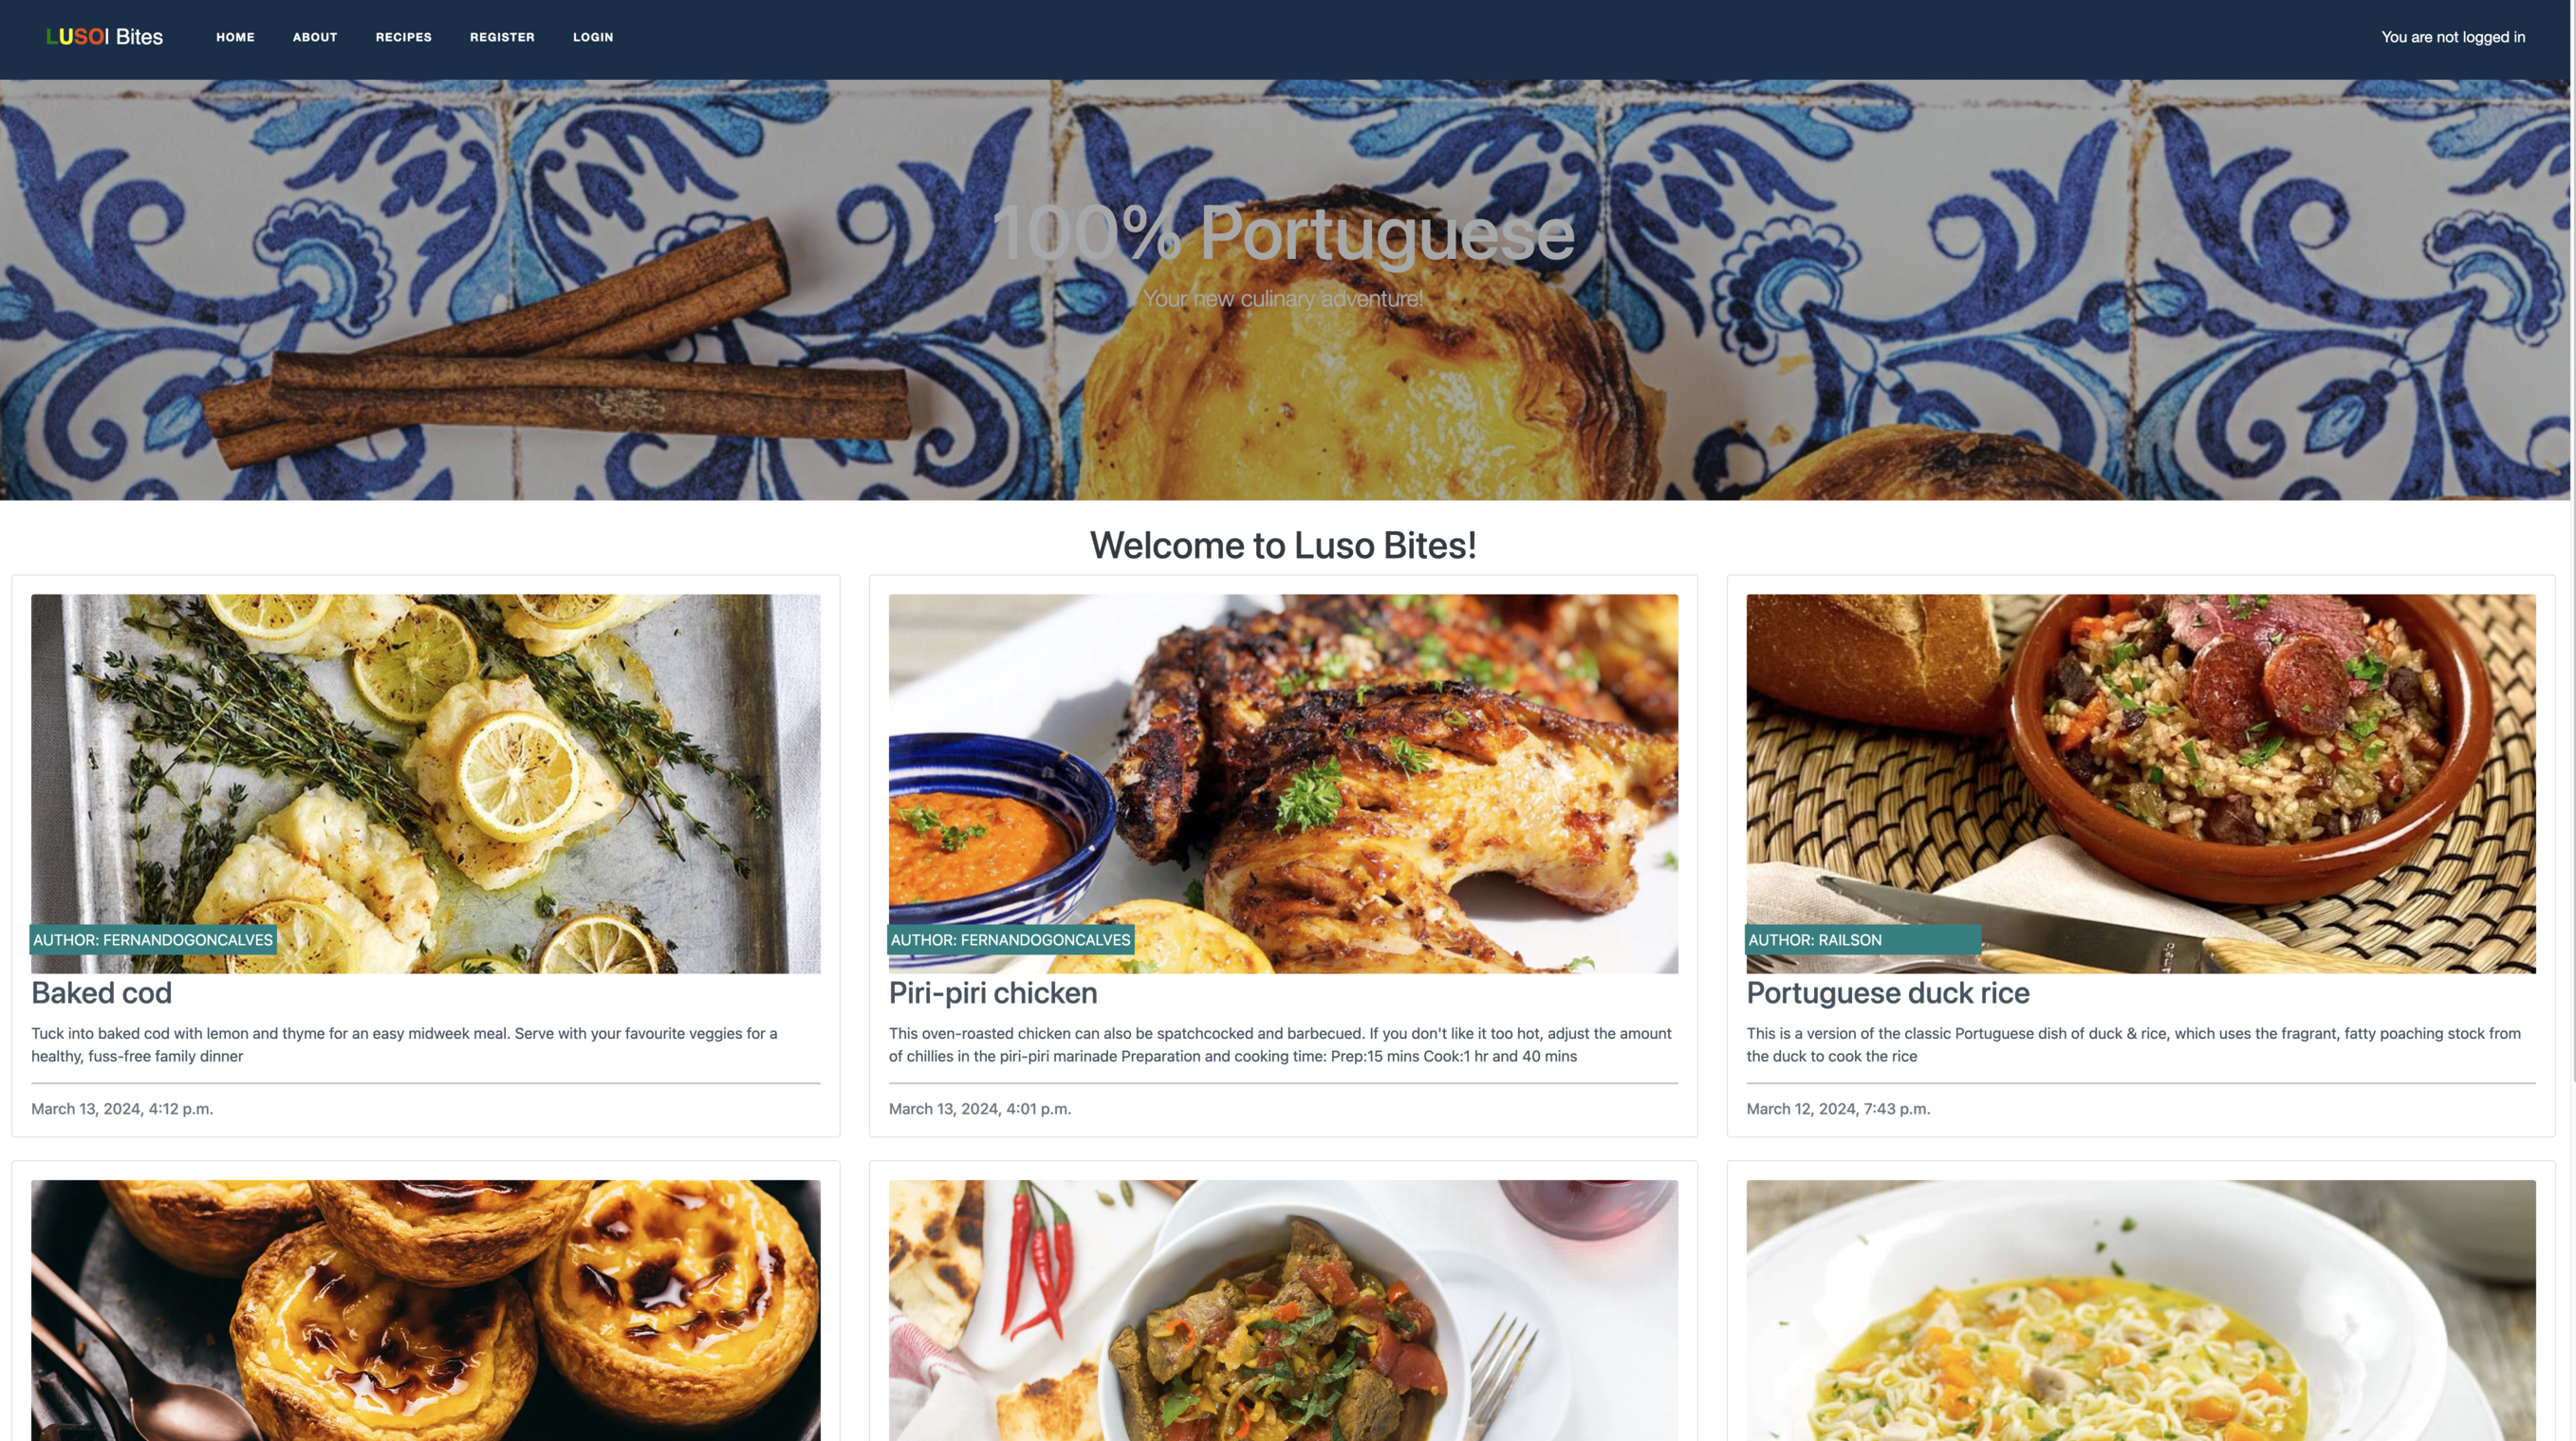
| Recipe Card | Display correct content | Display correct image, recipe title, slug and artist from data base | Pass |
| recipe Card | Click | Clicking on recipe title or slug card takes you to the correct recipe's detail page. | Pass |
| Recipe Card | Pagination | Site will paginate 6 recipes cards to page | Pass |
| Element | Action | Expected Result | Pass/Fail |
|---|---|---|---|
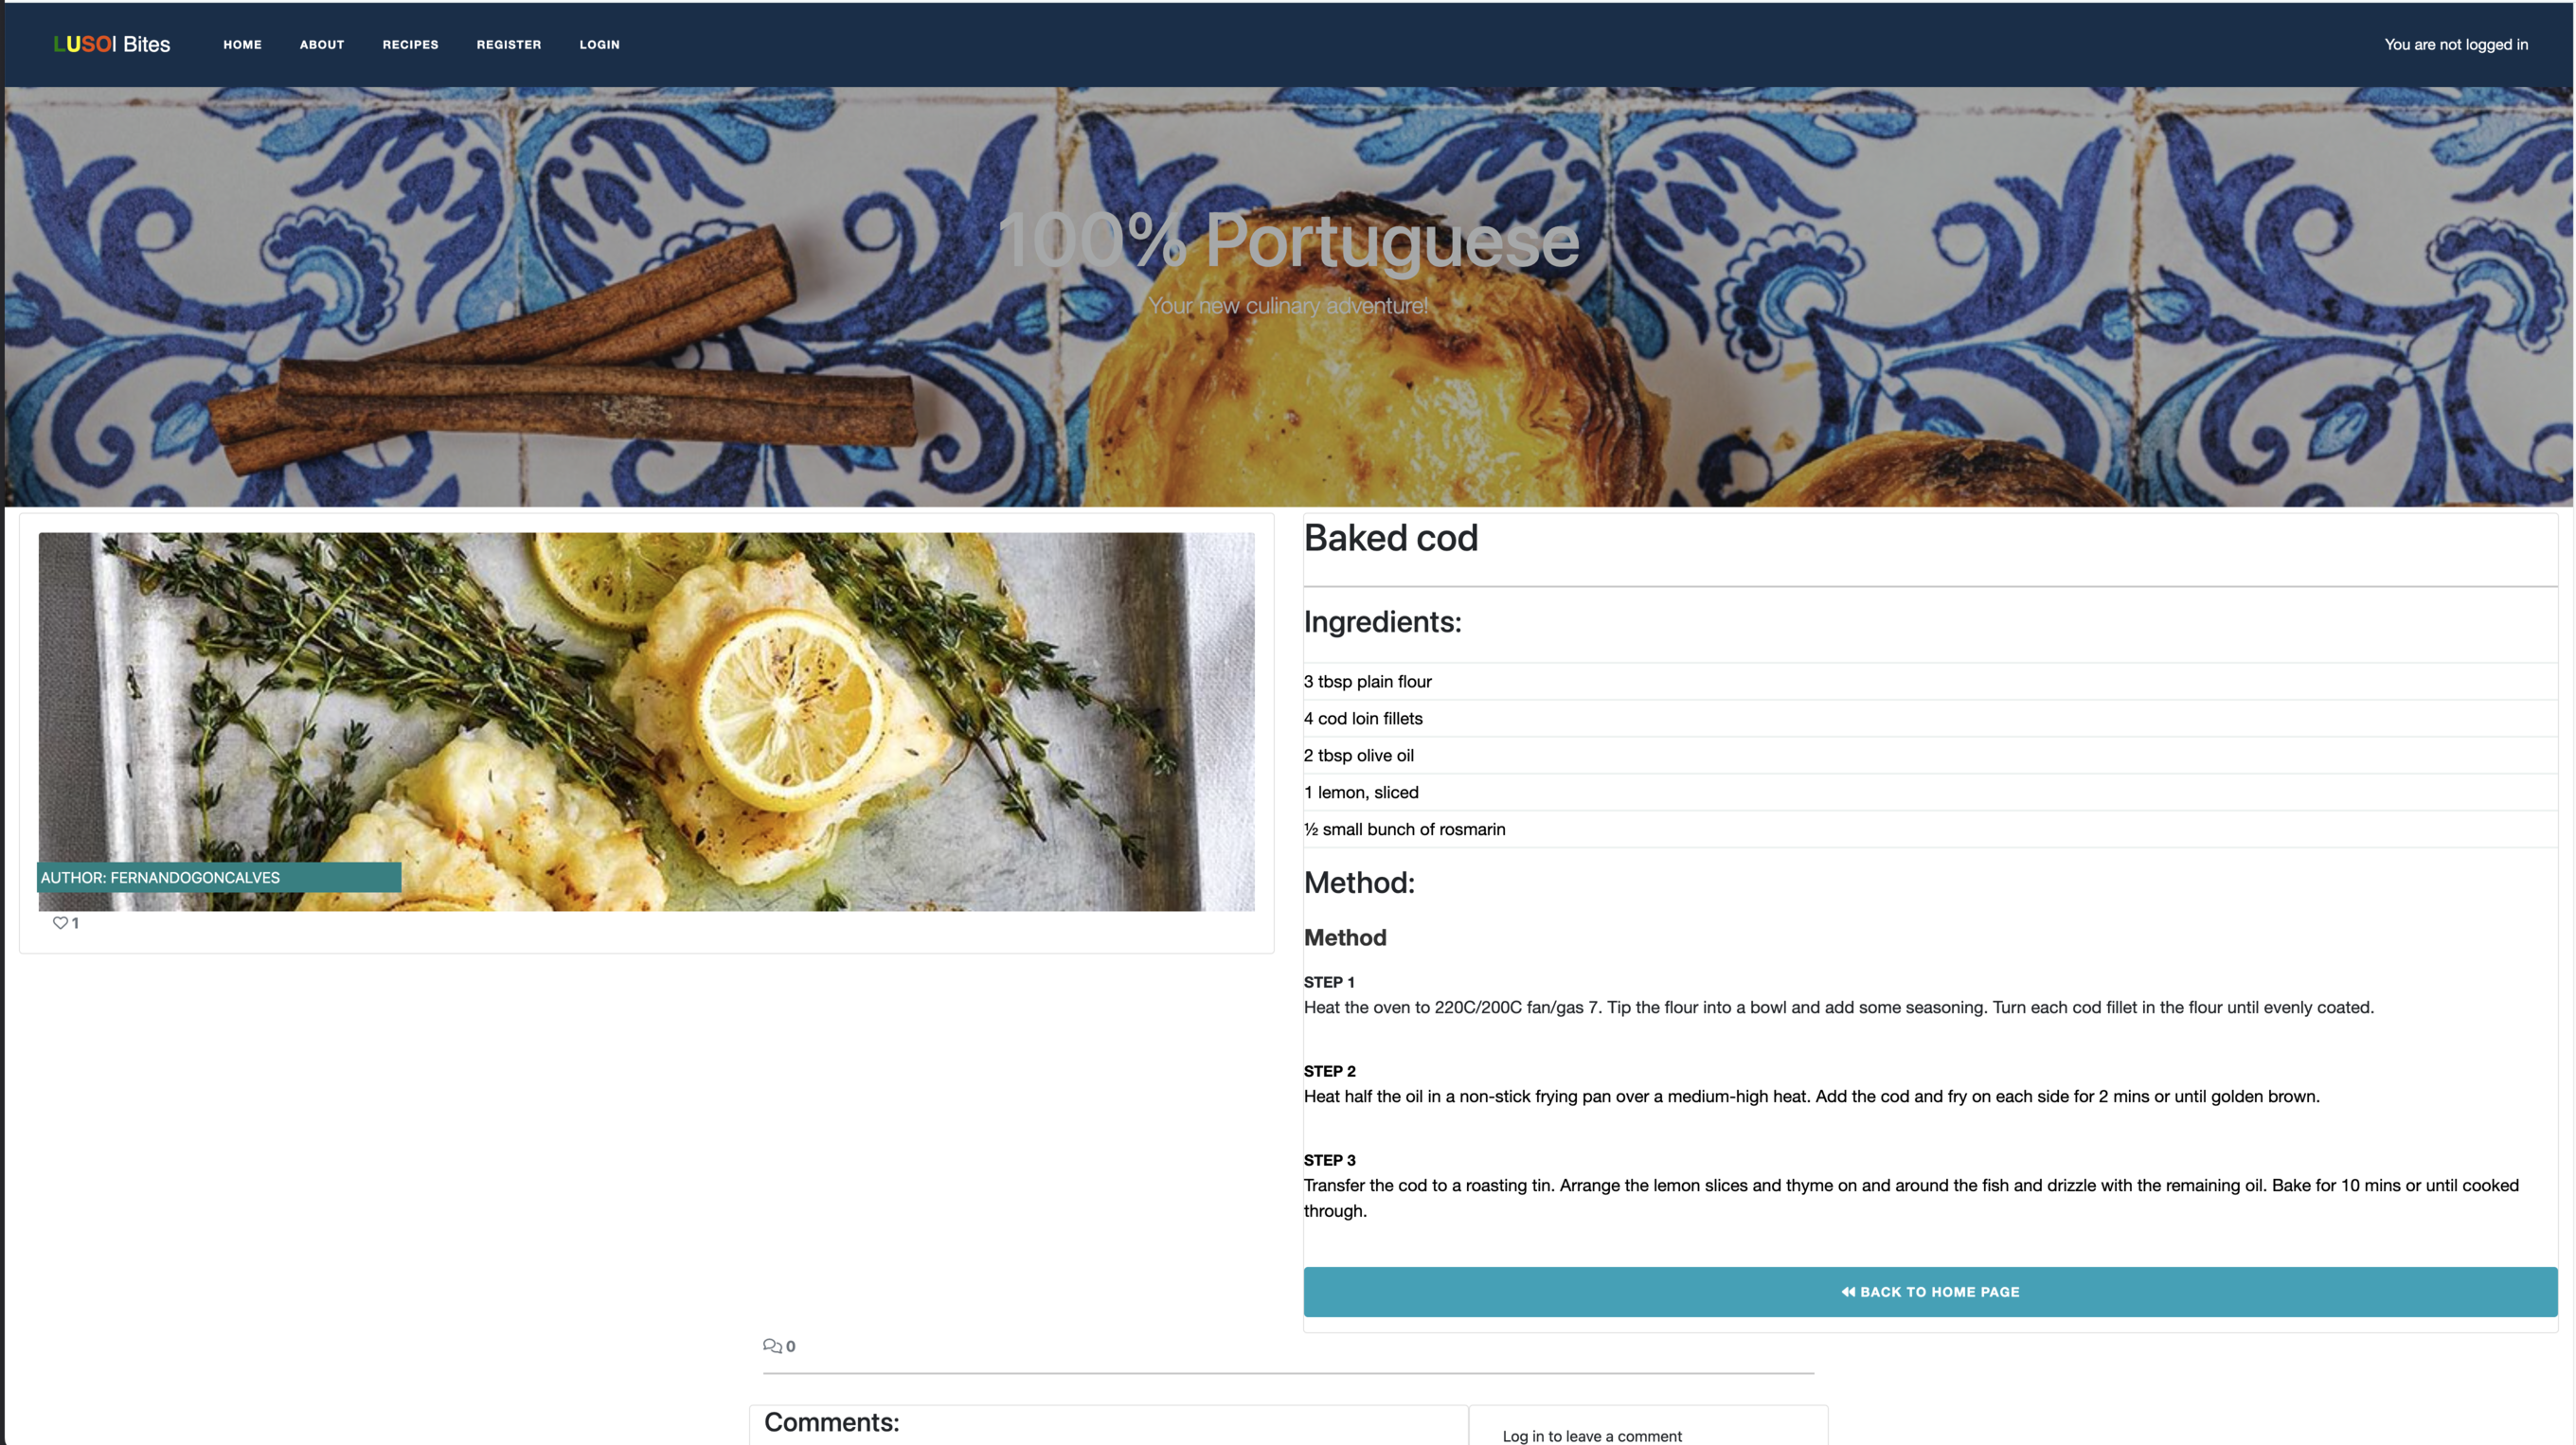
| Recipe Content | Display | Display correct Recipe image, title, author, description (ingredients and method), and comments | Pass |
| Like button (Outline) | Click | Clicking the outlined heart changes it to a solid heart | Pass |
| Like button (Solid) | Click | Clicking the solid heart changes it back to an outlined heart | Pass |
| Like button | Display | Button only clickable if user in session | Pass |
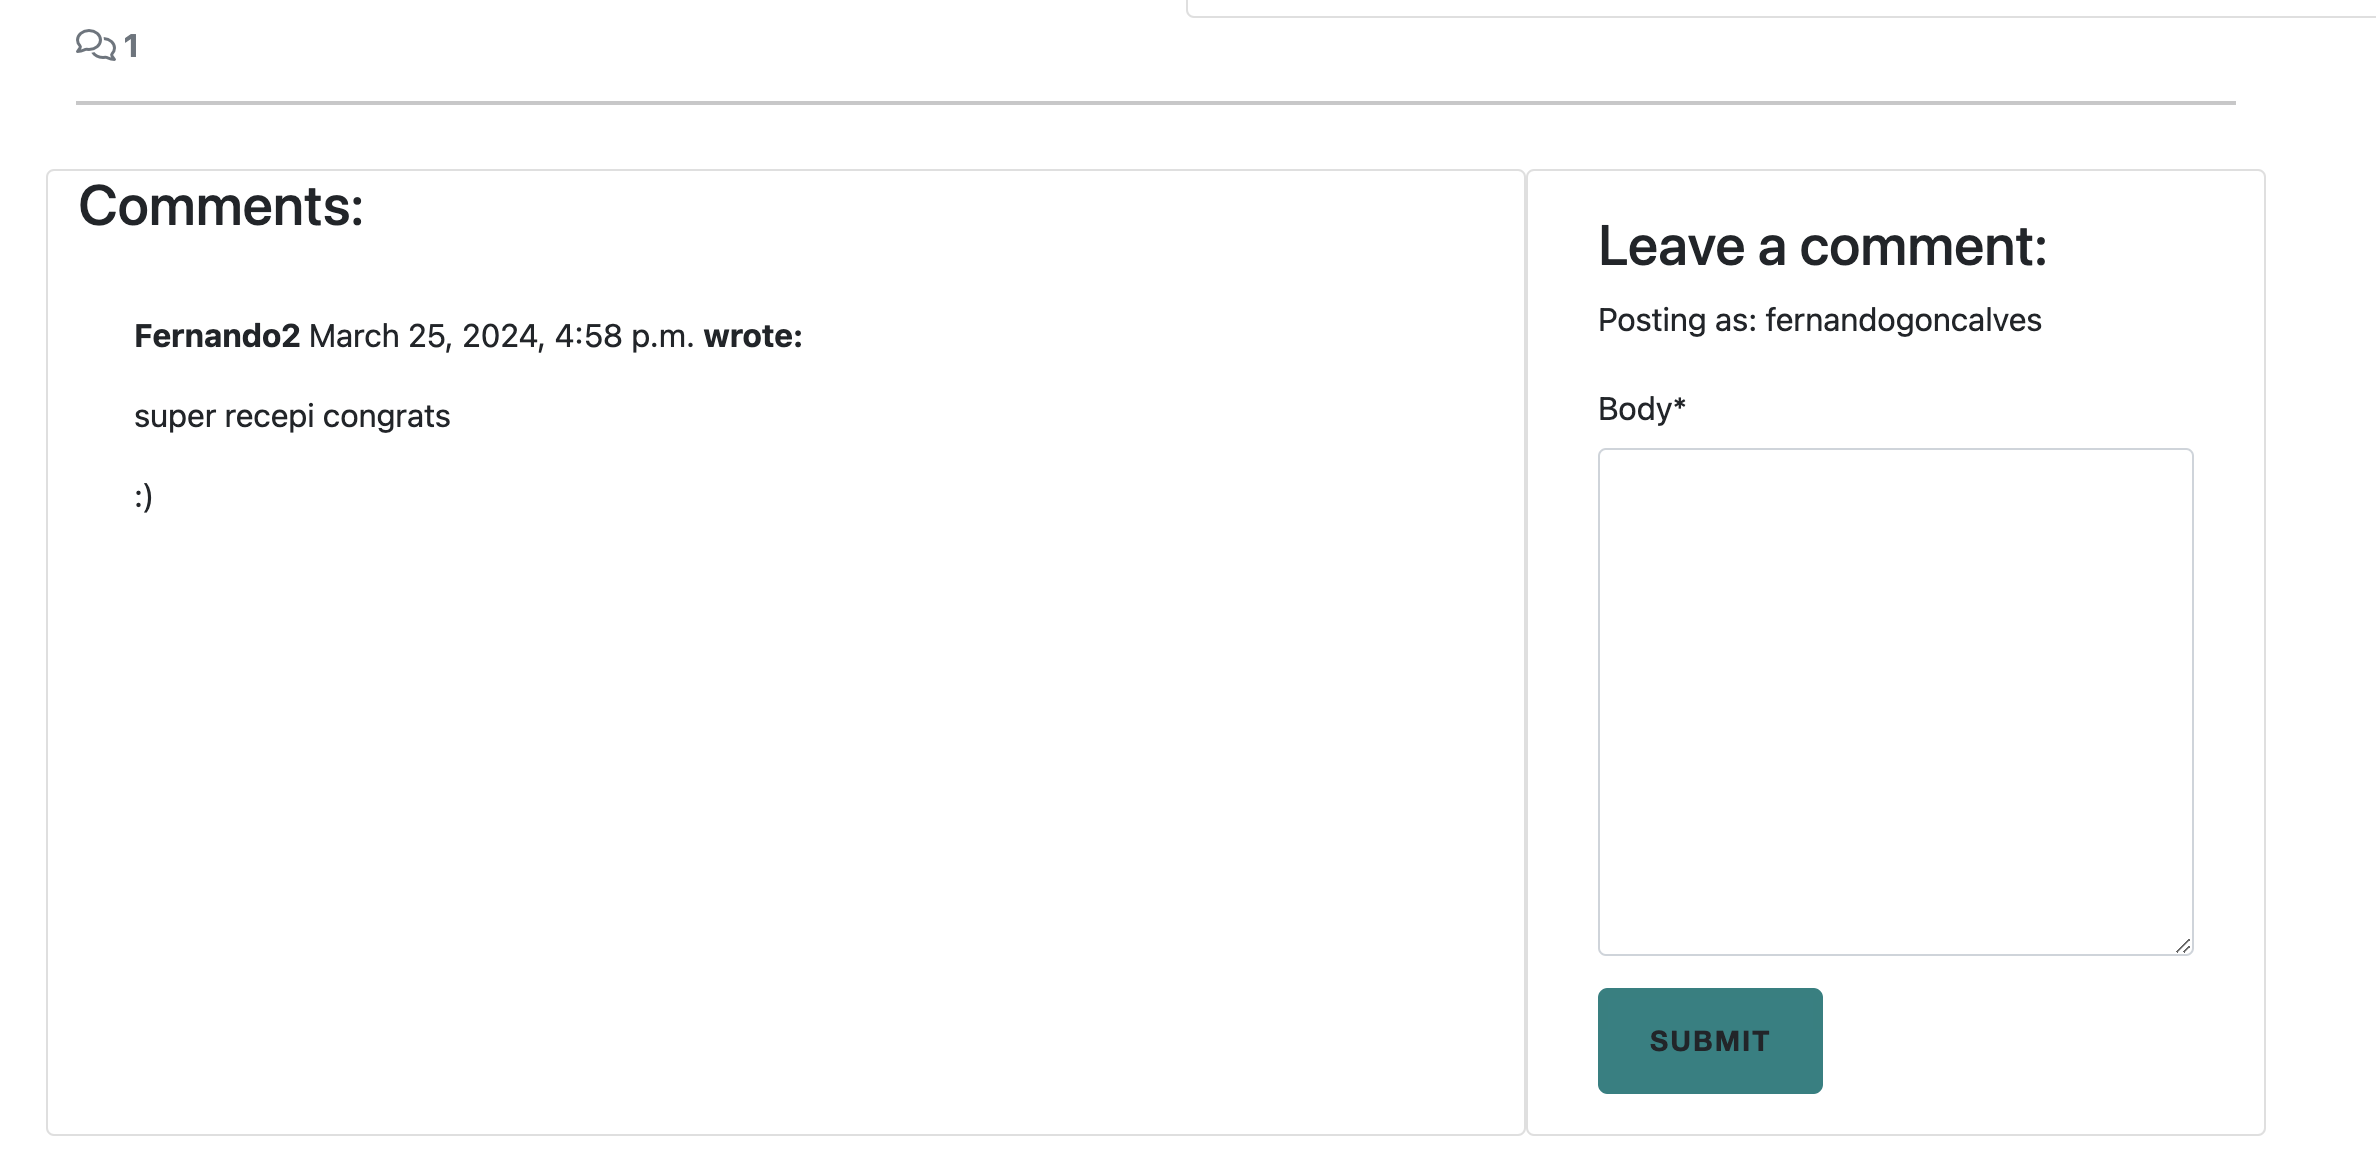
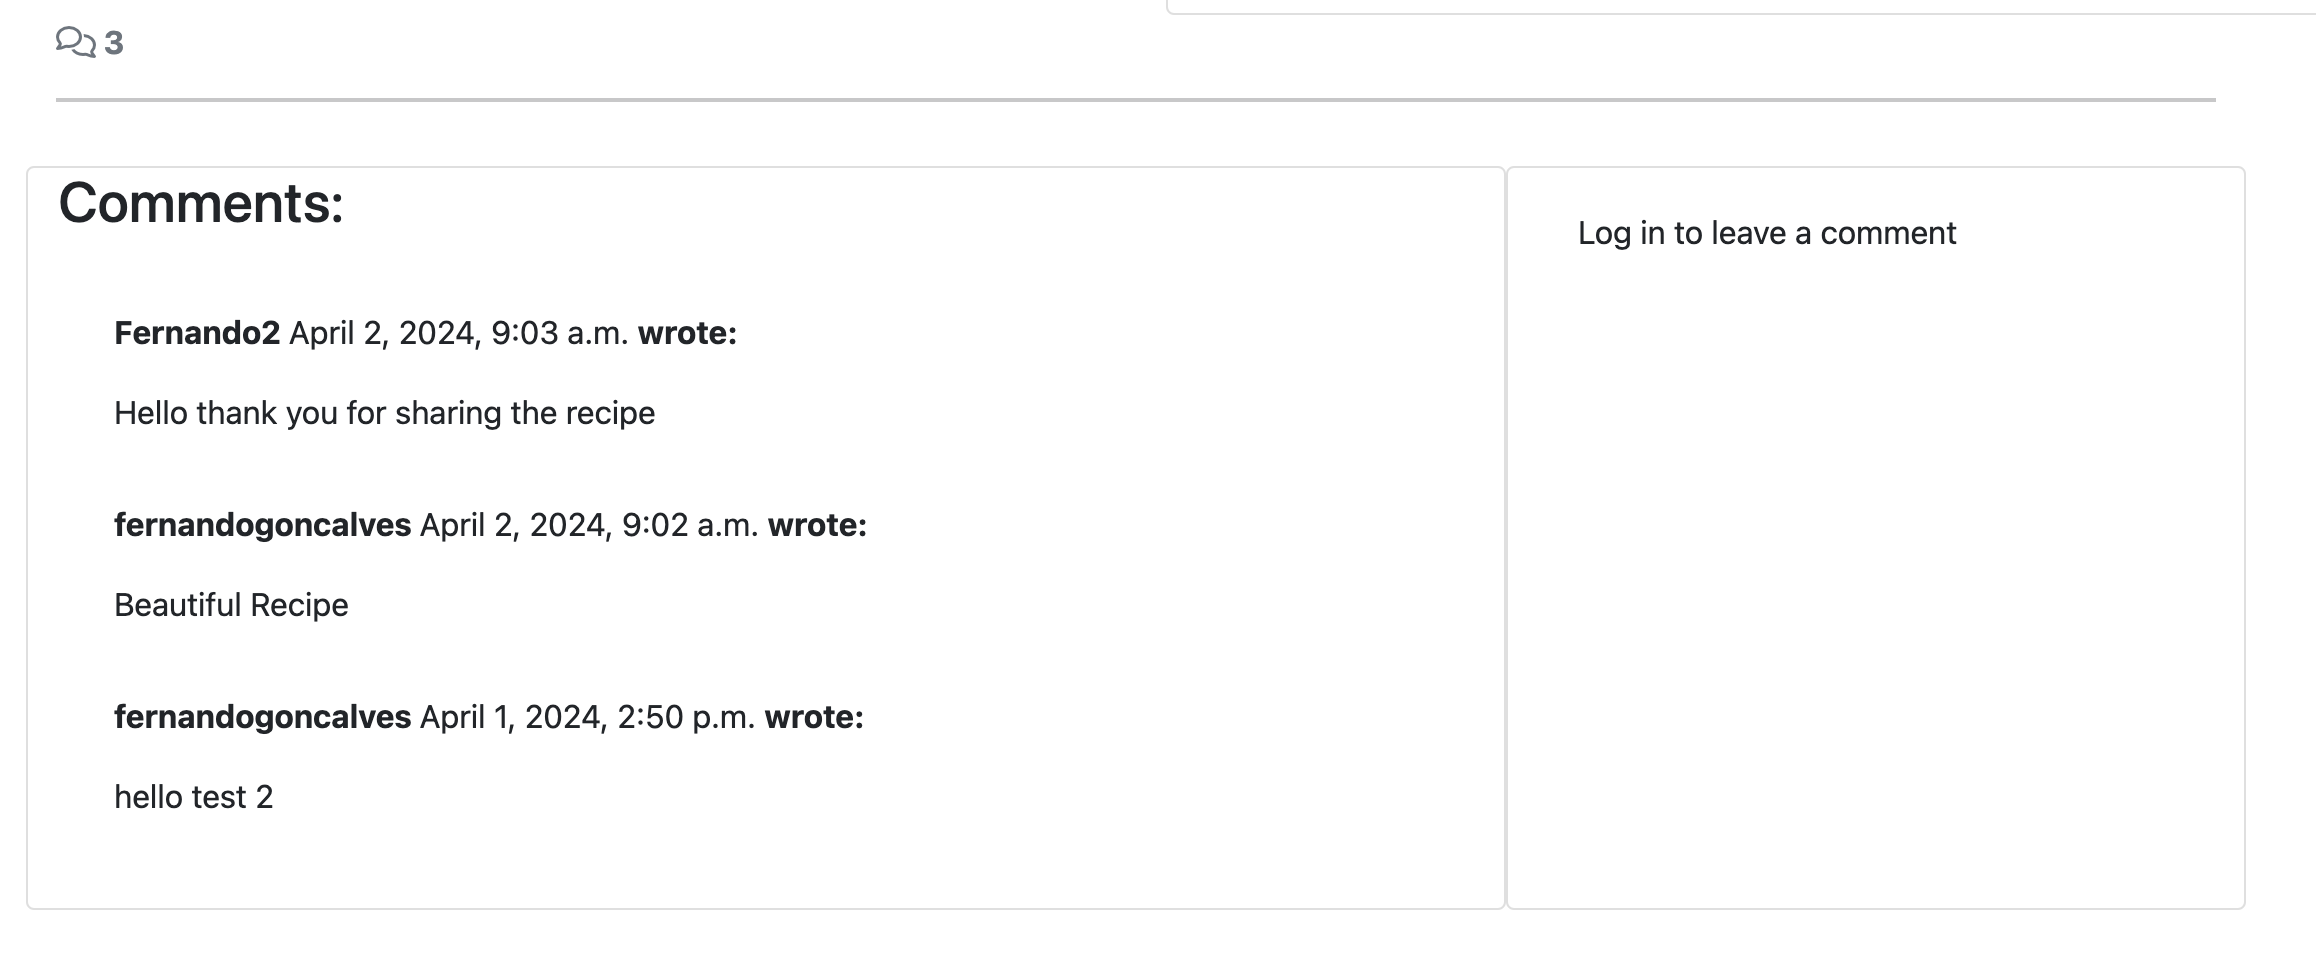
| User Comments | Display | Displays correct name, date, time, and comment body | Pass |
| User Comments | Display | Comments are ordered oldest to newest | Pass |
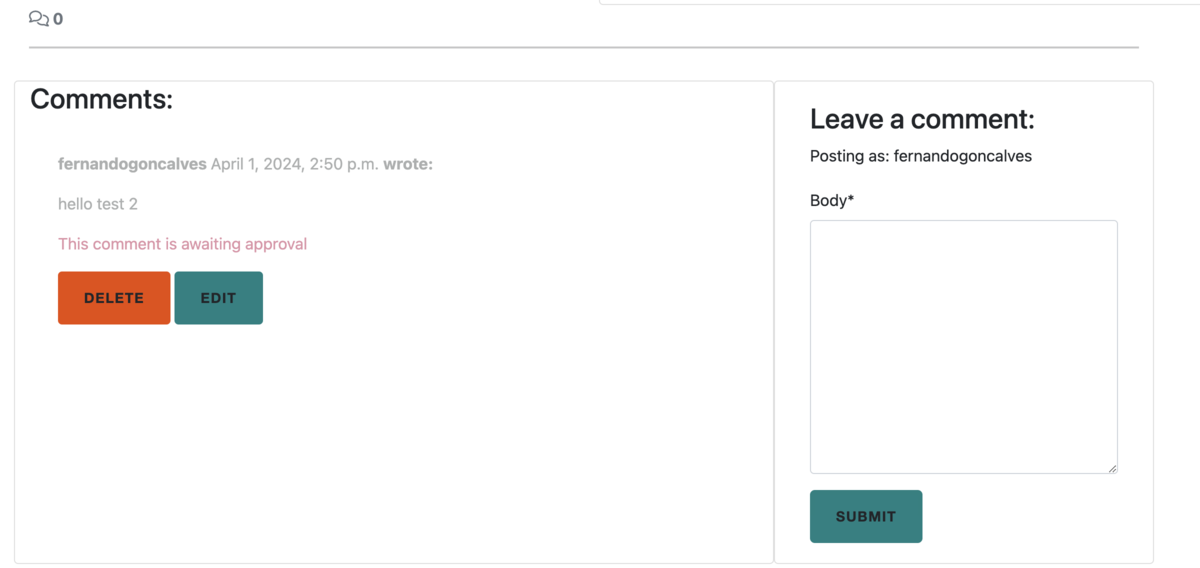
| User Comments | Display | Comments that wainting to be aproved dont show for the normal user (just for admin and the author user) | Pass |
| Update comment button | Display | Button only visible if user is the comment author | Pass |
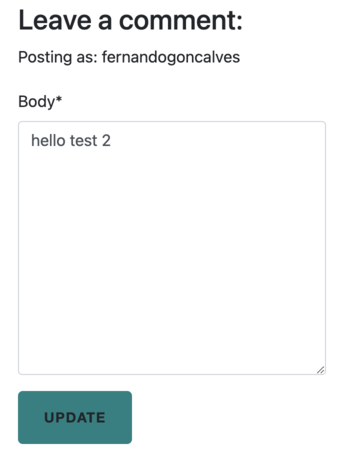
| Update comment button | Click | Change the comment field and buttom to update | Pass |
| Update comment submit button | Click | Form submit - page updates and comment displays in comments section with correct content | Pass |
| Update comment submit button | Click | Success message appears informing the user that the comment has been updated | Fail |
| Update comment submit button | Click | Success message fades after 3 seconds | Fail |
| Cancel update comment button | Click | Redirects the user back to the recipe detail page | Pass |
| Delete comment button | Display | Button only visible if the user is the comment author | Pass |
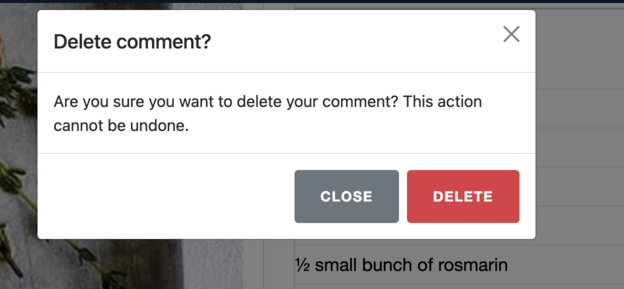
| Delete comment button | Click | Opens delete comment confirmation page | Pass |
| Confirm delete button | Click | Comment is removed from the comment section | Pass |
| Confirm delete button | Click | Success message appears informing the user that the comment has been deleted | Fail |
| Confirm delete button | Click | Success message fades after 3 seconds | Fail |
| Confirm delete button | Click | Redirects the user back to the recipe detail page | Pass |
| Cancel delete button | Click | Redirects the user back to the recipe detail page | Pass |
| Add comment Form | Display | Form only visible if user is loged in | Pass |
| Add comment Form submit button | Leave empty | On submit: form won't submit | Pass |
| Add comment Form submit button | Leave empty | Error message displays | Pass |
| Add comment Form submit button | Filled in | Form submit - page updates and comment displays in the comments section with correct content | Pass |
| Add comment Form submit button | Click | Success message appears informing the user that the comment has been added | Fail |
| Add comment Form submit button | Click | Success message fades after 3 seconds | Fail |
| Element | Action | Expected Result | Pass/Fail |
|---|---|---|---|
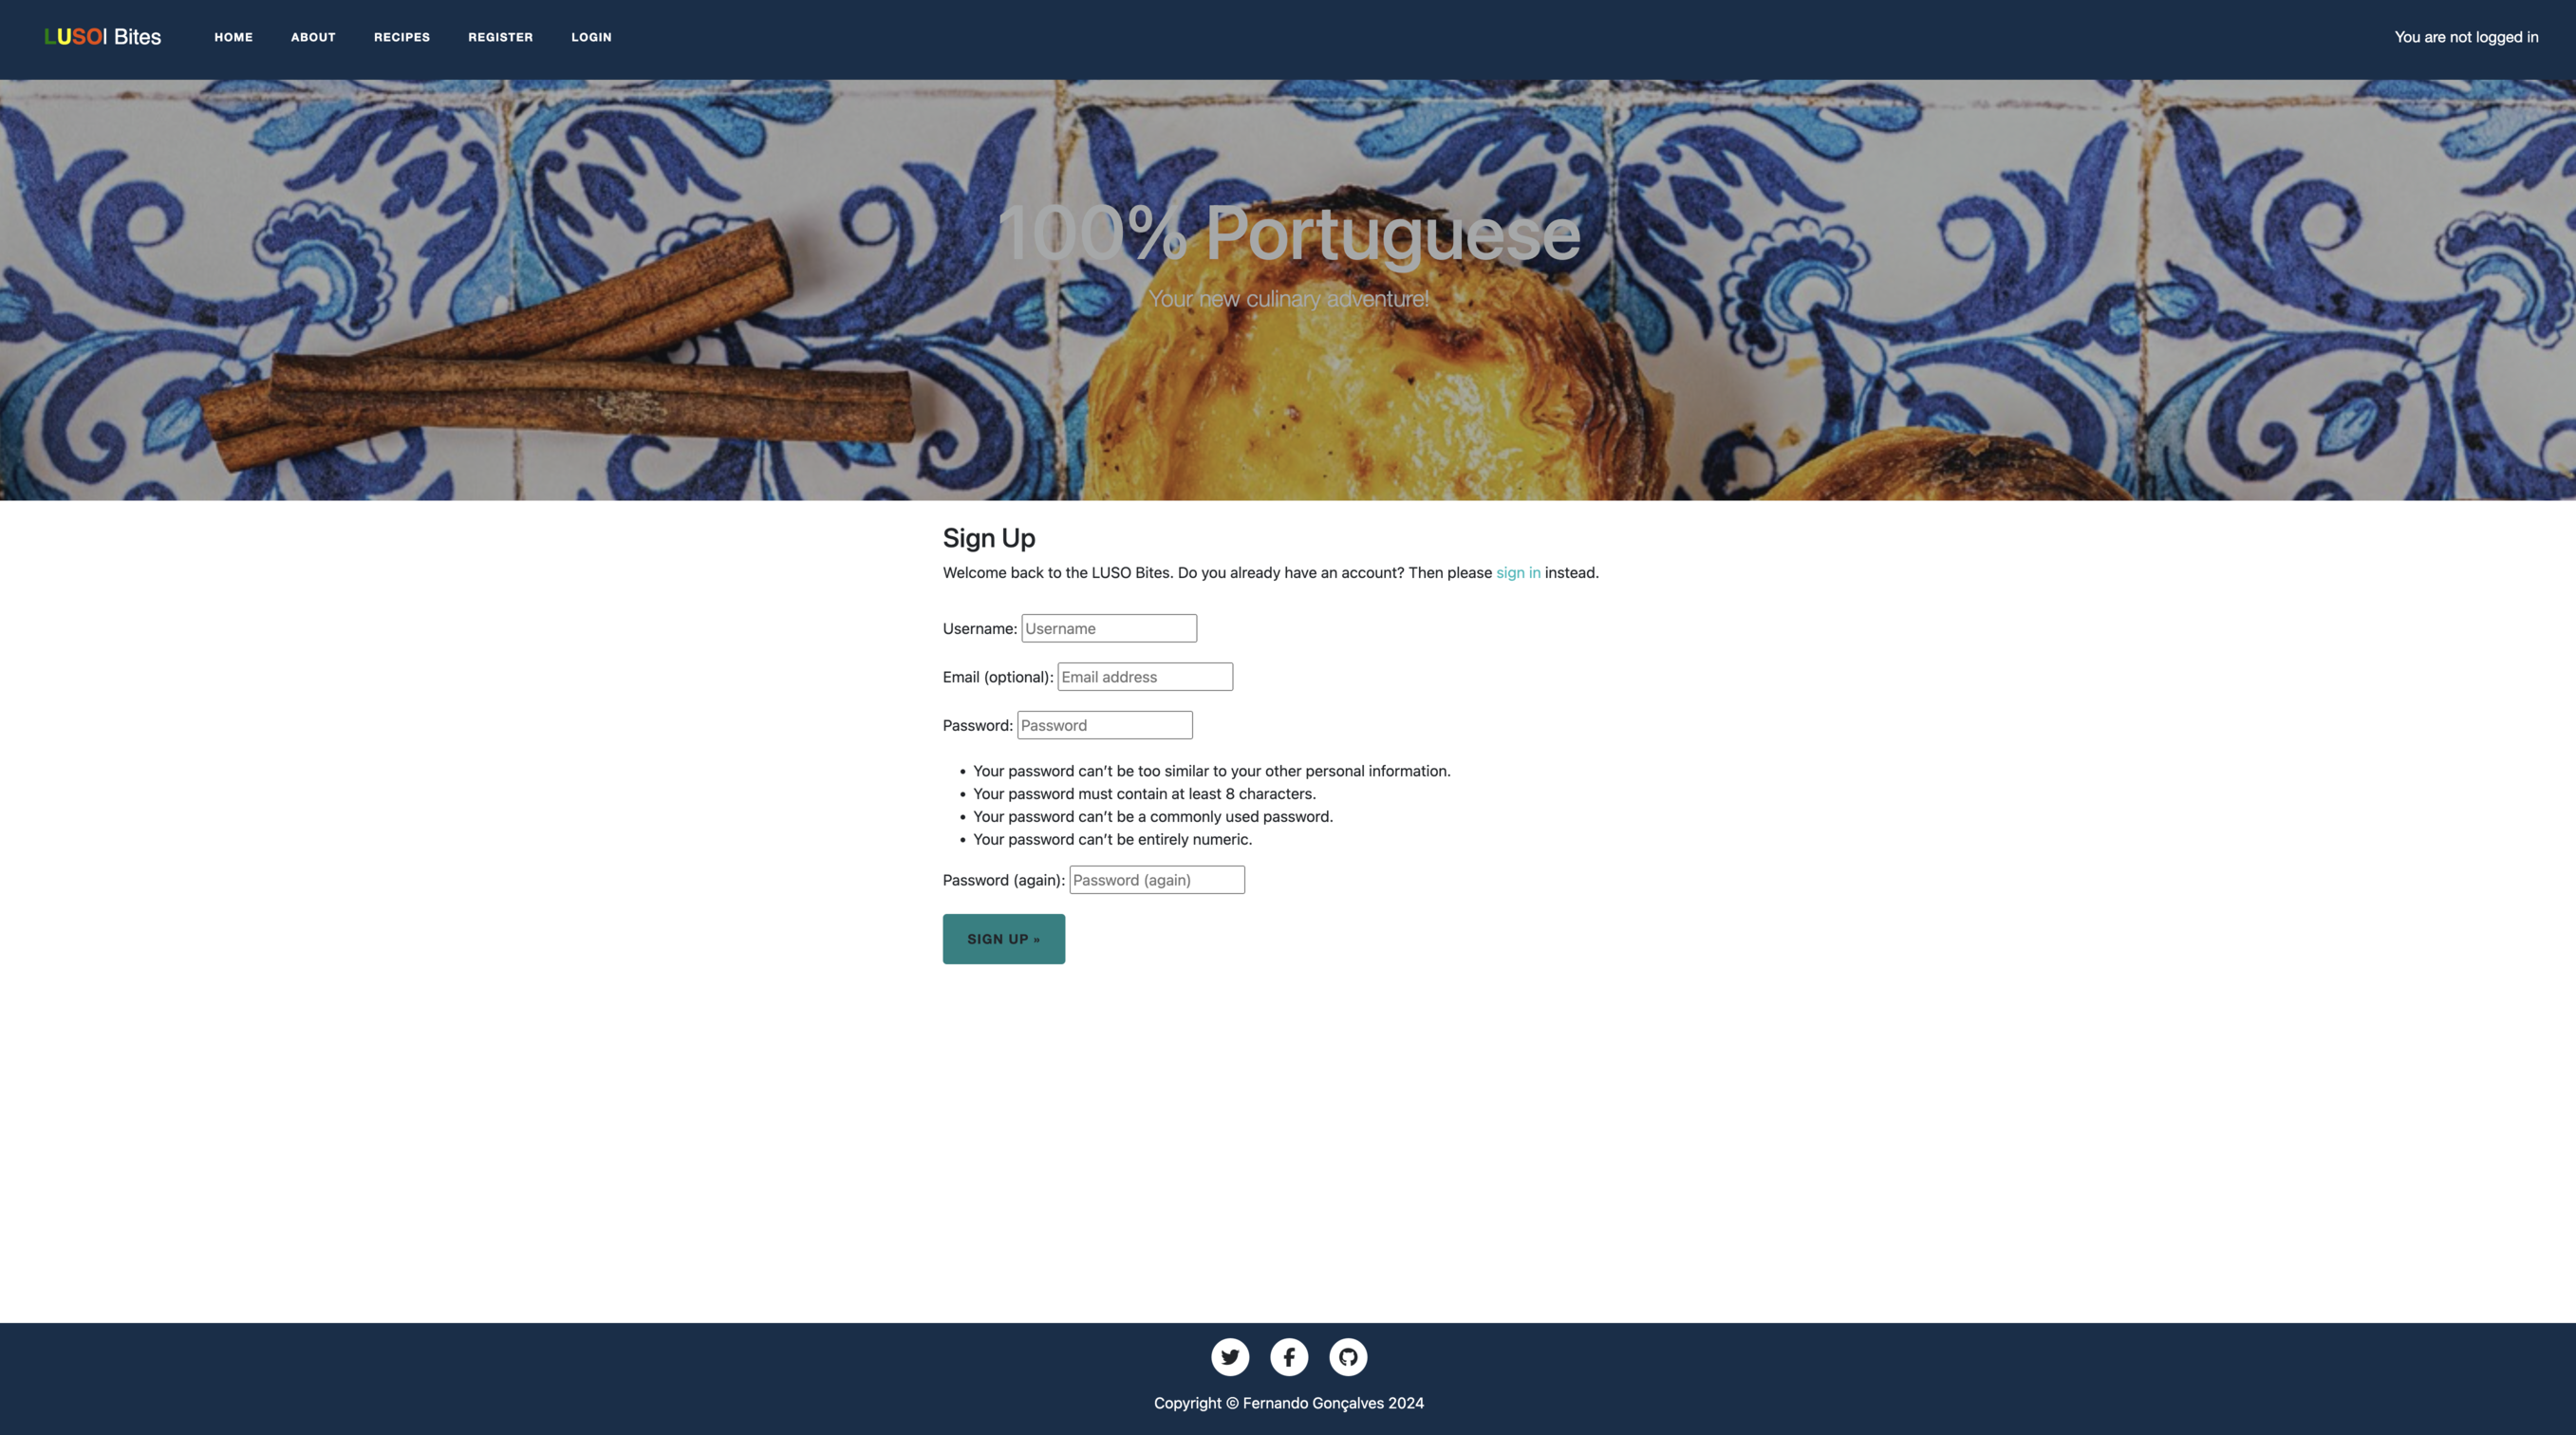
| Sign Up | |||
| Log in link | Click | Redirect to the login page | Pass |
| Username field | Leave empty | On submit: form won't submit | Pass |
| Username field | Insert correct format | On submit: form submit | Pass |
| Username field | Insert duplicate username | On submit: form won't submit | Pass |
| Email field | Insert incorrect format | On submit: form won't submit | Pass |
| Email field | Insert correct format | On submit: form submit | Pass |
| Email field | Leave empty | On submit: form submit | Pass |
| Email field | Insert duplicate email | On submit: form won't submit | Pass |
| Password field | Insert incorrect format | On submit: form won't submit | Pass |
| Password field | Passwords don't match | On submit: form won't submit | Pass |
| Password field | Insert correct format and passwords match | On submit: form submit | Pass |
| Sign Up button(form valid) | Click | Form submit | Pass |
| Sign Up button(form valid) | Click | Redirect to the home page | Pass |
| Sign Up button(form valid) | Click | Success message confirming login appears | Fail |
| Sign Up button(form valid) | Click | Success message fades after 3 seconds | Fail |
| Log in | |||
| Sign up link | Click | Redirect to the sign-up page | Pass |
| Username field | Leave empty | On submit: form won't submit | Pass |
| Username field | Insert wrong username | On submit: form won't submit | Pass |
| Password field | Leave empty | On submit: form won't submit | Pass |
| Password field | Insert wrong password | On submit: form won't submit | Pass |
| Login button(form valid) | Click | Form submit | Pass |
| Login button(form valid) | Click | Redirect to the page where user logged in from | Pass |
| Login button(form valid) | Click | Success message confirming login appears | Fail |
| Login button(form valid) | Click | Success message fades after 3 seconds | Fail |
| Log Out | |||
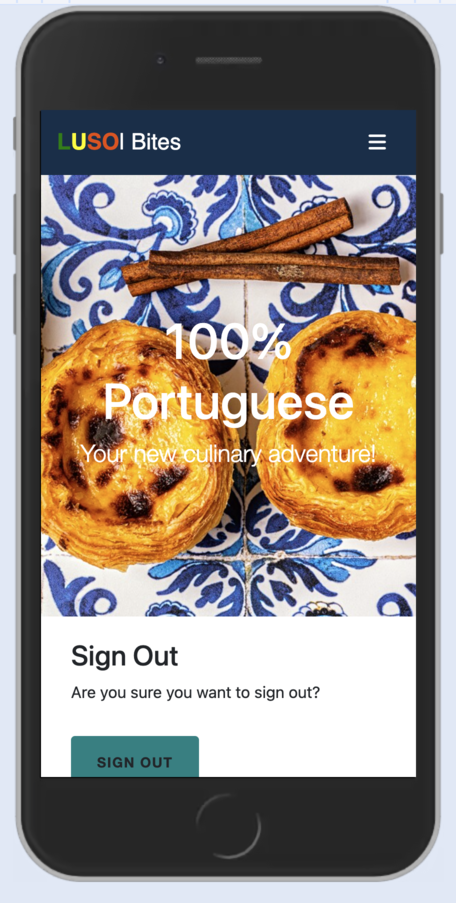
| Logout button | Click | Redirect to the homepage | Pass |
| Logout button | Click | Success message confirming log out appears | Fail |
| Logout button | Click | Success message fades after 3 seconds | Fail |
- Transporting the static files to heroku. helping follow the steps on djangoproject
- Search Field:
- I couldn't get the recipe/ingredient search field to work so I decided to remove it. I followed several tutorials to try to resolve it, to no avail. I did it in the models in the views, html page and urls, it worked, opening the html page with the search text but I couldn't get it to search for the recipe and pull it from the database.
- The messages appeared until I made a new model. After that I couldn't get them to appear to the user. They are being made by the system but do not appear visible.
Custom Error Pages have been implemented to offer users more information about the encountered errors and to guide them back to the Blog with navigational buttons (back Home).
400 Bad Request.
403 Forbidden: It appears that you are attempting to access restricted content.
404 Not Found: The page you are searching for does not exist.
500 Internal Server Error.
- The implementation of Django AllAuth facilitated the establishment of essential user functionalities such as Sign Up, Log In, and Log Out.
Messages
- To enhance user experience, success messages are incorporated to provide immediate feedback when users successfully log in or log out.
The subsequent actions were carried out to facilitate the deployment of this page to Heroku from its corresponding GitHub repository:
- Log in to Heroku or create an account.
- On the main page click the button labeled "New" in the top right corner and from the drop-down menu select "Create New App".
- Enter a unique and meaningful app name.
- Next, select your region.
- Click on the Create App button.
- In the Resources tab, under add-ons, type in Postgres and select the Heroku Postgres option.
- Copy the DATABASE_URL located in Config Vars in the Settings Tab.
- In your workspace, create an env.py file in the main directory.
- Add the DATABASE_URL value and your chosen SECRET_KEY value to the env.py file.
- Update the settings.py file to import the env.py file and add the SECRETKEY and DATABASE_URL file paths.
- Comment out the default database configuration.
- Save files and make migrations.
- Add Cloudinary URL to env.py.
- Add the Cloudinary libraries to the list of installed apps.
- Add the STATIC files settings - the url, storage path, directory path, root path, media url, and default file storage path.
- Link the file to the templates directory in Heroku.
- Change the templates directory to TEMPLATES_DIR.
- Add Heroku to the ALLOWED_HOSTS list.
- Create requirements.txt file.
- Create three directories in the main directory; media, storage, and templates.
- Create a file named "Procfile" in the main directory and add the following: web: gunicorn project-name.wsgi.
Add the following Config Vars in Heroku:
- SECRET_KEY = yoursecretkey
- CLOUDINARY_URL = yourcloudinaryurl
- PORT = 8000
- DISABLE_COLLECTSTATIC = 1
- NB: Ensure in Django settings, DEBUG is False
- Go to the deploy tab on Heroku and connect to GitHub, then to the required repository.
- Scroll to the bottom of the deploy page and either click Enable Automatic Deploys for automatic deploys or Deploy Branch to deploy manually. Manually deployed branches will need re-deploying each time the repo is updated.
- Click View to view the deployed site.
The site is now live and operational.
- Python
- HTML
- CSS
- Javascript
- Django: Main python framework used in the development of this project
- Django-allauth: authentication library used to create the user accounts
- PostgreSQL was used as the database for this project.
- Heroku - was used as the cloud-based platform to deploy the site on.
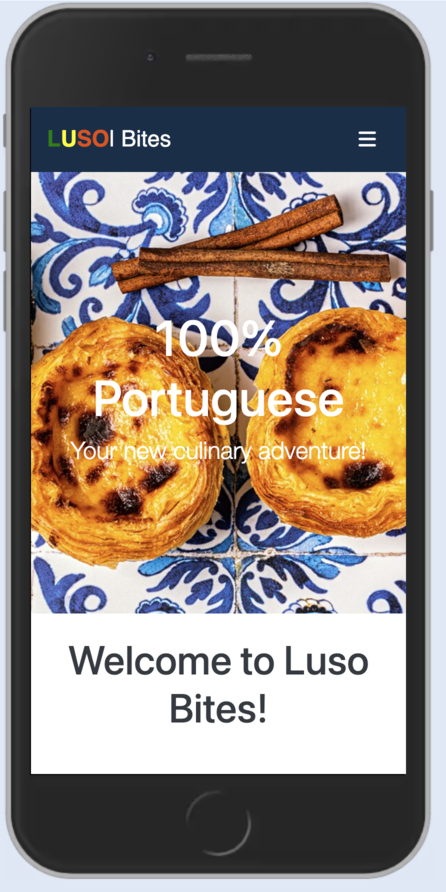
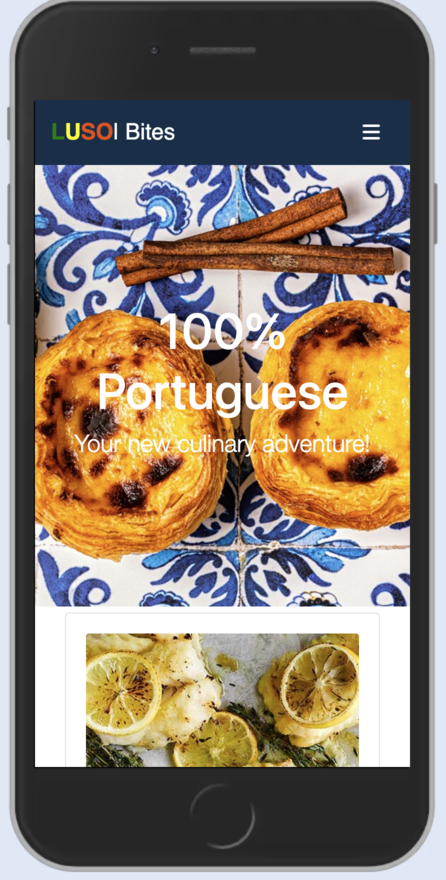
- AmIResponsive? - Used to verify the responsiveness of my website on different devices.
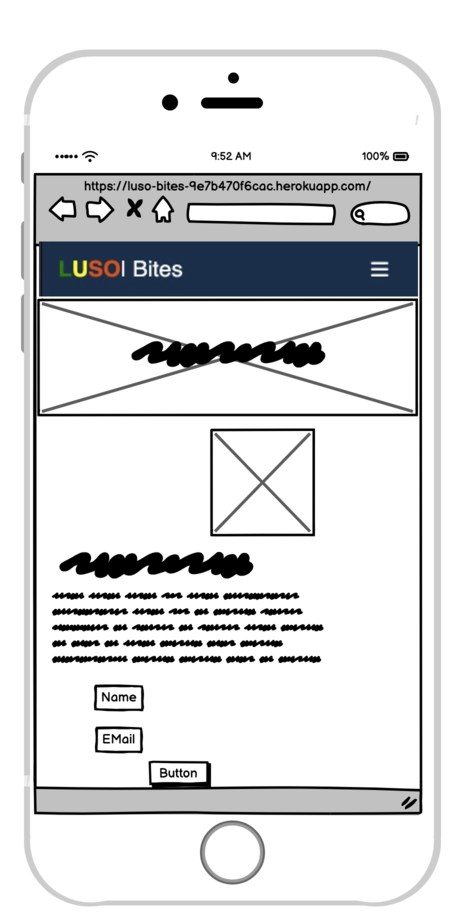
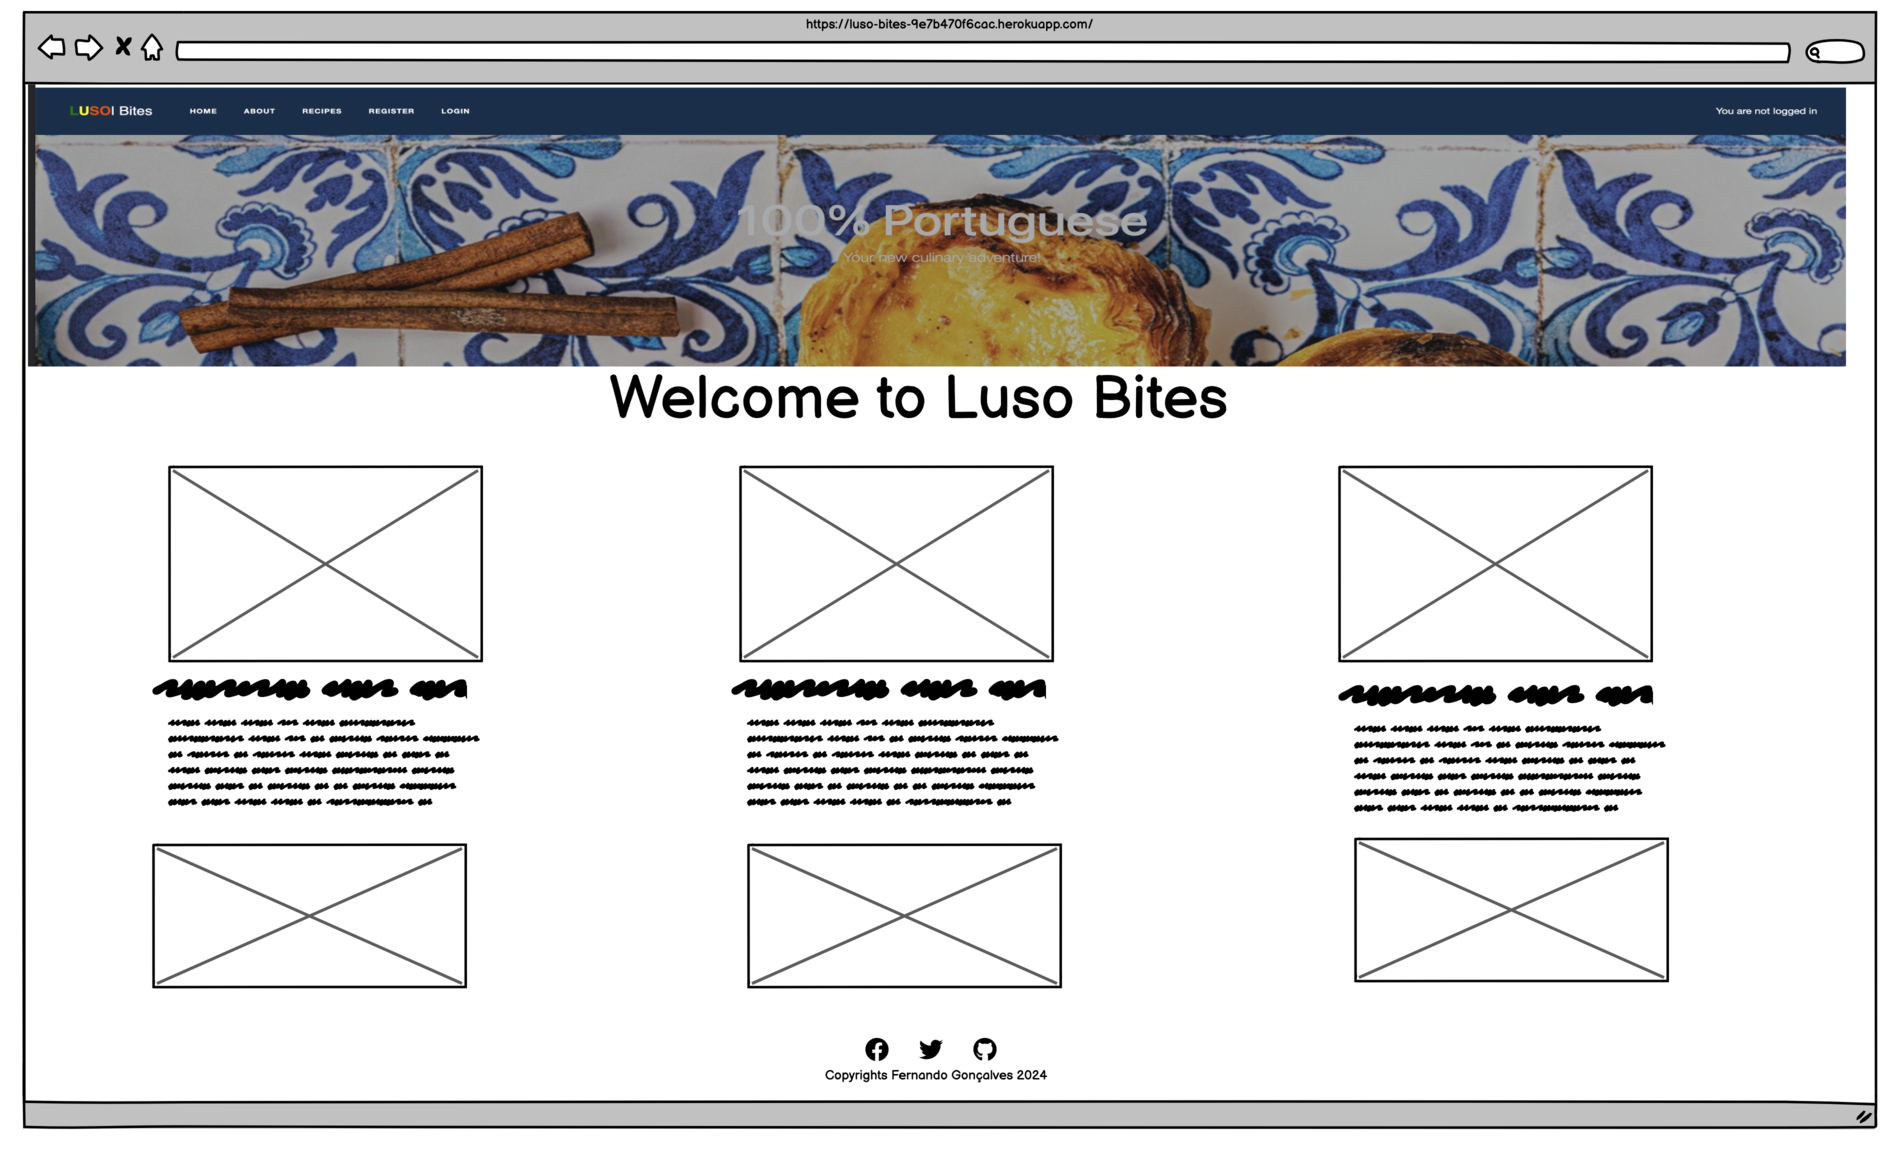
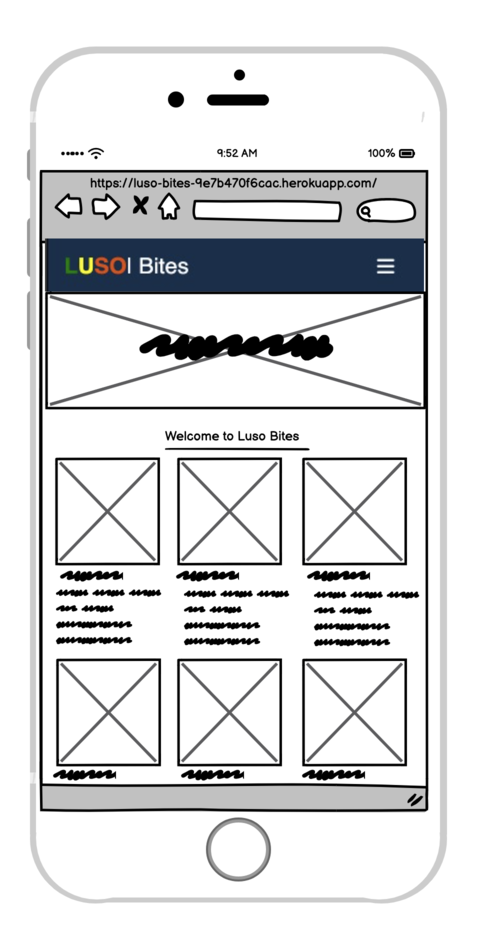
- Balsamiq - Used to generate Wireframe images.
- Chrome Dev Tools - Used for overall development and tweaking, including testing responsiveness and using lighthouse.
- Font Awesome - Used for icons in the three-reasons section.
- GitHub - Used for version control and agile tool.
- Google Fonts - Used to import and alter fonts on the page.
- W3C - Used for HTML & CSS Validation.
- CI Python Linter - used to validate all the Python code
- Jshint - used to validate javascript
- Colormind - Used to create color palette.
- Favicon - Used to create the favicon.
- Lucidchart - used to create the database schema design
- Summernote: A WYSIWYG editor to allow users to edit their posts
- Crispy Forms used to manage Django Forms
- Cloudinary: the image hosting service used to upload images
- Bootstrap v5.3.2: CSS Framework for developing responsiveness and styling
Inspiration on tho follwing ptojects:
- I Think Therefore I Blog - Following the bases for make a blog in django and creat a data base.
- Thorin and Company - Inspirations to styling and form.
- Masterpiece - Inspiration from Joonas Timlin.
- GoodFood - Used to make the recipes and pictures.
- Lucidchart - used to create the database schema design.
- PixaBay, Unsplash - Some fotos and pictures for the blog.

