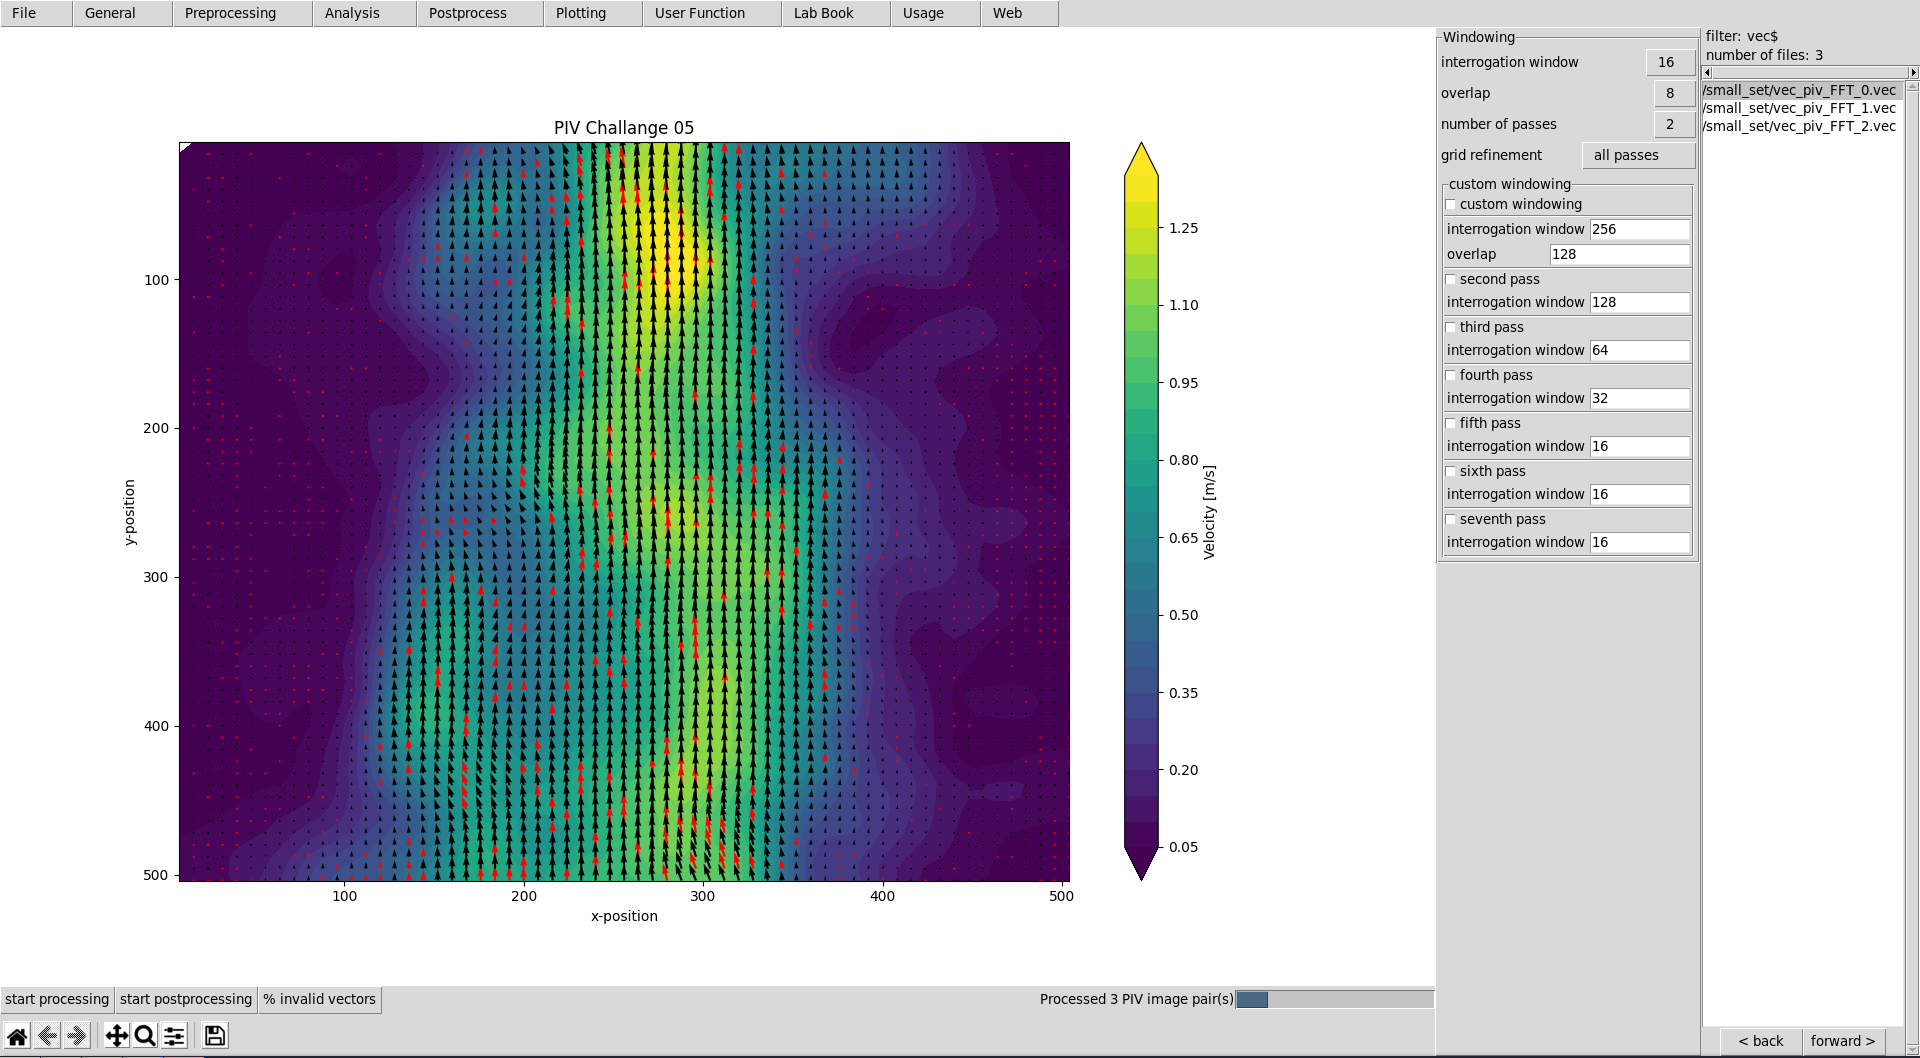
This graphical user interface provides an efficient workflow for evaluating and postprocessing particle image velocimetry (PIV) images. OpenPivGui relies on the Python libraries provided by the OpenPIV project.
Please note: Depending on your local system replace pip3 by pip or python3 by python'.
You may use Pip to install OpenPivGui:
pip3 install openpivgui
Alternatively, Conda may also work:
conda install -c conda-forge openpivgui
conda create -n openpivgui python=3.12
conda activate openpivgui
pip install git+https://github.com/alexlib/openpiv-python-0.23.8
pip install openpivgui
python -m openpivgui.OpenPivGui
Launch OpenPivGui by executing:
python3 -m openpivgui.OpenPivGui
- Press the button »open directory«. Choose a directory that contains PIV images. Use the »back« or »forward« button to filter the directory content, until there is a list of images in the file list on the right side of the OpenPivGui.
- To inspect the images, click on the links in the file-list.
- Walk through the riders, select the desired functions, and edit the corresponding parameters.
- Press »start processing« to start the evaluation.
- Inspect the results by clicking on the links in the file-list.
- Use the »back« and »forward« buttons to inspect intermediate results.
- Use »dump settings« to document your project. You can recall the settings anytime by pressing »load settings«.
Learn how to use and extend OpenPivGui watching a less than eight minute video tutorial.
Find the detailed documentation on readthedocs.io.
Contributions are very welcome! Please follow the step by step guide in the documentation.
Also check out JPIV.
