This assignment has multiple steps. Please read the steps completely and thoroughly. You may need to review, research, problem solve, and ask questions.
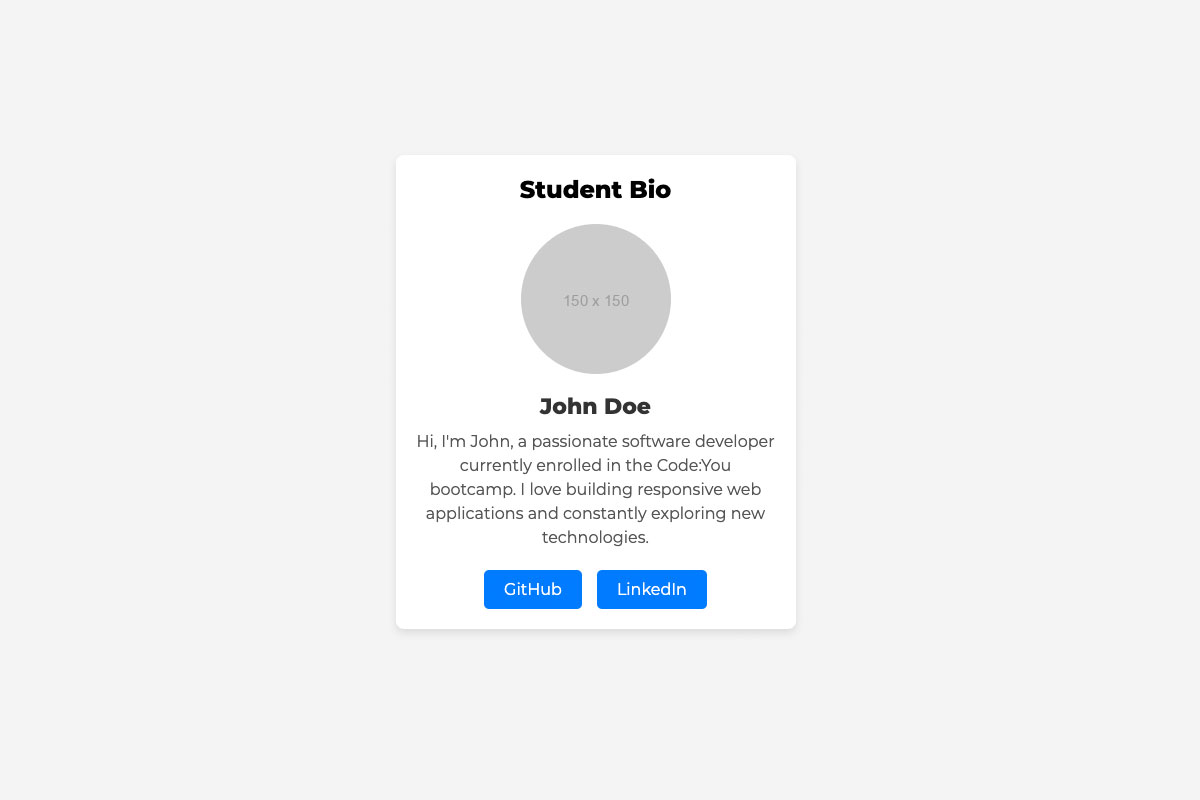 Screenshot of the start of the project with no changes made.
You are tasked with updating and syncing the repository with updated information. (factual or fictional).
- Fork the repository.
- Clone the repository to your computer.
- Open the files in your code or text editor.
- Replace the placeholder image with another photo.
- Change button color to another color.
- Update name and bio text.
- Add JavaScript alert box.
- Modify JavaScript.
- Sync changes to GitHub.
- Turn in assignment.
Update the website with information.
- Click the Fork button in the top right corner of the repository to create your own copy.
- This will create a forked copy in your own GitHub account.
-
On your GitHub page, go to the newly forked repository.
-
Click the green Code button and copy the URL (either HTTPS or SSH).
-
Open Git Bash or Terminal and navigate to where you want to save the project:
cd ~/Documents/Projects
-
Clone the repo to your local machine:
git clone <URL you copied>
Replace
<URL you copied>with the repo URL.
-
Navigate to the project folder:
cd <your-repo-name>
-
Open the project files:
- Open the project in Visual Studio Code (VS Code), if it's installed.
- Alternatively, open the
index.htmlfile in Notepad (Windows) or TextEdit (macOS).
-
Download or use your own photo and save it in the project’s
imgfolder.- Make sure the
imgfolder exists. If not, create it:- In the project folder, create a folder named
img. - Move your image file into this folder.
- In the project folder, create a folder named
- Make sure the
-
In
index.html, replace the placeholder image (https://via.placeholder.com/150) with your own:<img src="img/your-photo.jpg" alt="Your Name">
- Replace
your-photo.jpgwith the actual filename of your image.
- Replace
-
Open the
styles.cssfile in your editor. -
Find the
.link-btnclass in the CSS file:.link-btn { background-color: #007bff; /* current blue color */ }
-
Replace
#007bff(the blue color) with a hex code for green.background-color: #229954; /* new green color */
- This changes the button to green.
-
In
index.html, locate this section:<h2>John Doe</h2> <p>Hi, I'm John, a passionate software developer...</p>
-
Replace
John Doewith your own name and update the bio text to reflect your personal details.
-
Open the
index.htmlfile and locate the<body>tag. -
Just before the closing
</body>tag, add the following JavaScript code to display an alert box:<script> alert("Hello world"); </script>
-
Save the file and open
index.htmlin a browser. You should see a pop-up that says "Hello world". More Information on Opening a HTML file
-
In the same
<script>tag, change the alert text to display "Hello World, I'm a Developer":alert("Hello World, I'm a Developer"); -
Save the file and refresh the browser to see the new alert.
-
After making the changes, open Git Bash or Terminal.
-
Make sure you are in the project folder:
cd ~/Documents/Projects/<your-repo-name>
-
Check the current status of your changes:
git status
-
Add the modified files:
git add . -
Commit the changes with a message:
git commit -m "Updated bio, image, button color, and added JavaScript alert" -
Push the changes to GitHub:
git push origin main
- This will sync your changes to your GitHub repository.
- Login to Google Classroom.
- Turn in assignment.
After making changes to your index.html file, follow these steps to open it in a browser and verify that your updates are working:
- Locate the
index.htmlfile. (~\Documents\Projects\<your-repo-name>) - Right-click (or Control-click) on the
index.htmlfile. - Choose Open With and select a browser (e.g., Edge, Safari, Chrome, Firefox).
You will need to save your file and refresh(F5) the page every time you make changes to the html, css files.
Live Server installation: https://code-you.org/students/resources/guides/install-live-server-in-vs-code/
- If your code editor is Visual Studio Code and the "Live Server" extension is installed, you can also:
- Right-click
index.htmlin the VS Code file explorer. - Select Open with Live Server. This will automatically open the file in your default browser.
- Right-click
-
Once opened, you should see your bio with the updated image, green buttons, and JavaScript alert message pop up.
-
If the browser does not refresh automatically after you make changes, press Ctrl + R (Windows) or Command + R (macOS) to refresh the page and load the latest version.
This will let you see all the changes made to the page in real time.