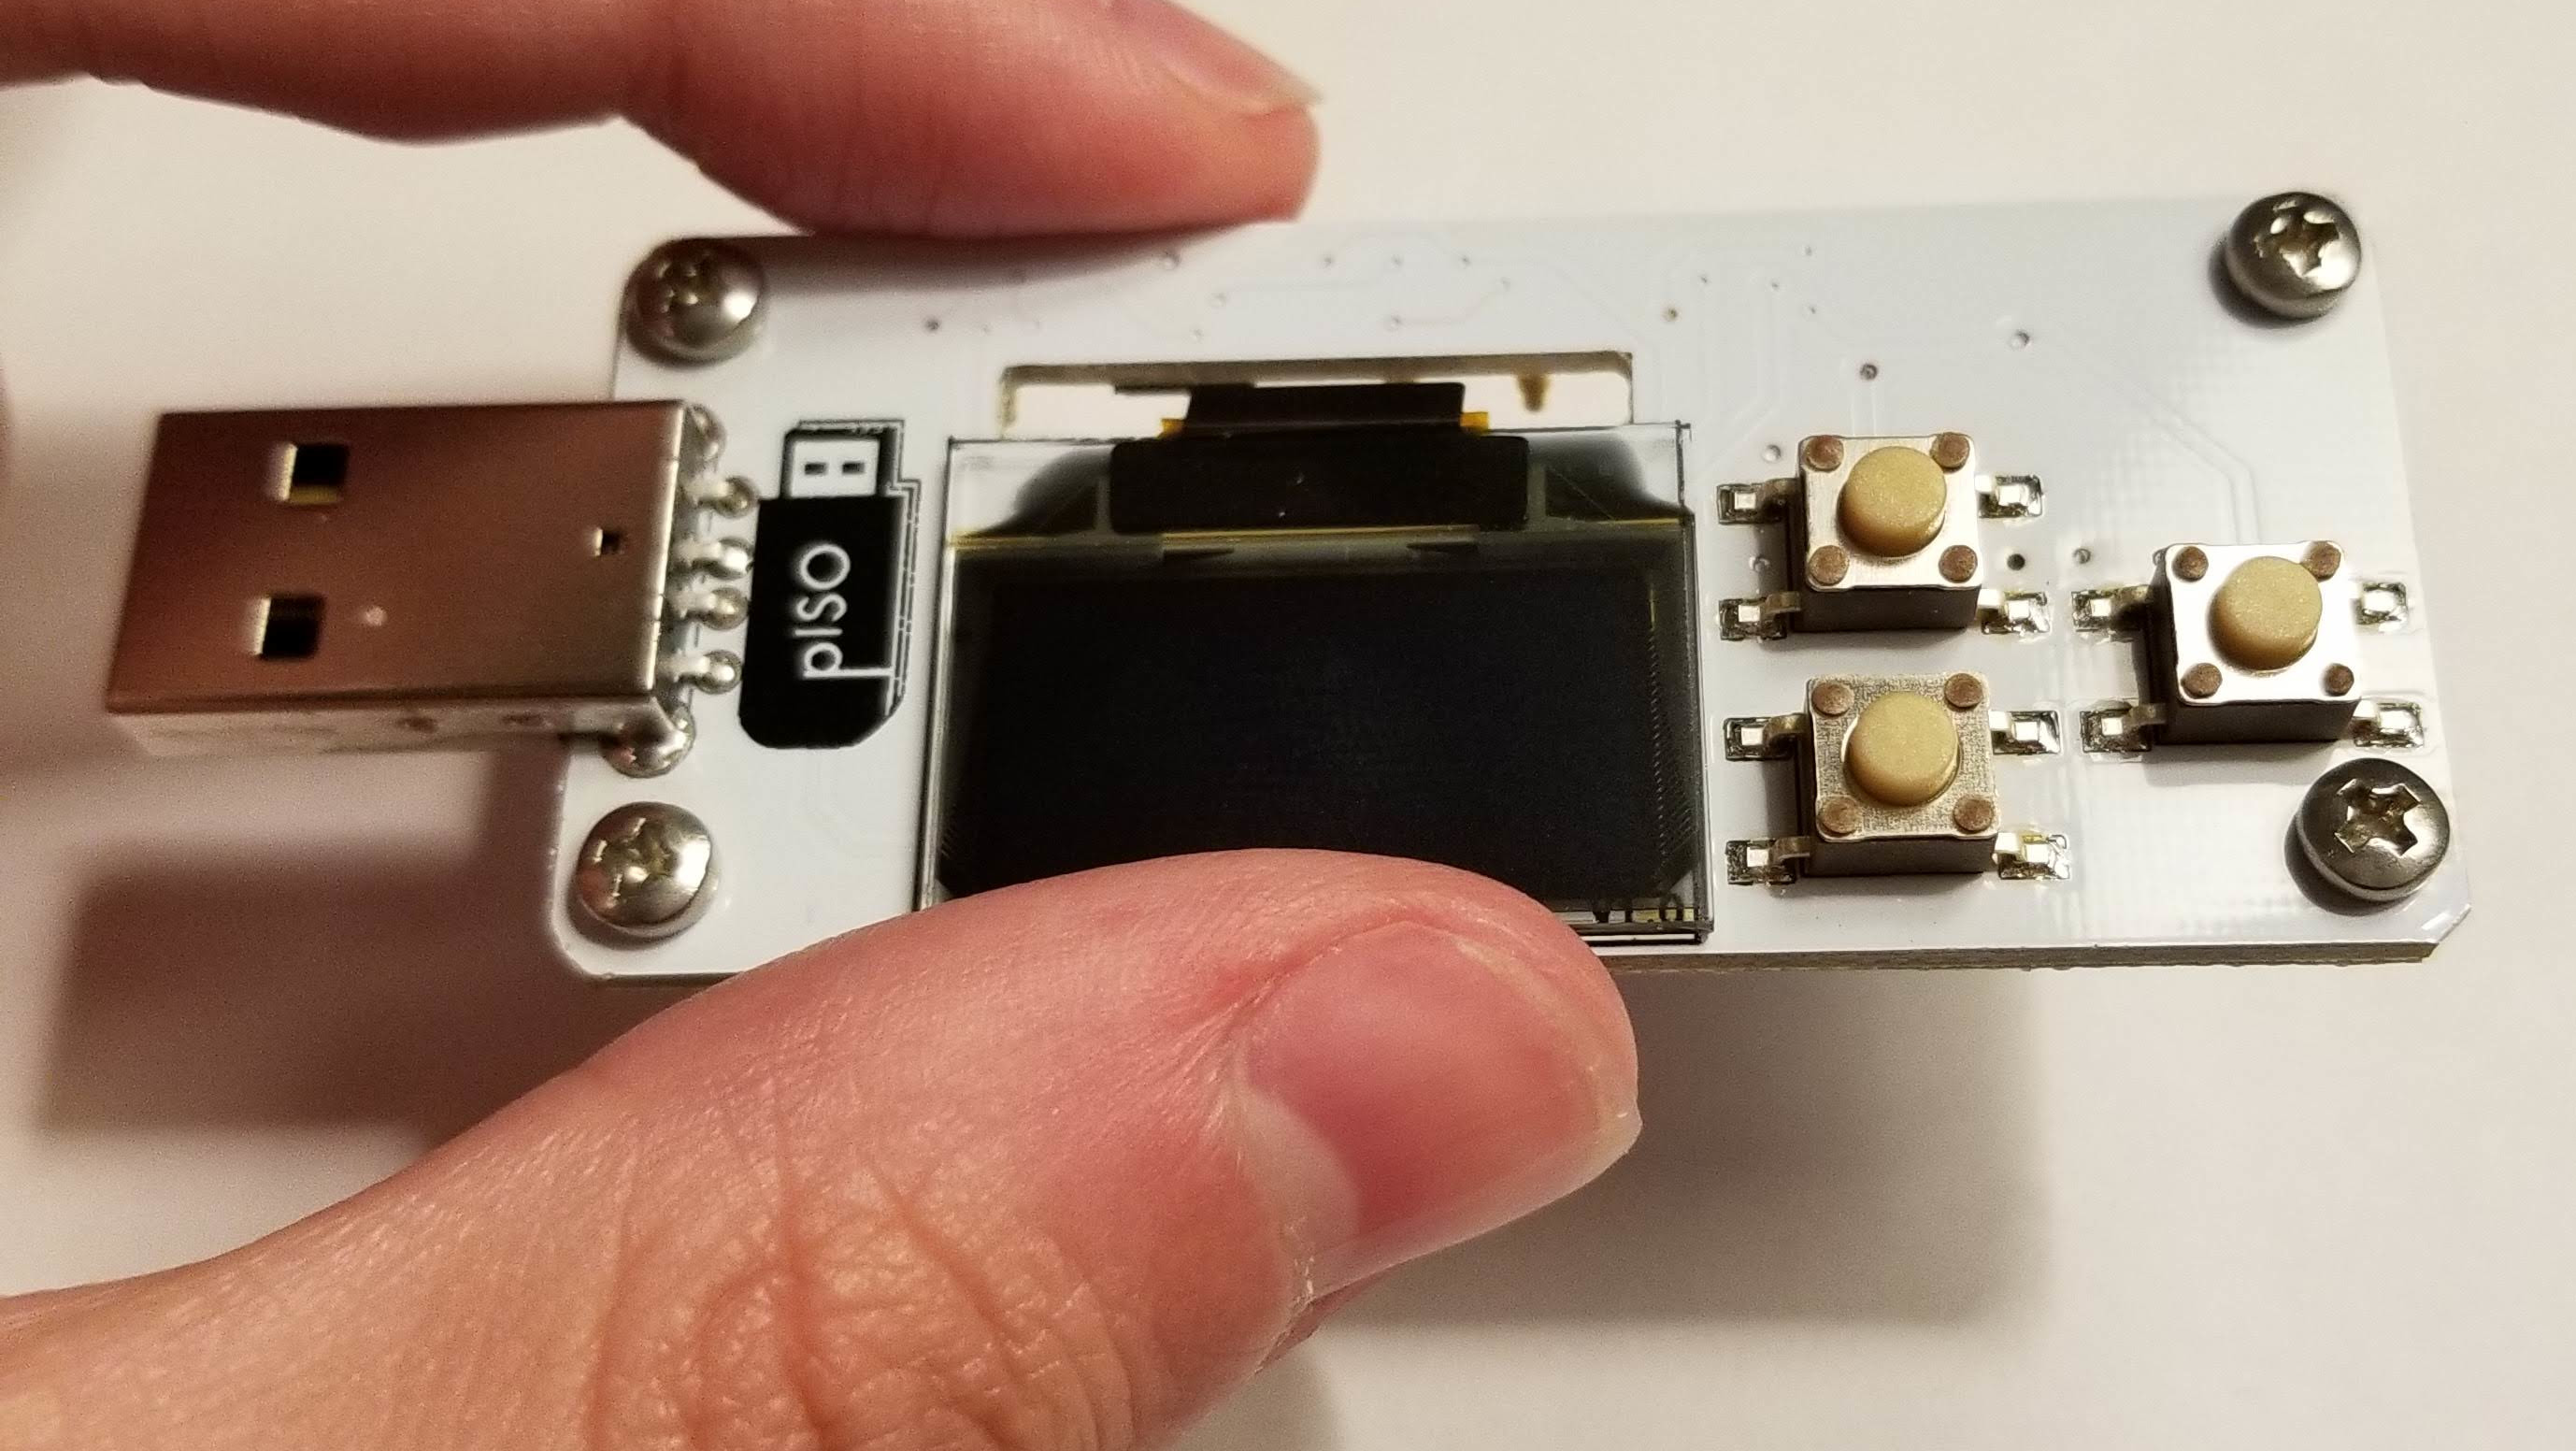
Attaching the pISO
The page documents how to attach the pISO to your Raspberry Pi Zero. For instructions on how to setup your SD card with the pISO OS, please see this page
If you have purchased a cover to use with your pISO, please see this section for assembly instructions. Otherwise, read the section below.
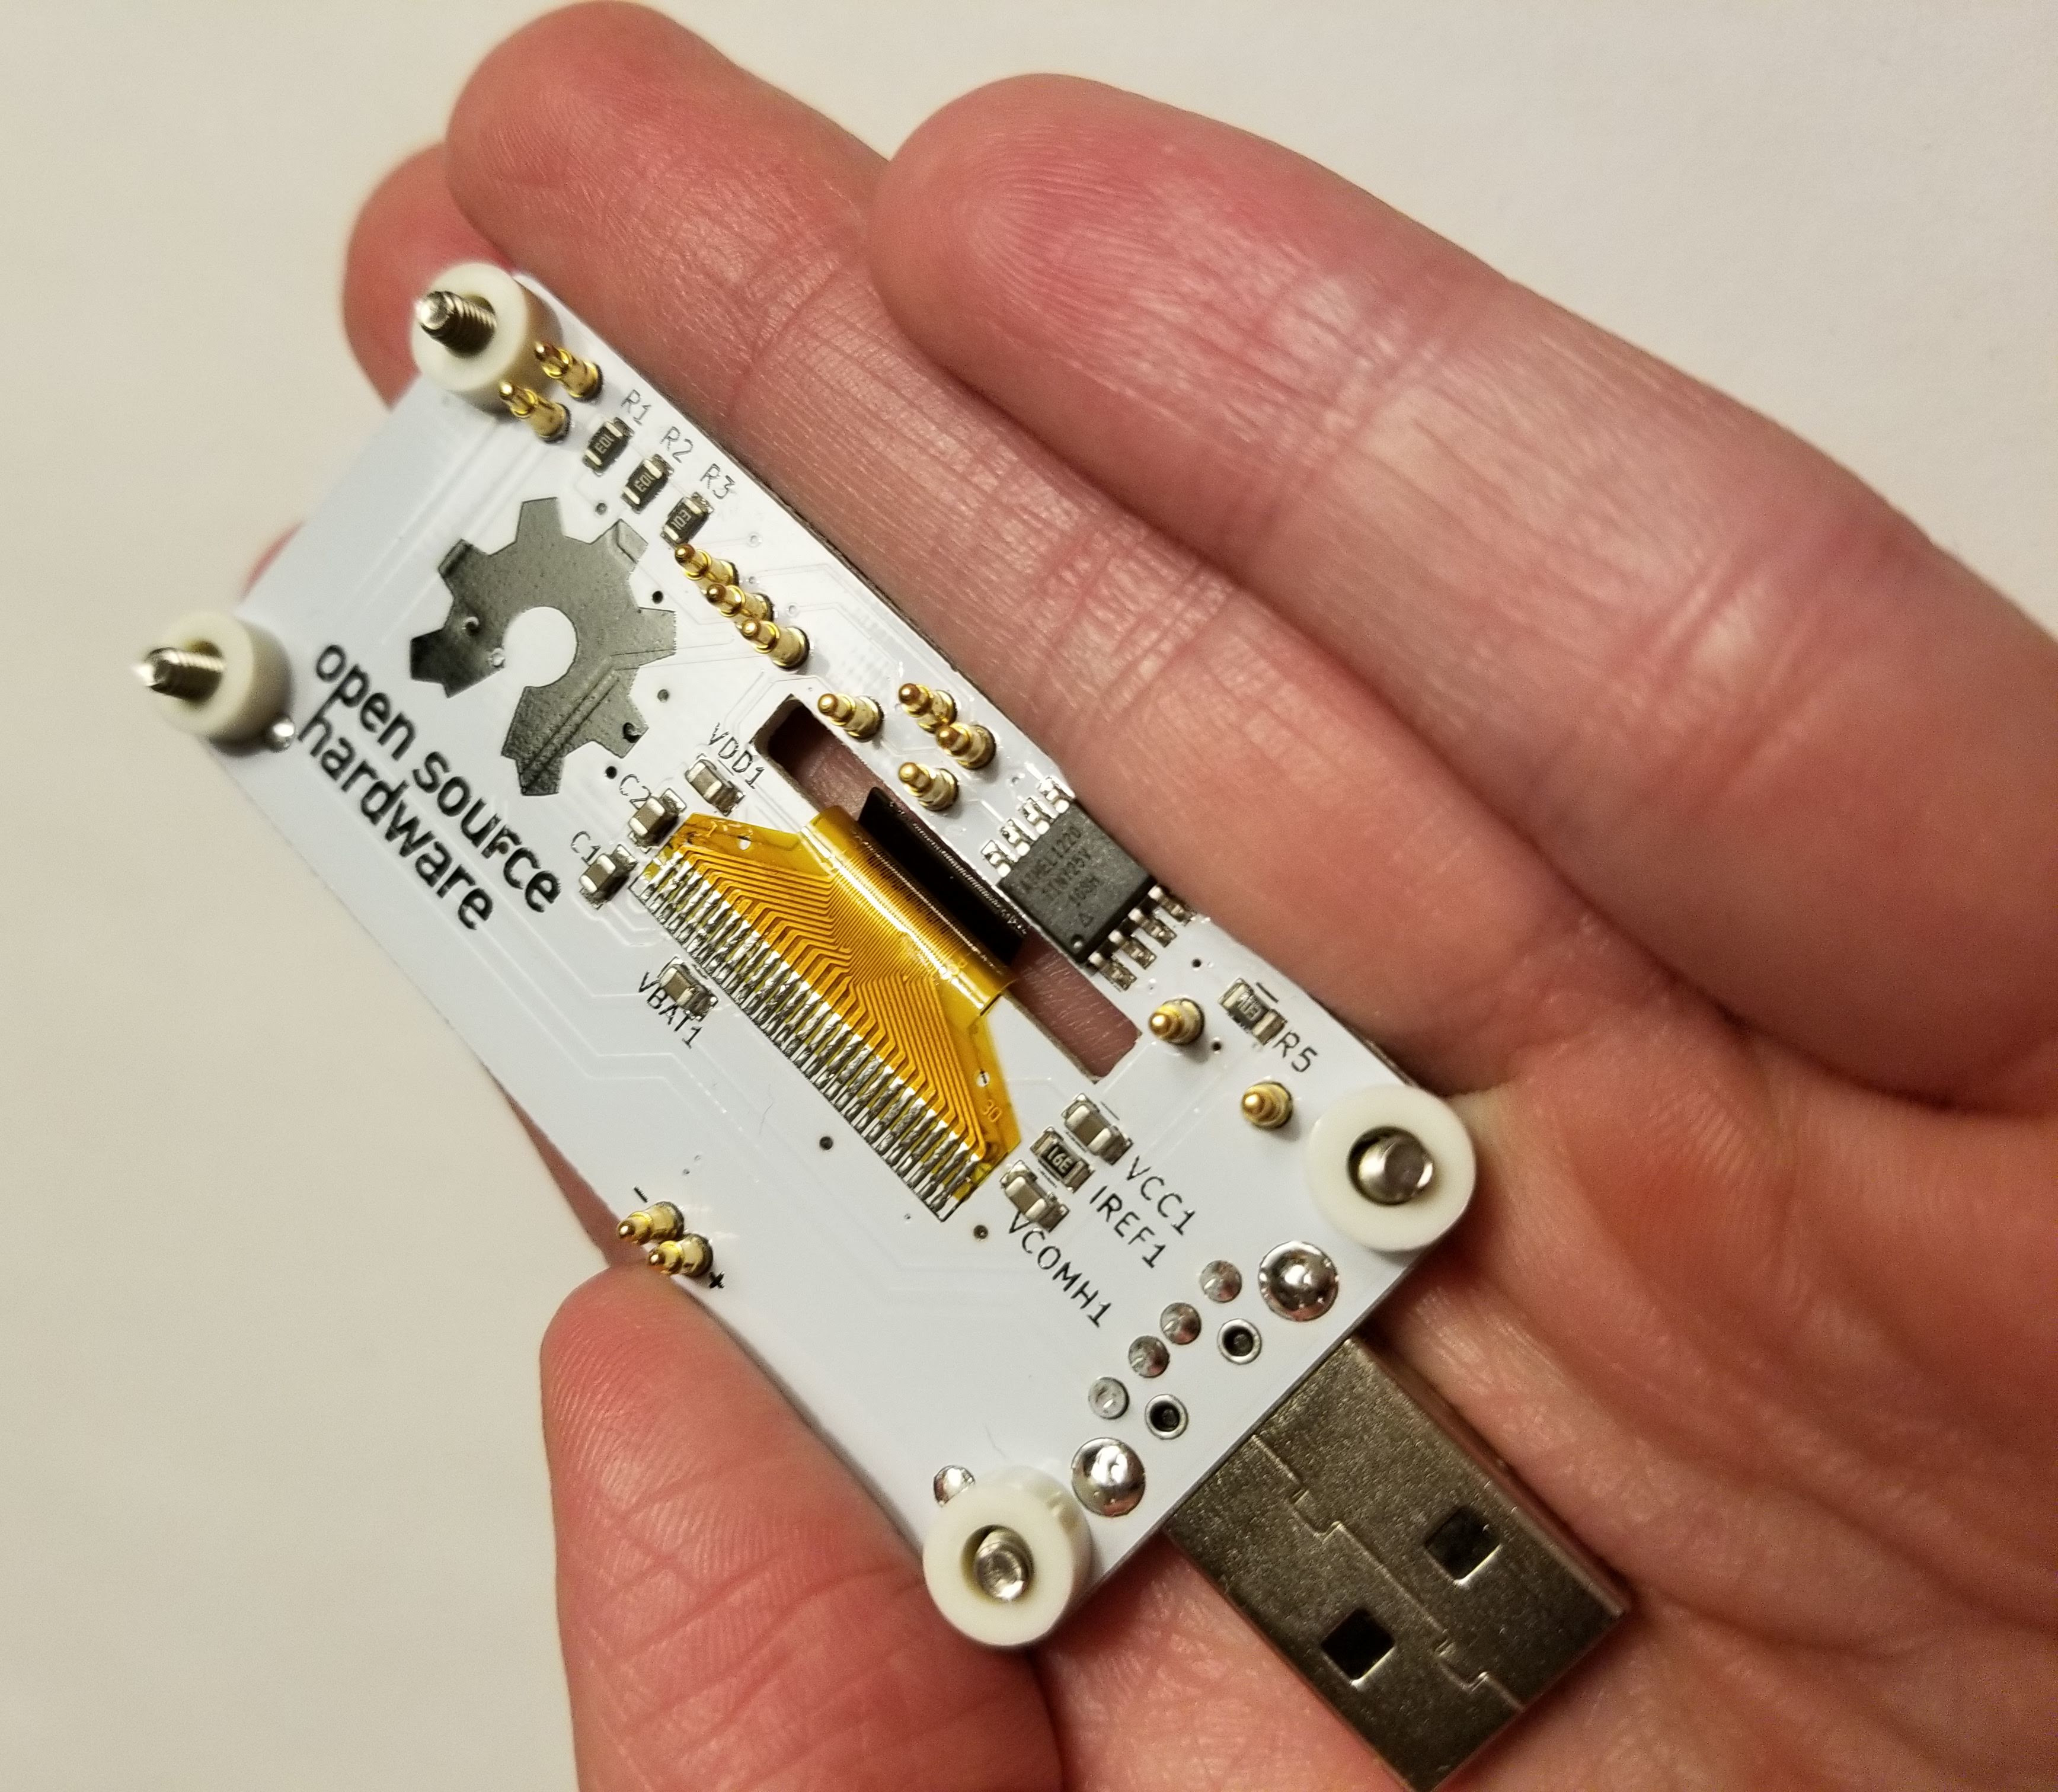
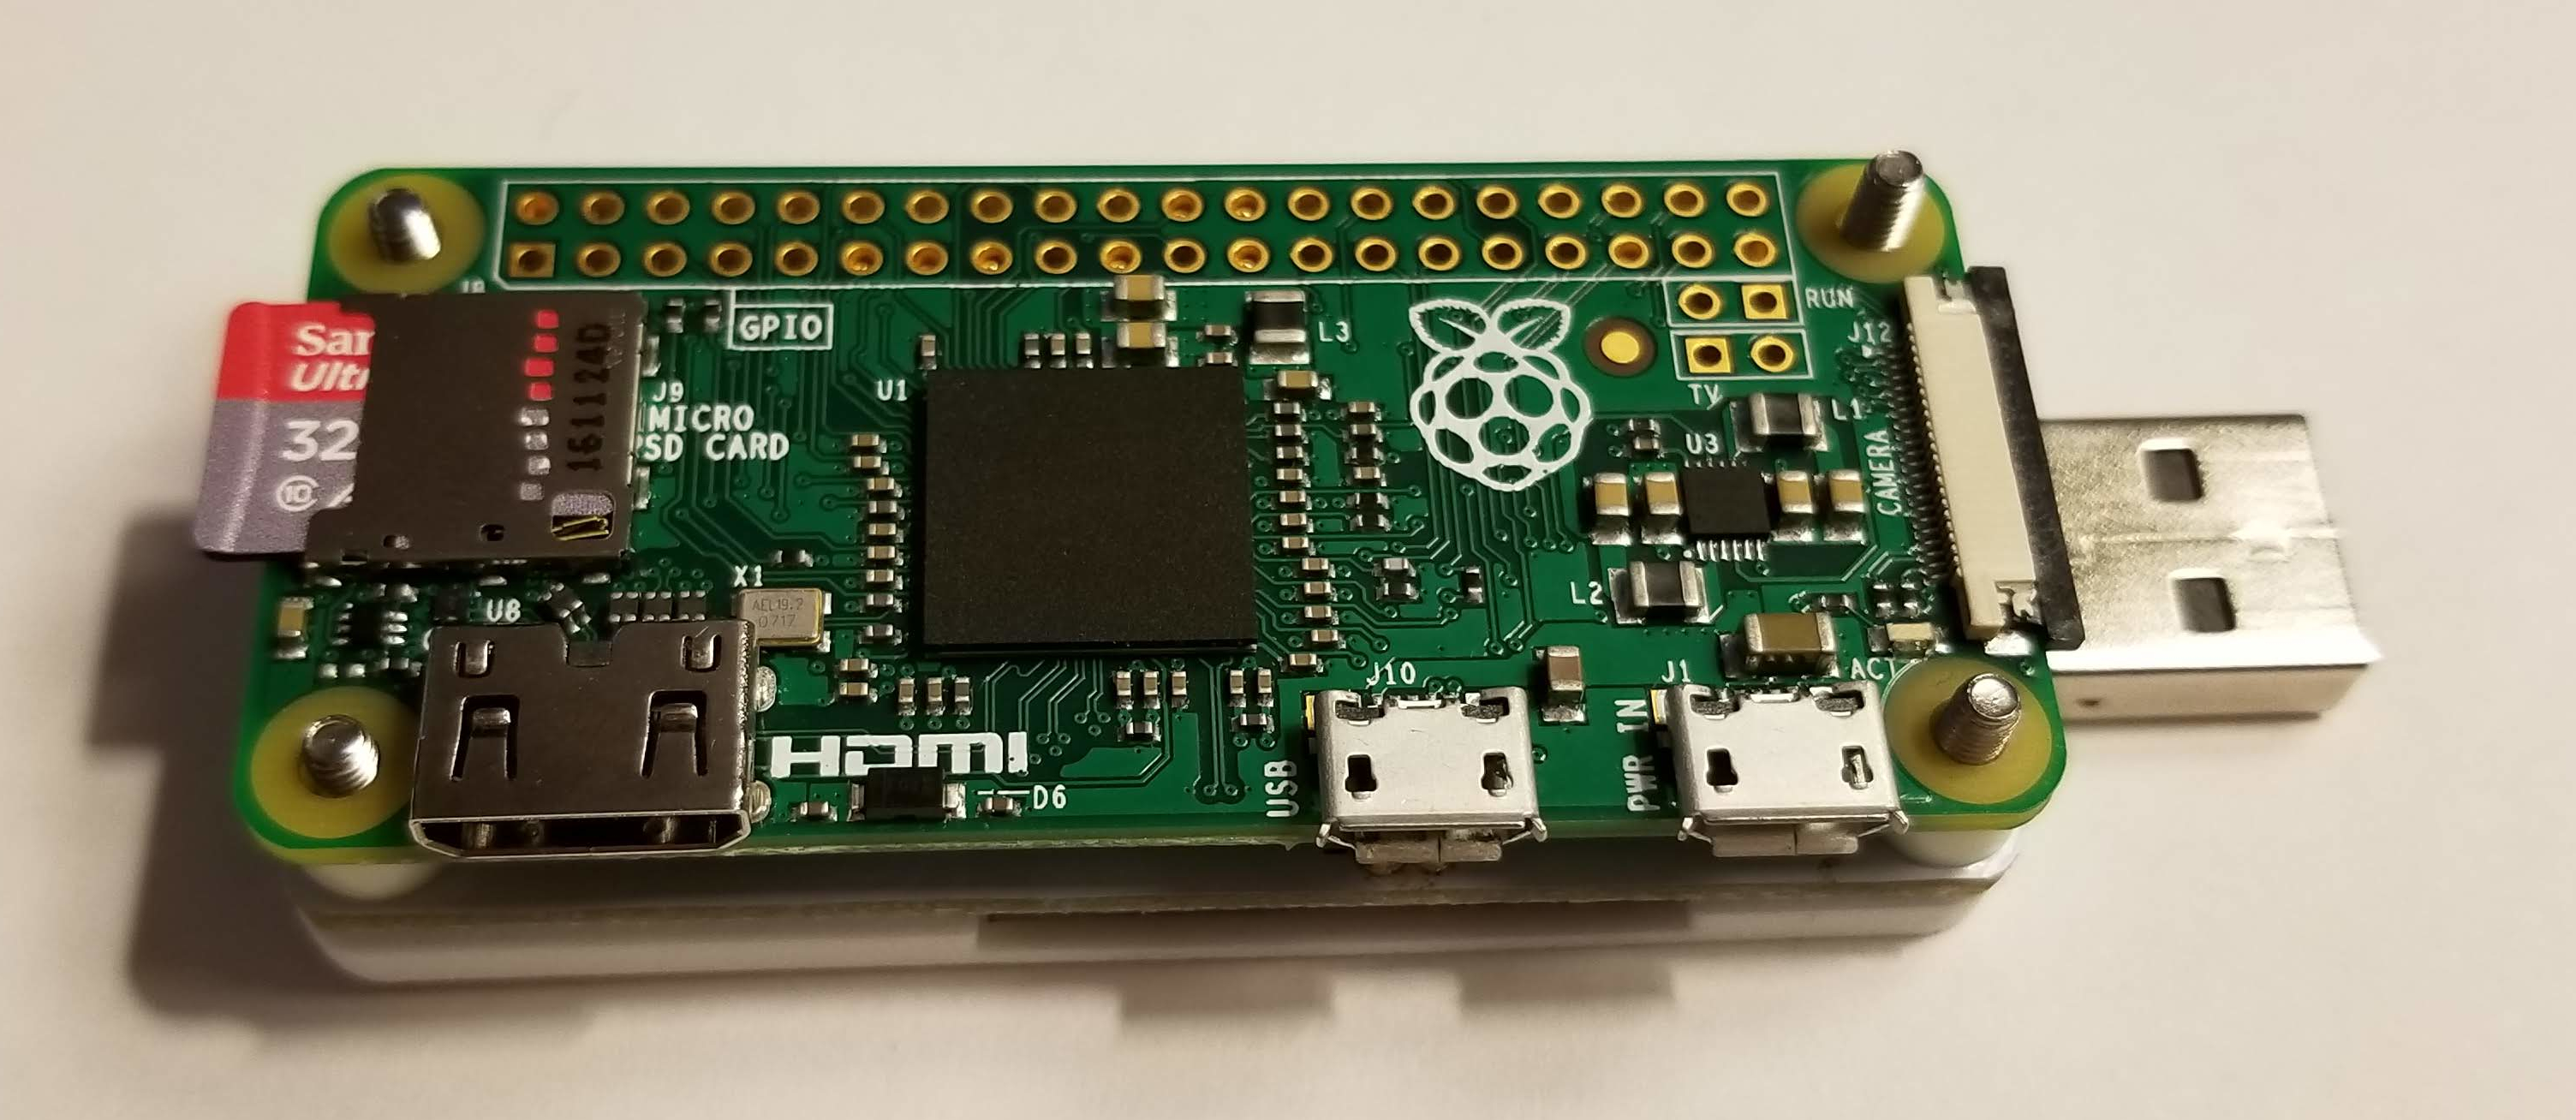
- Place the screws in the pISO as shown below.
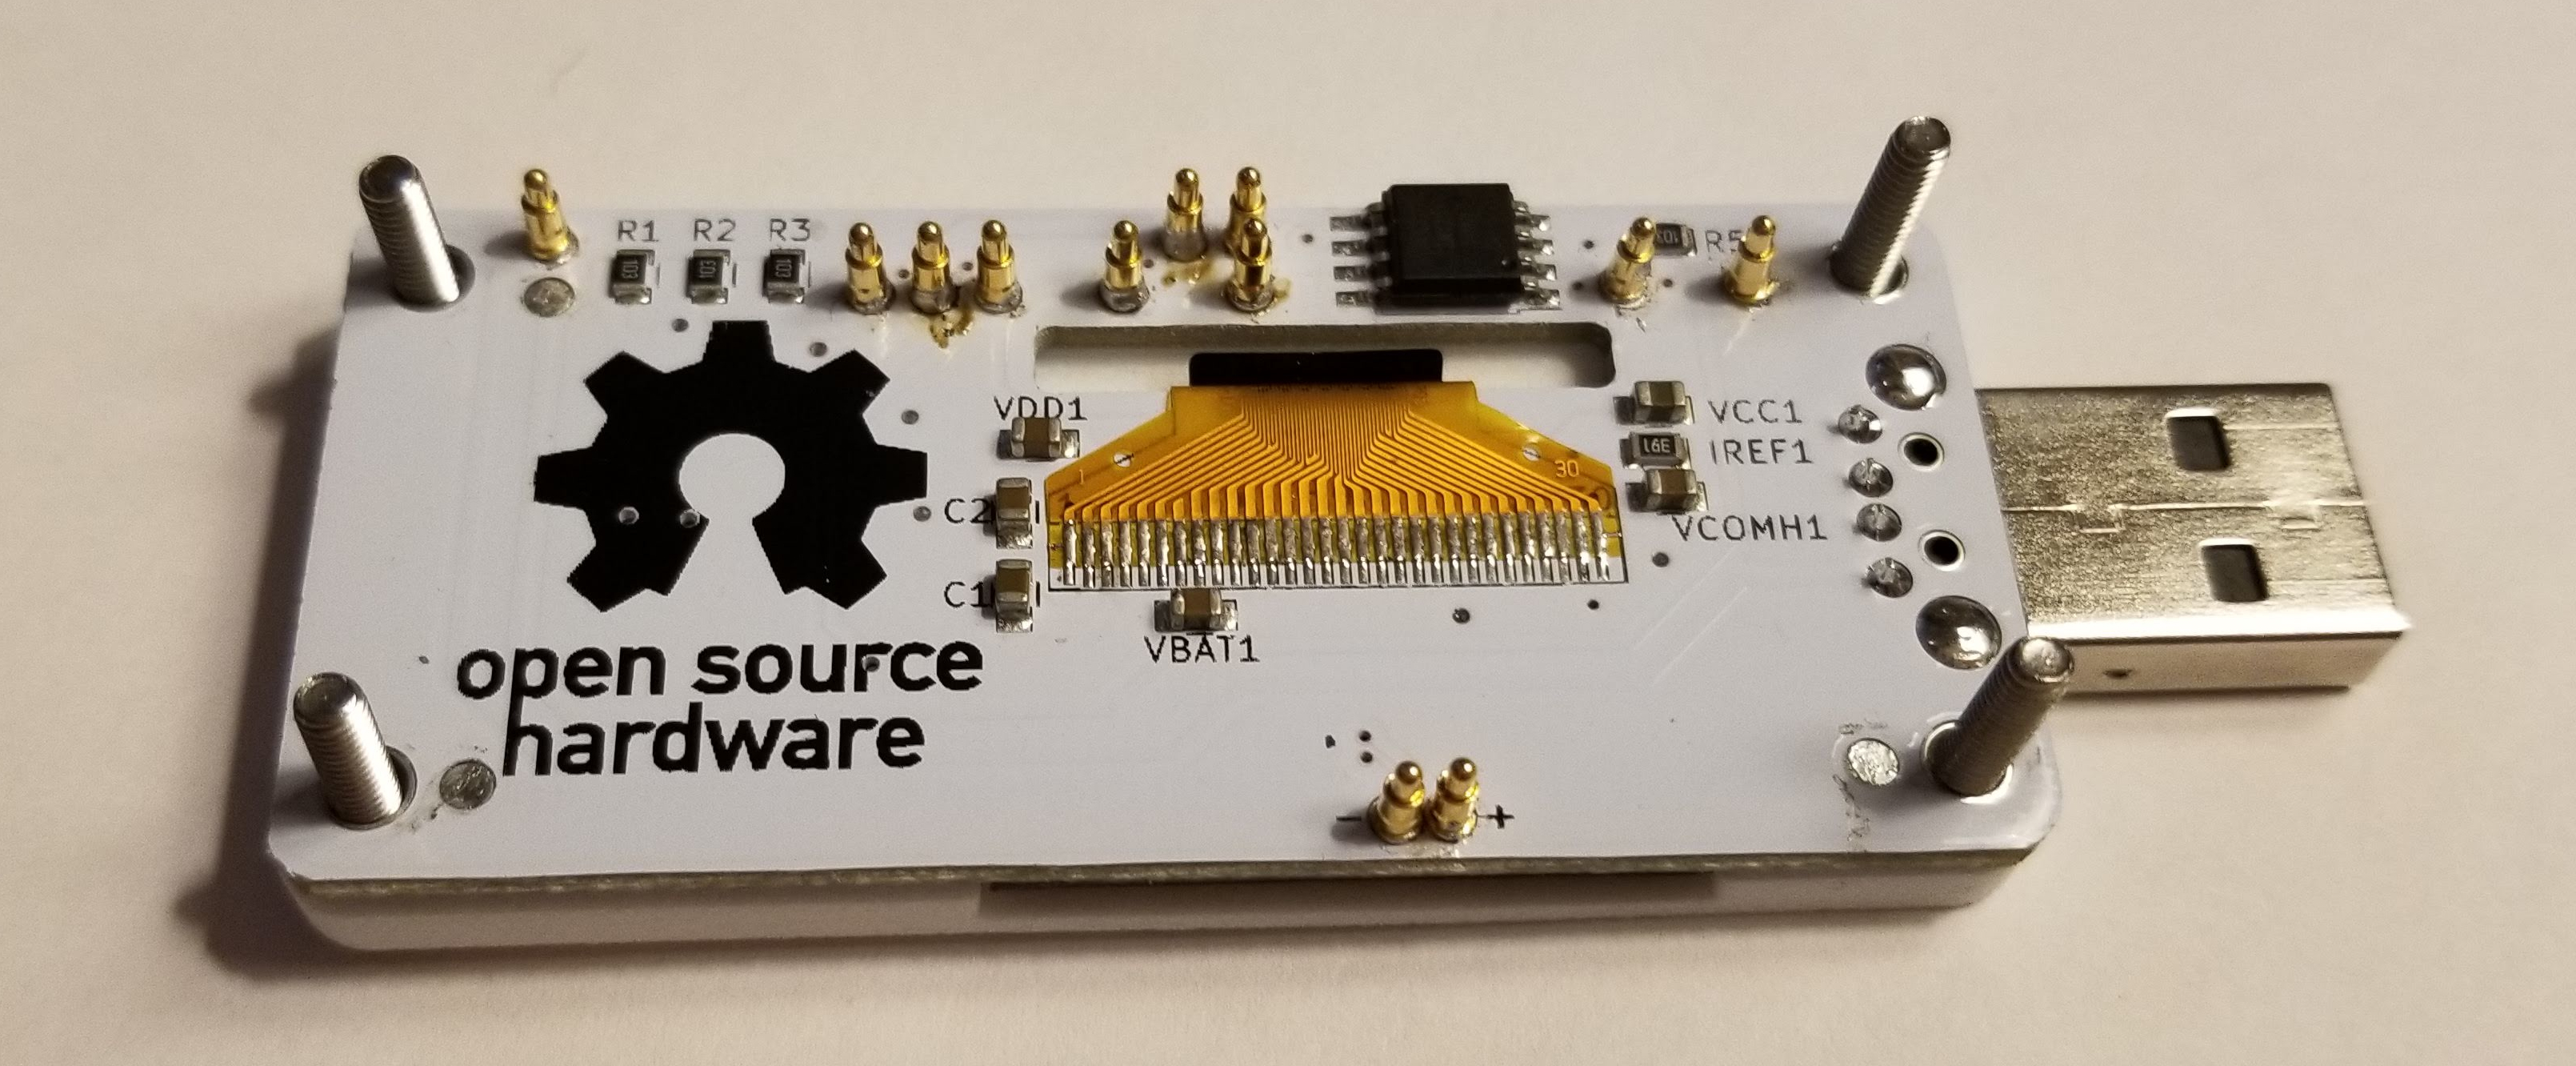
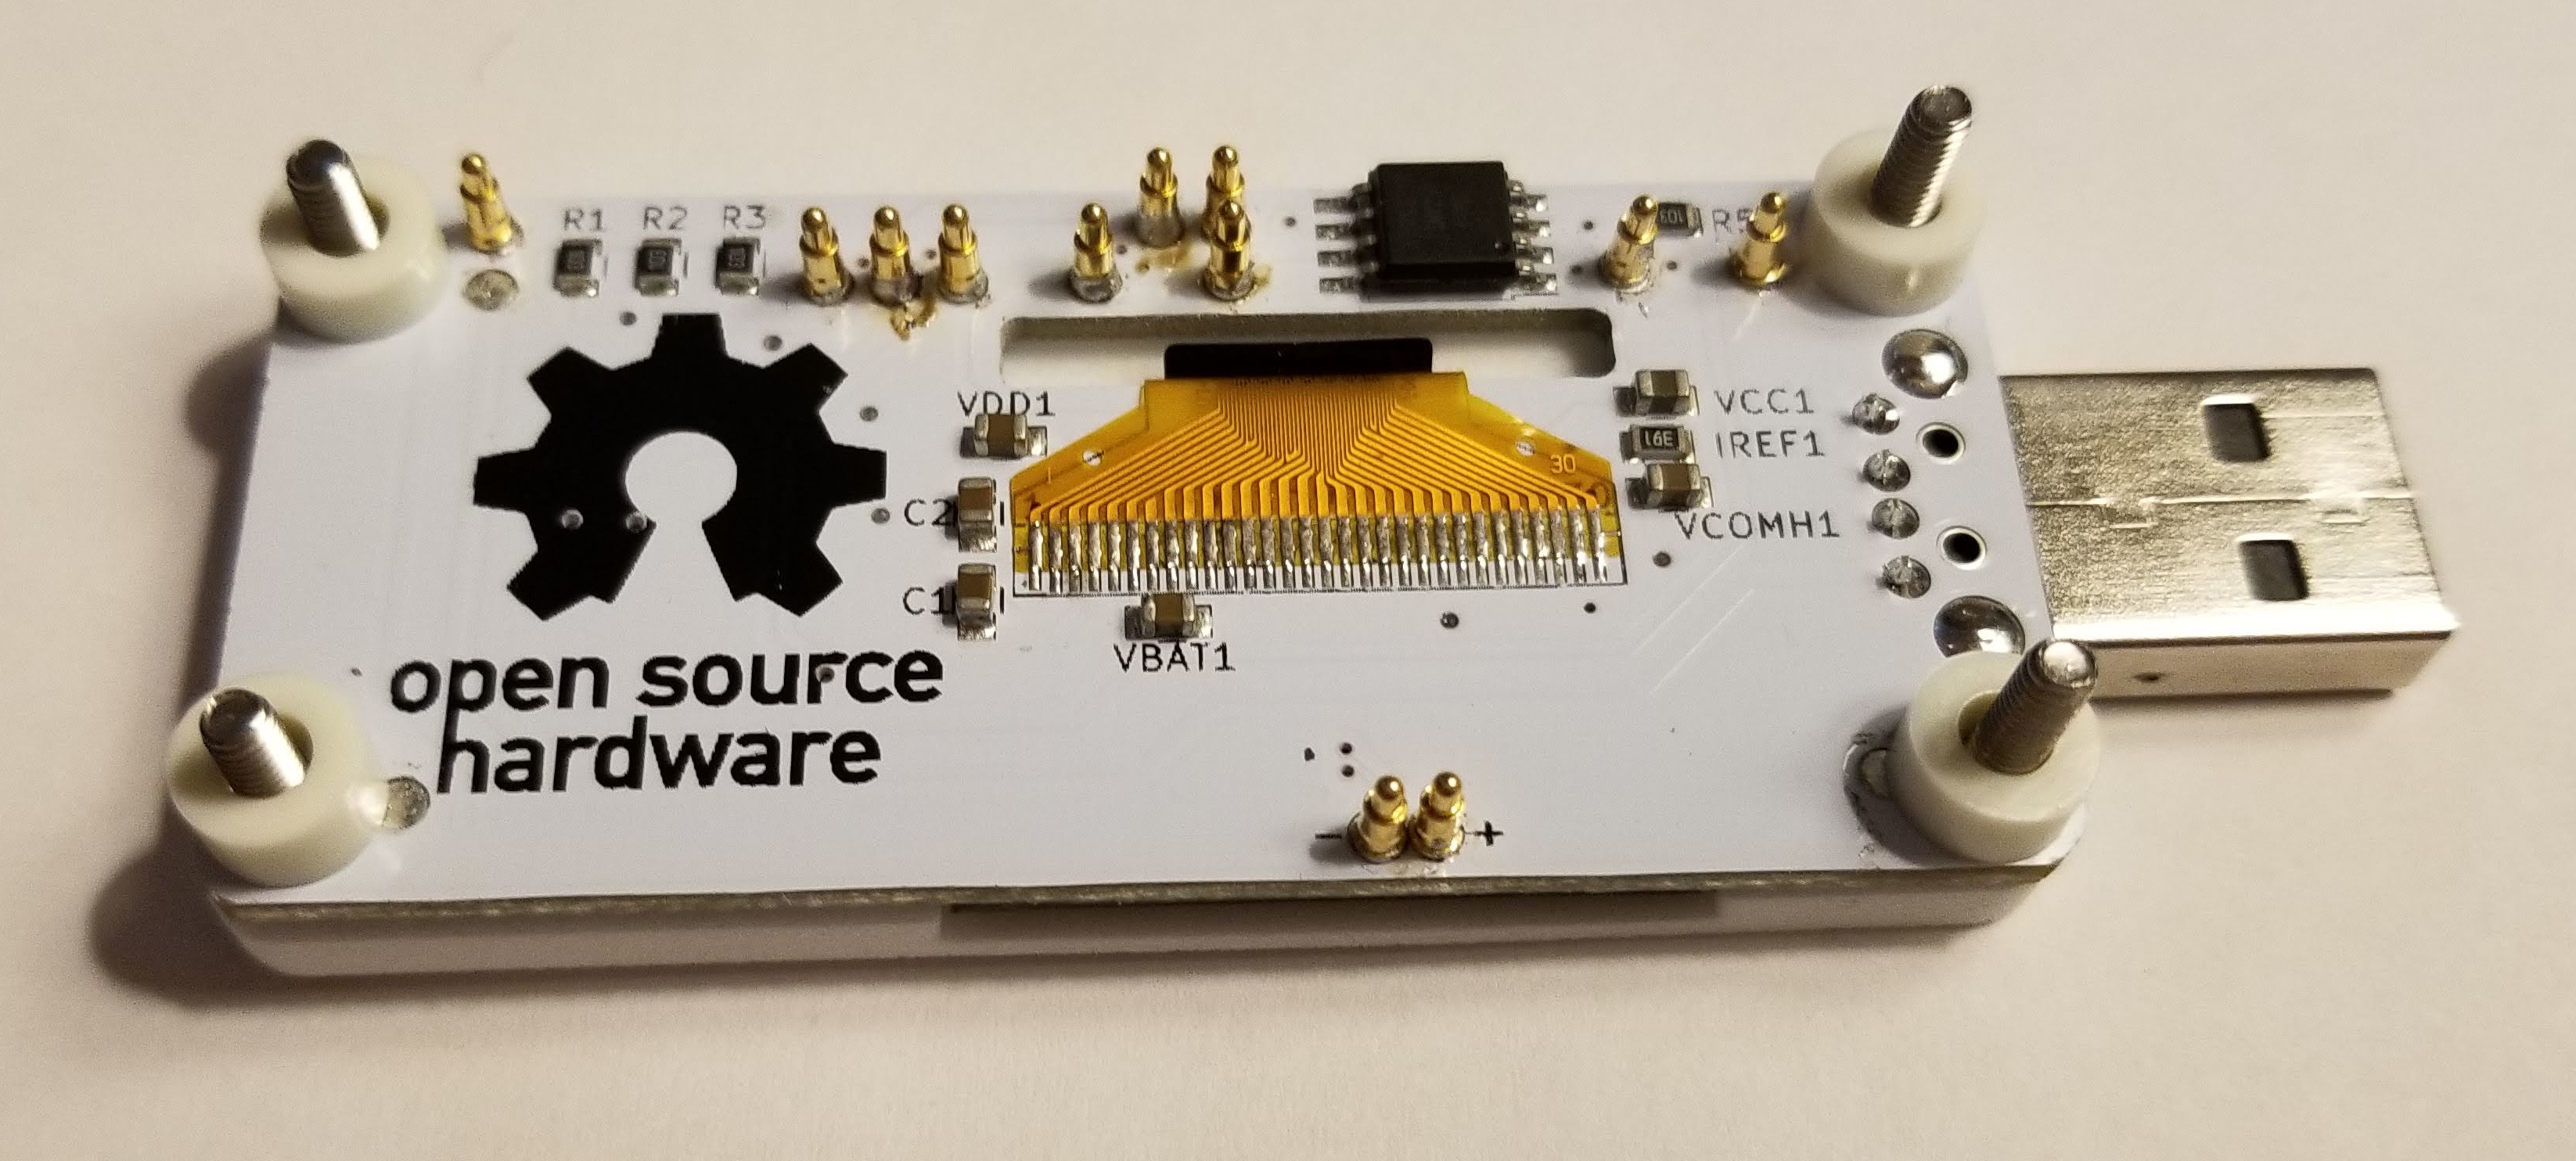
- Flip the pISO over and use your hand and palm to hold the screws in place. Put the spacers over the screws.
- Place your Raspberry Pi Zero on top and press it down so the screws extend through the top.
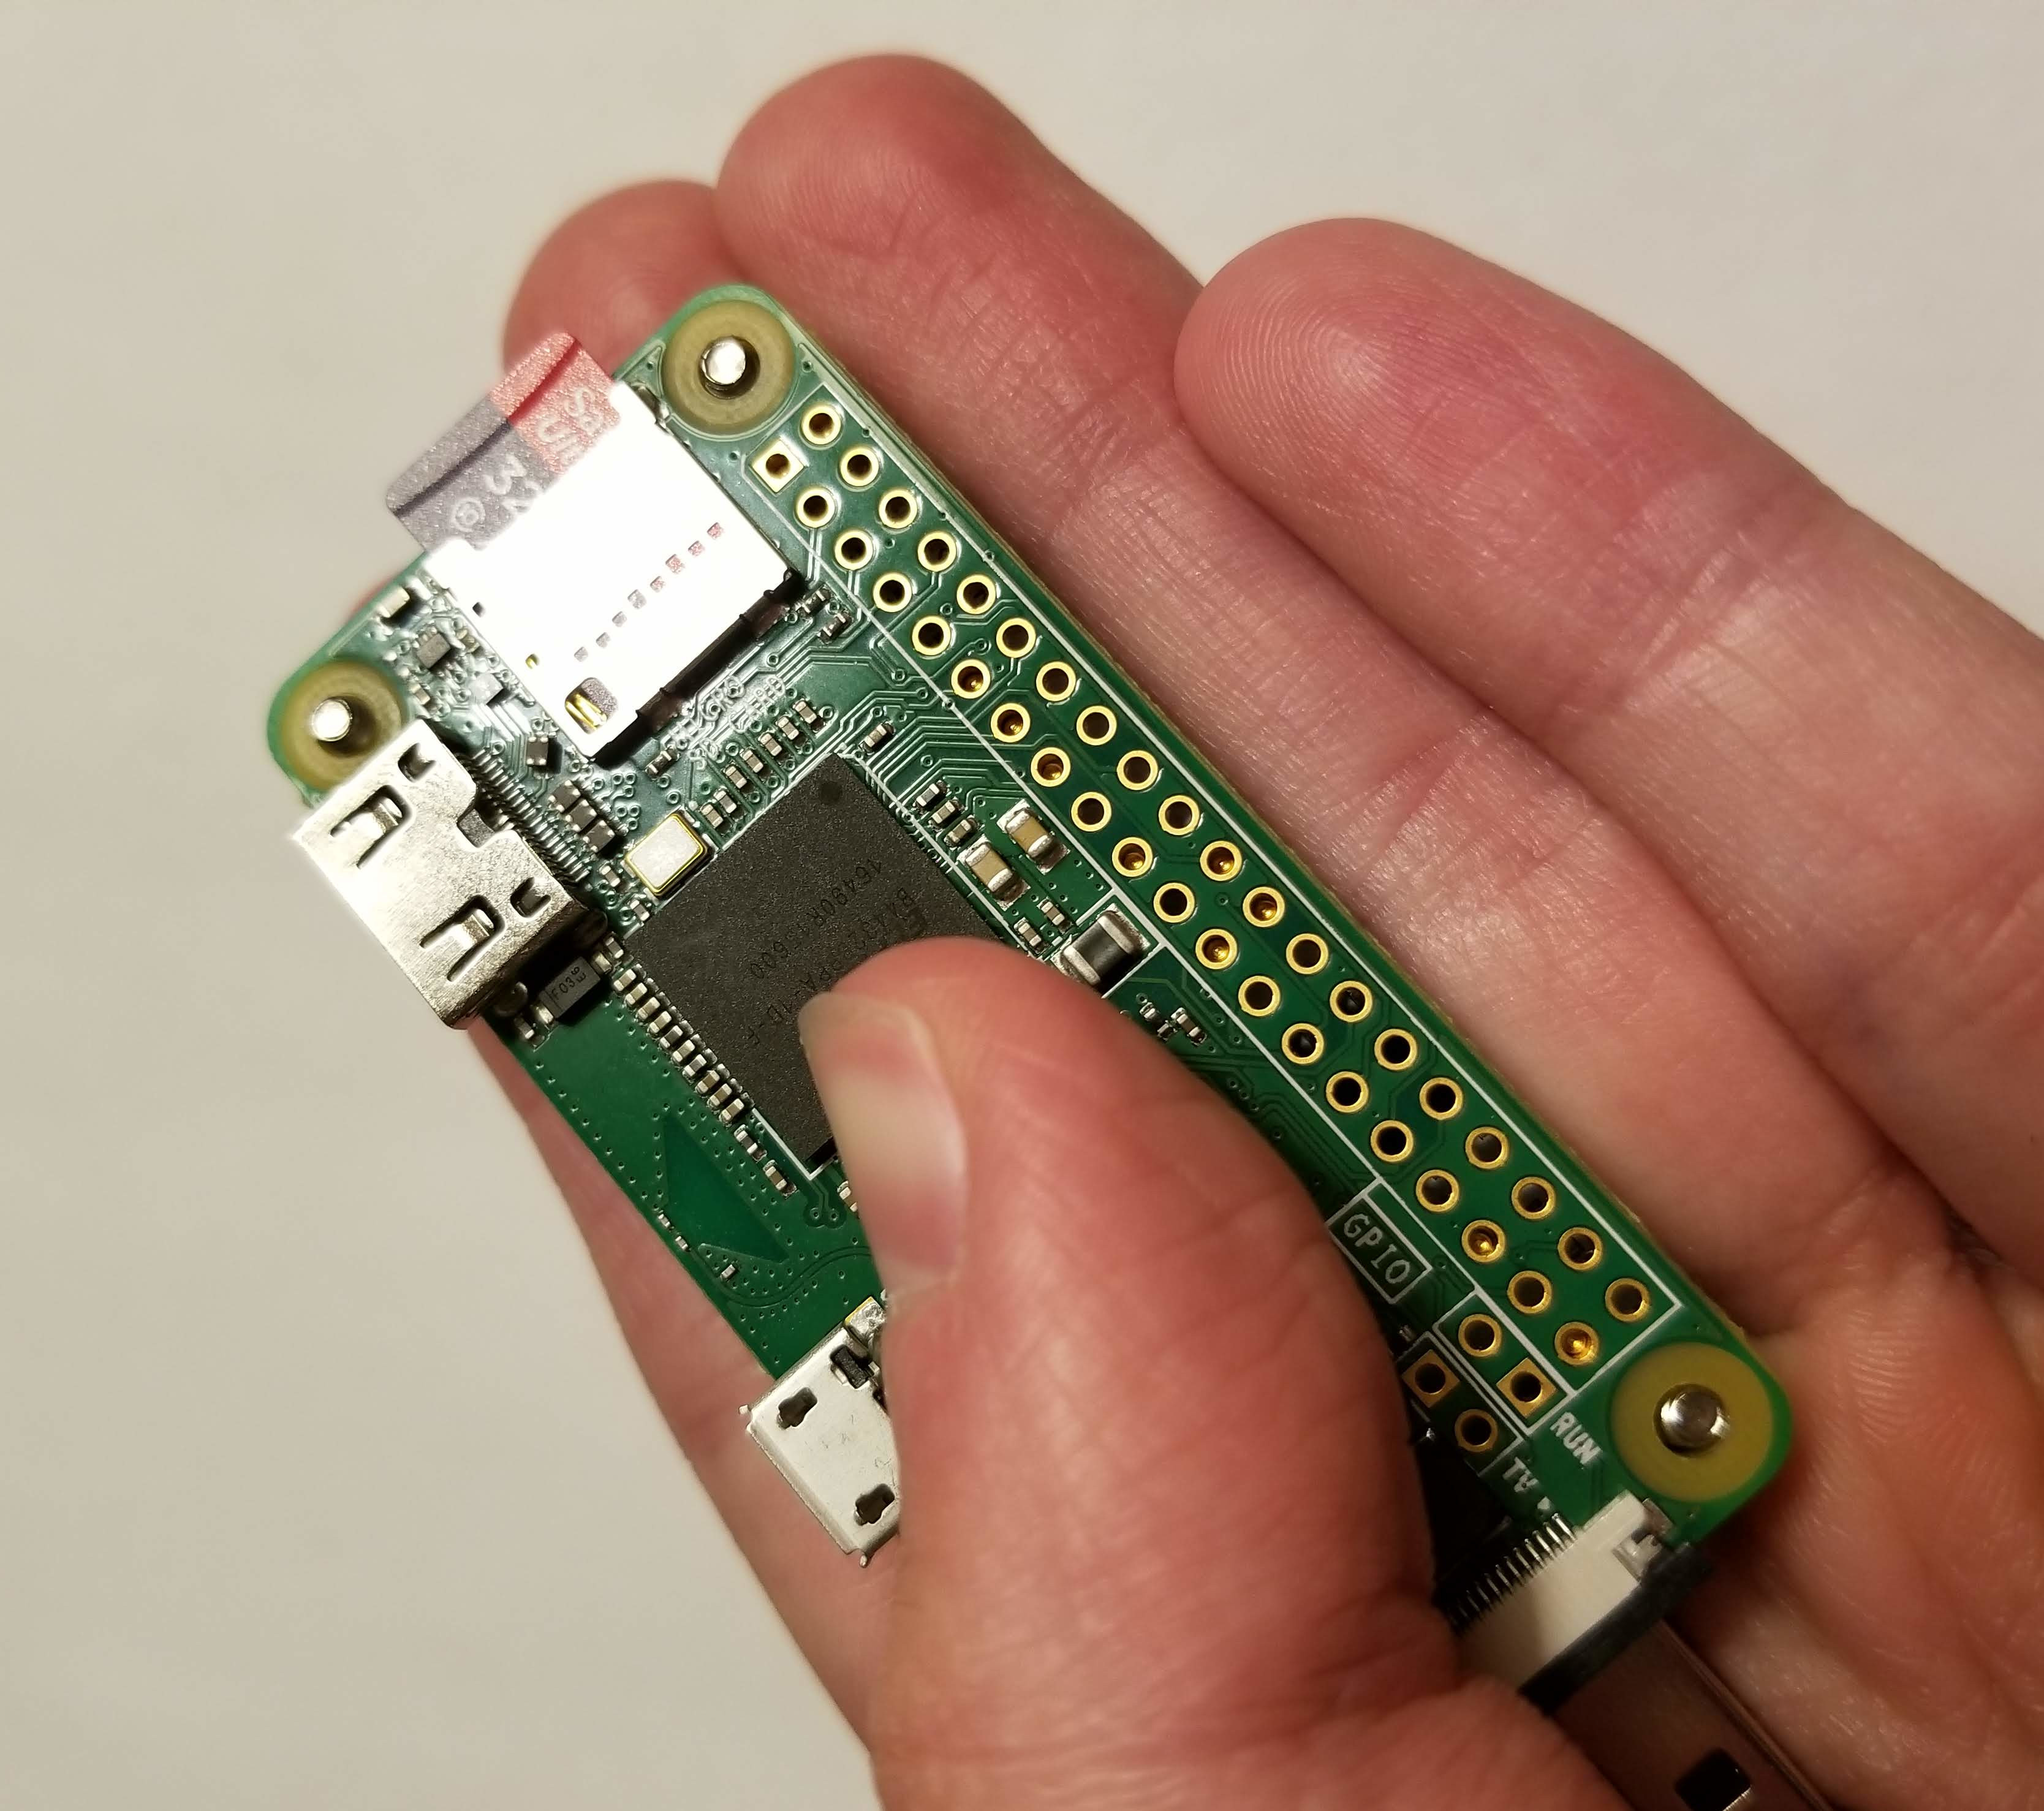
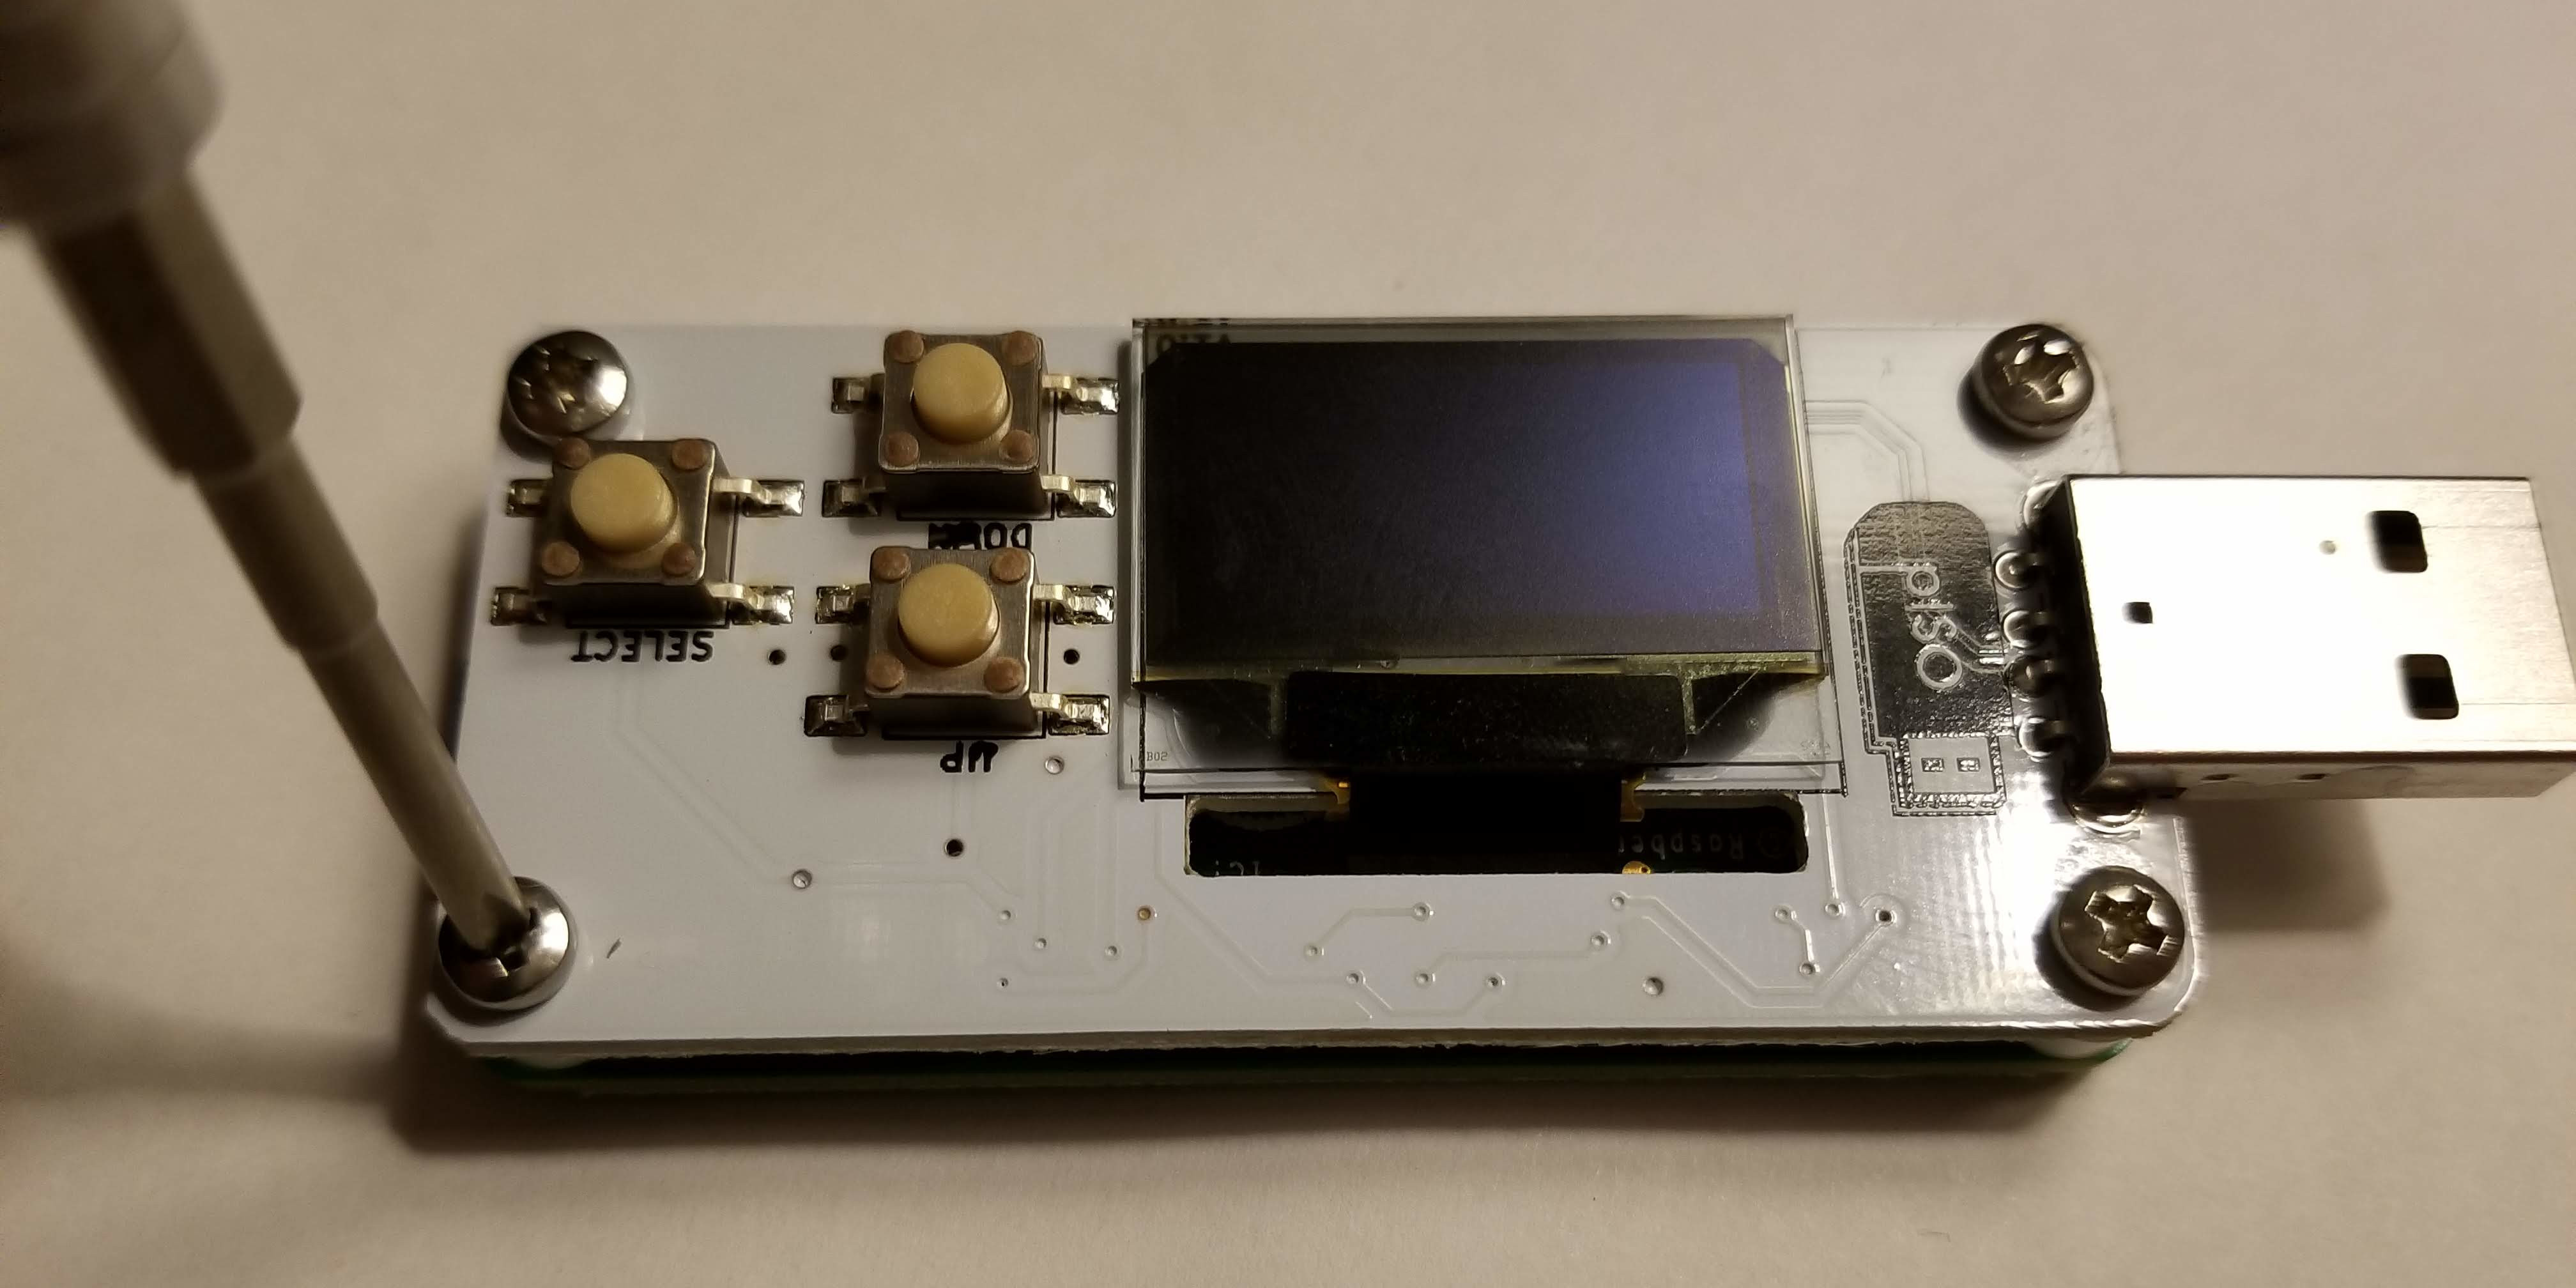
- Lightly screws on the screws (they will be tightened in the next step).
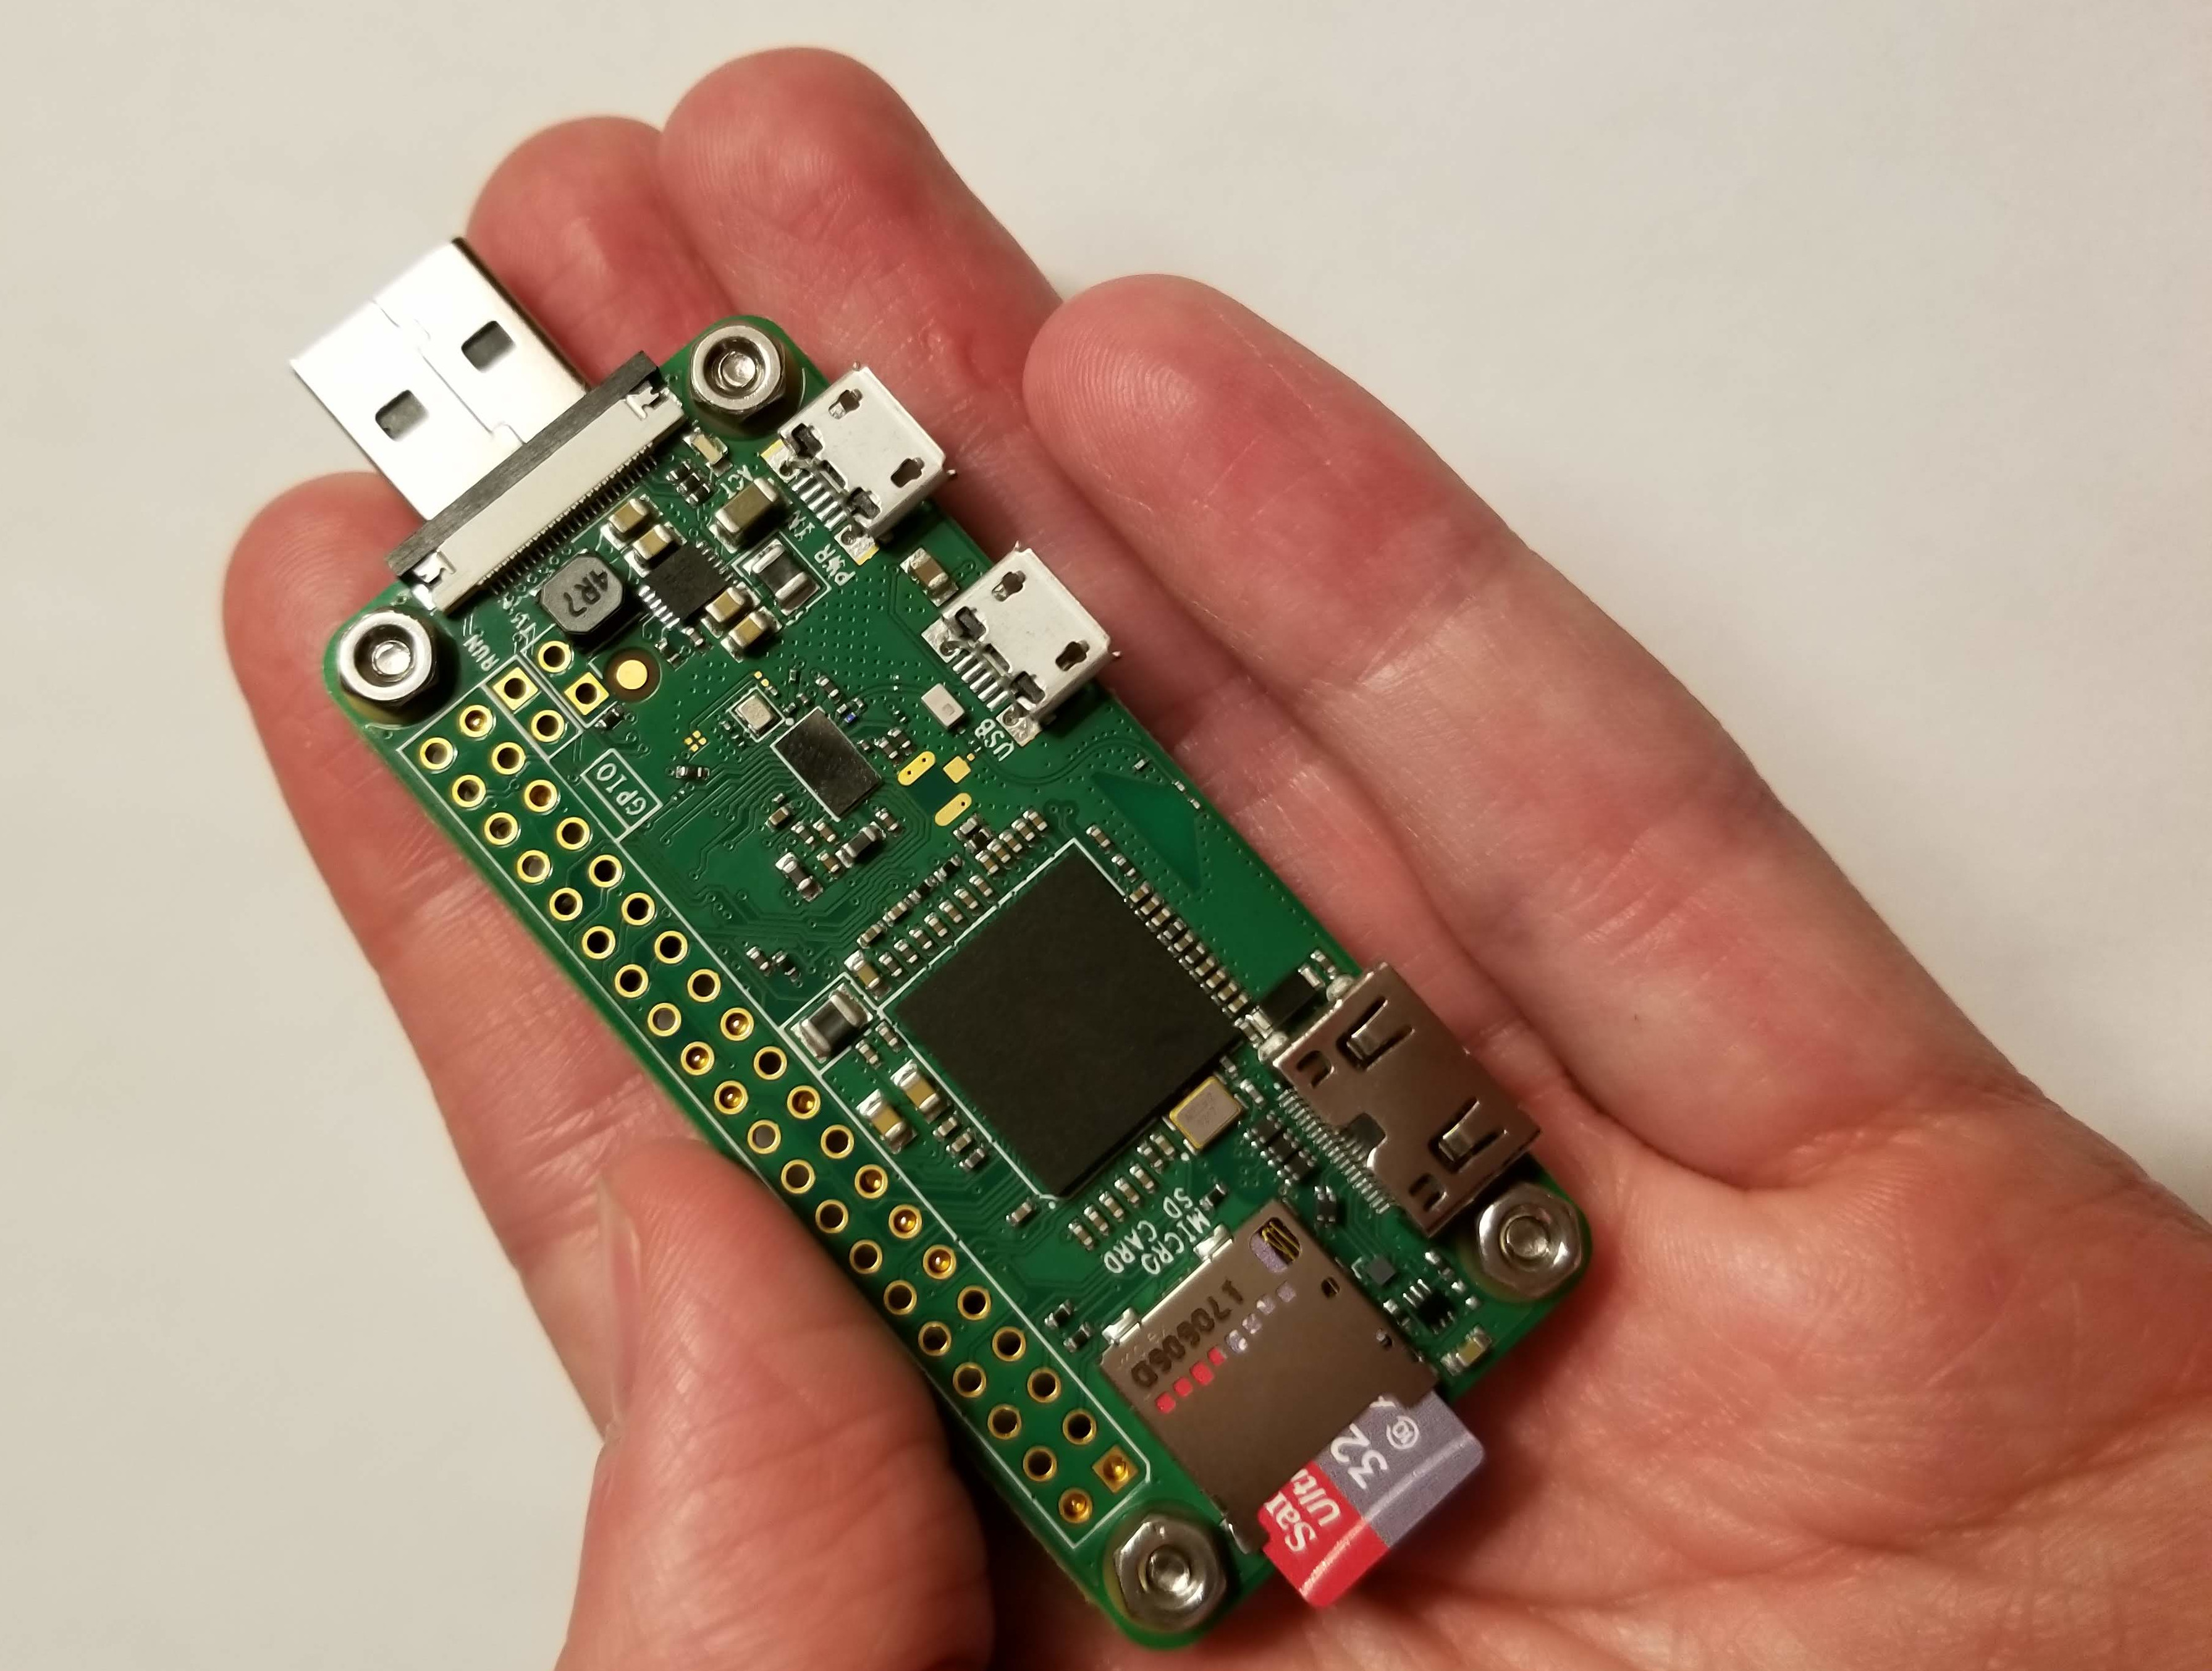
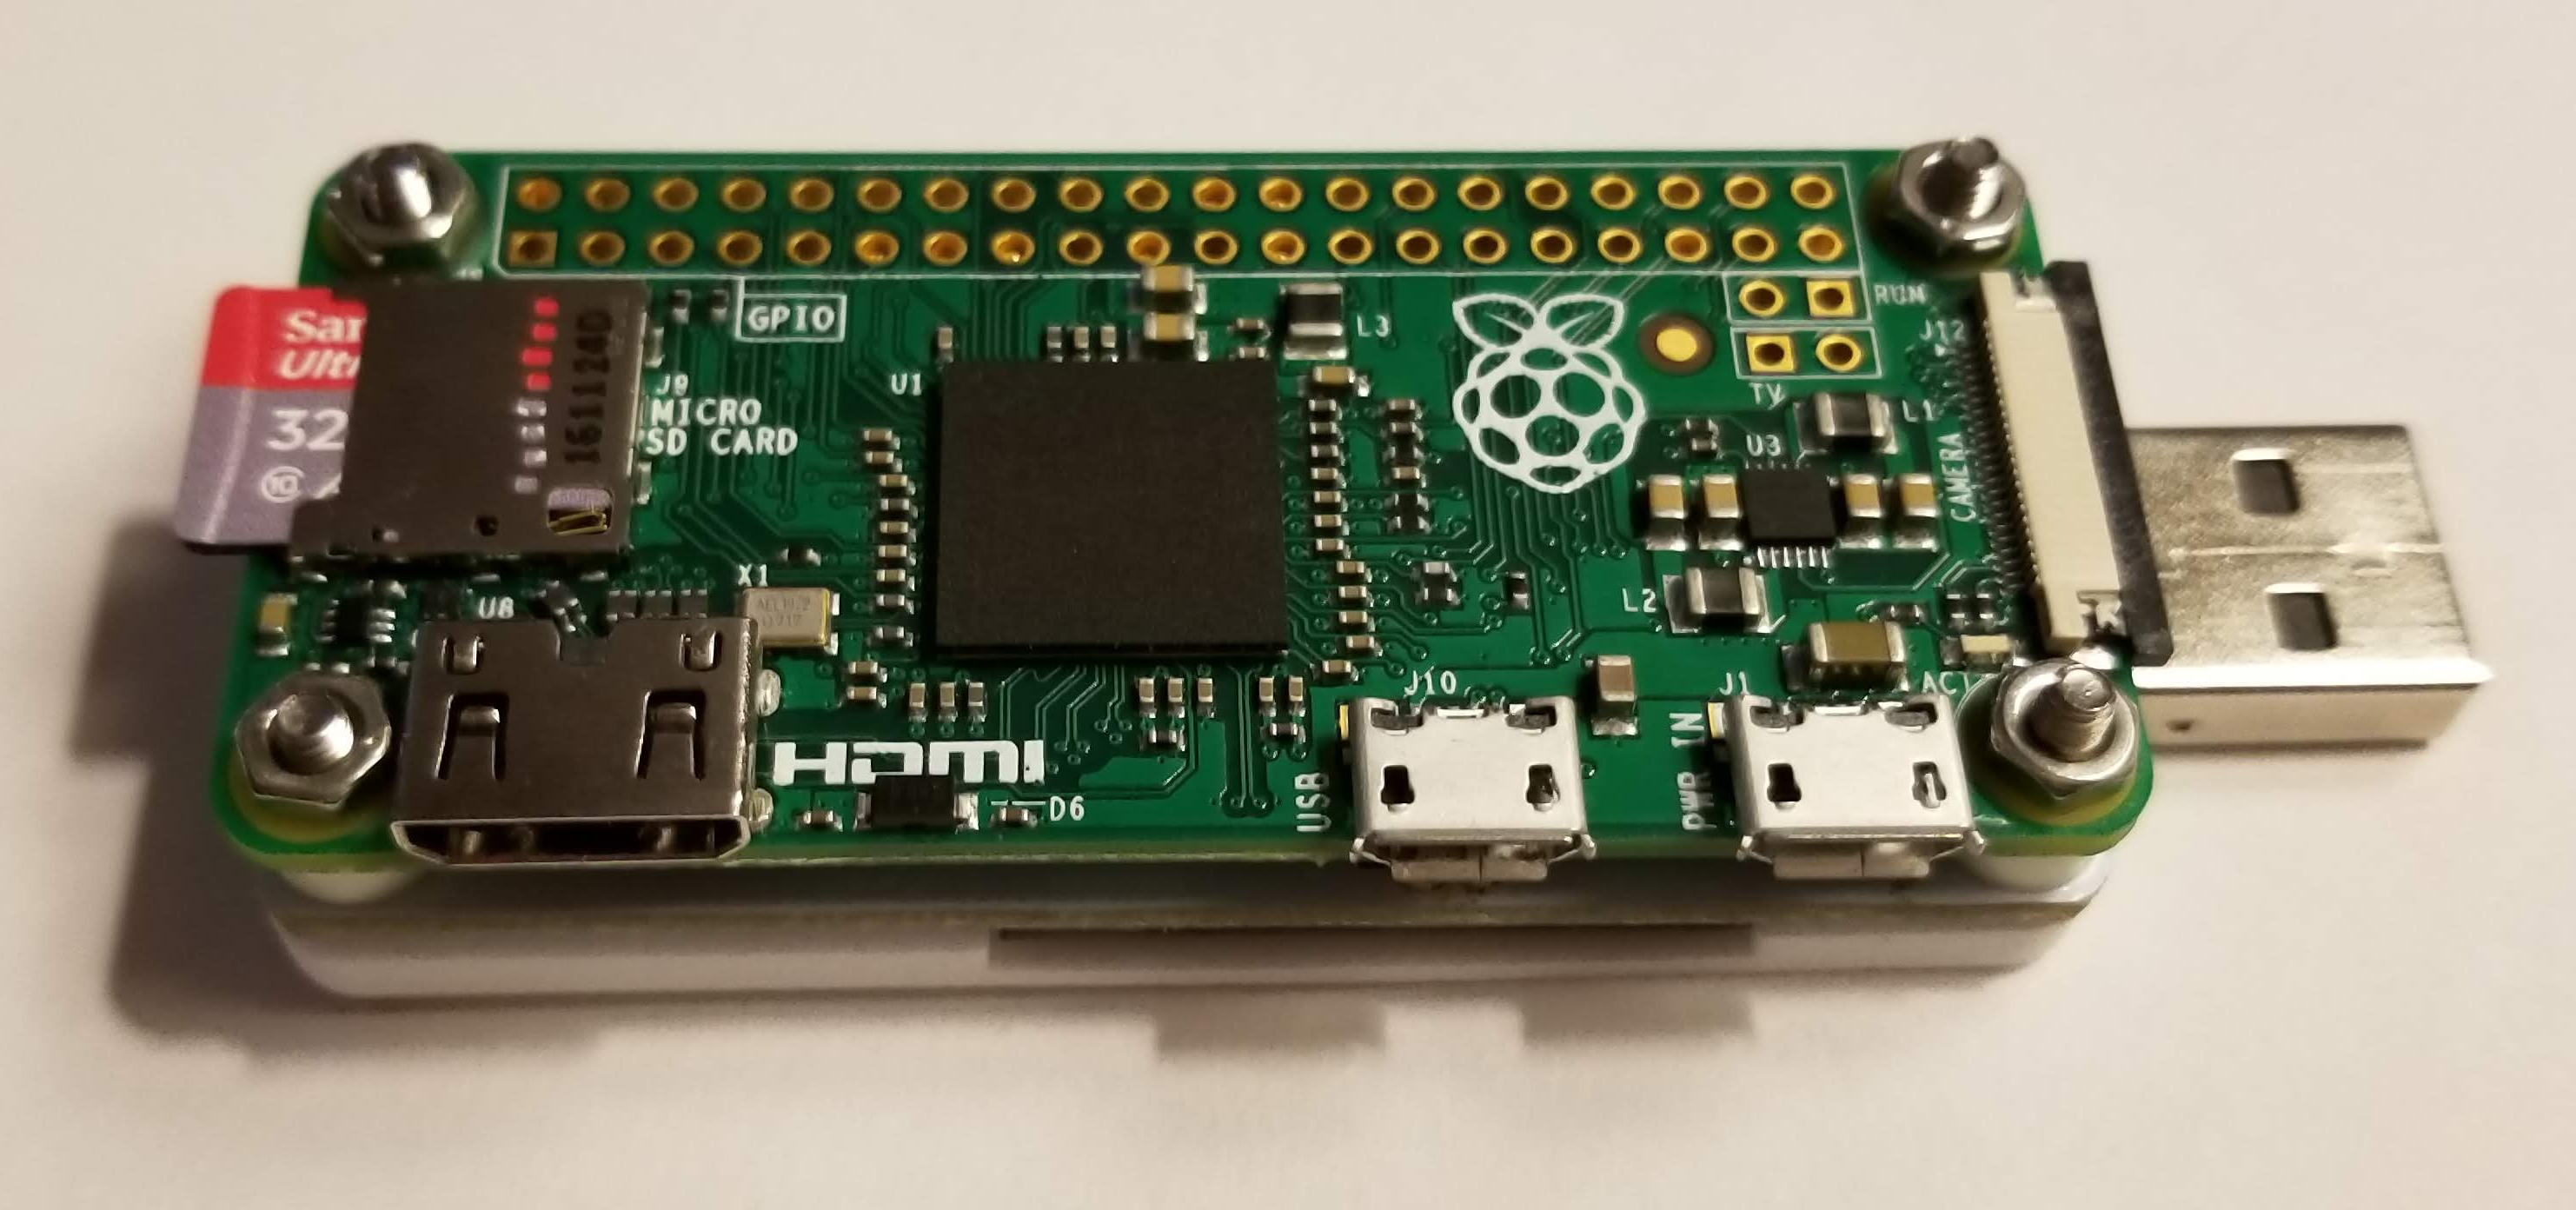
- Flip the pISO over and tighten the screws using a small Phillips-head screw driver
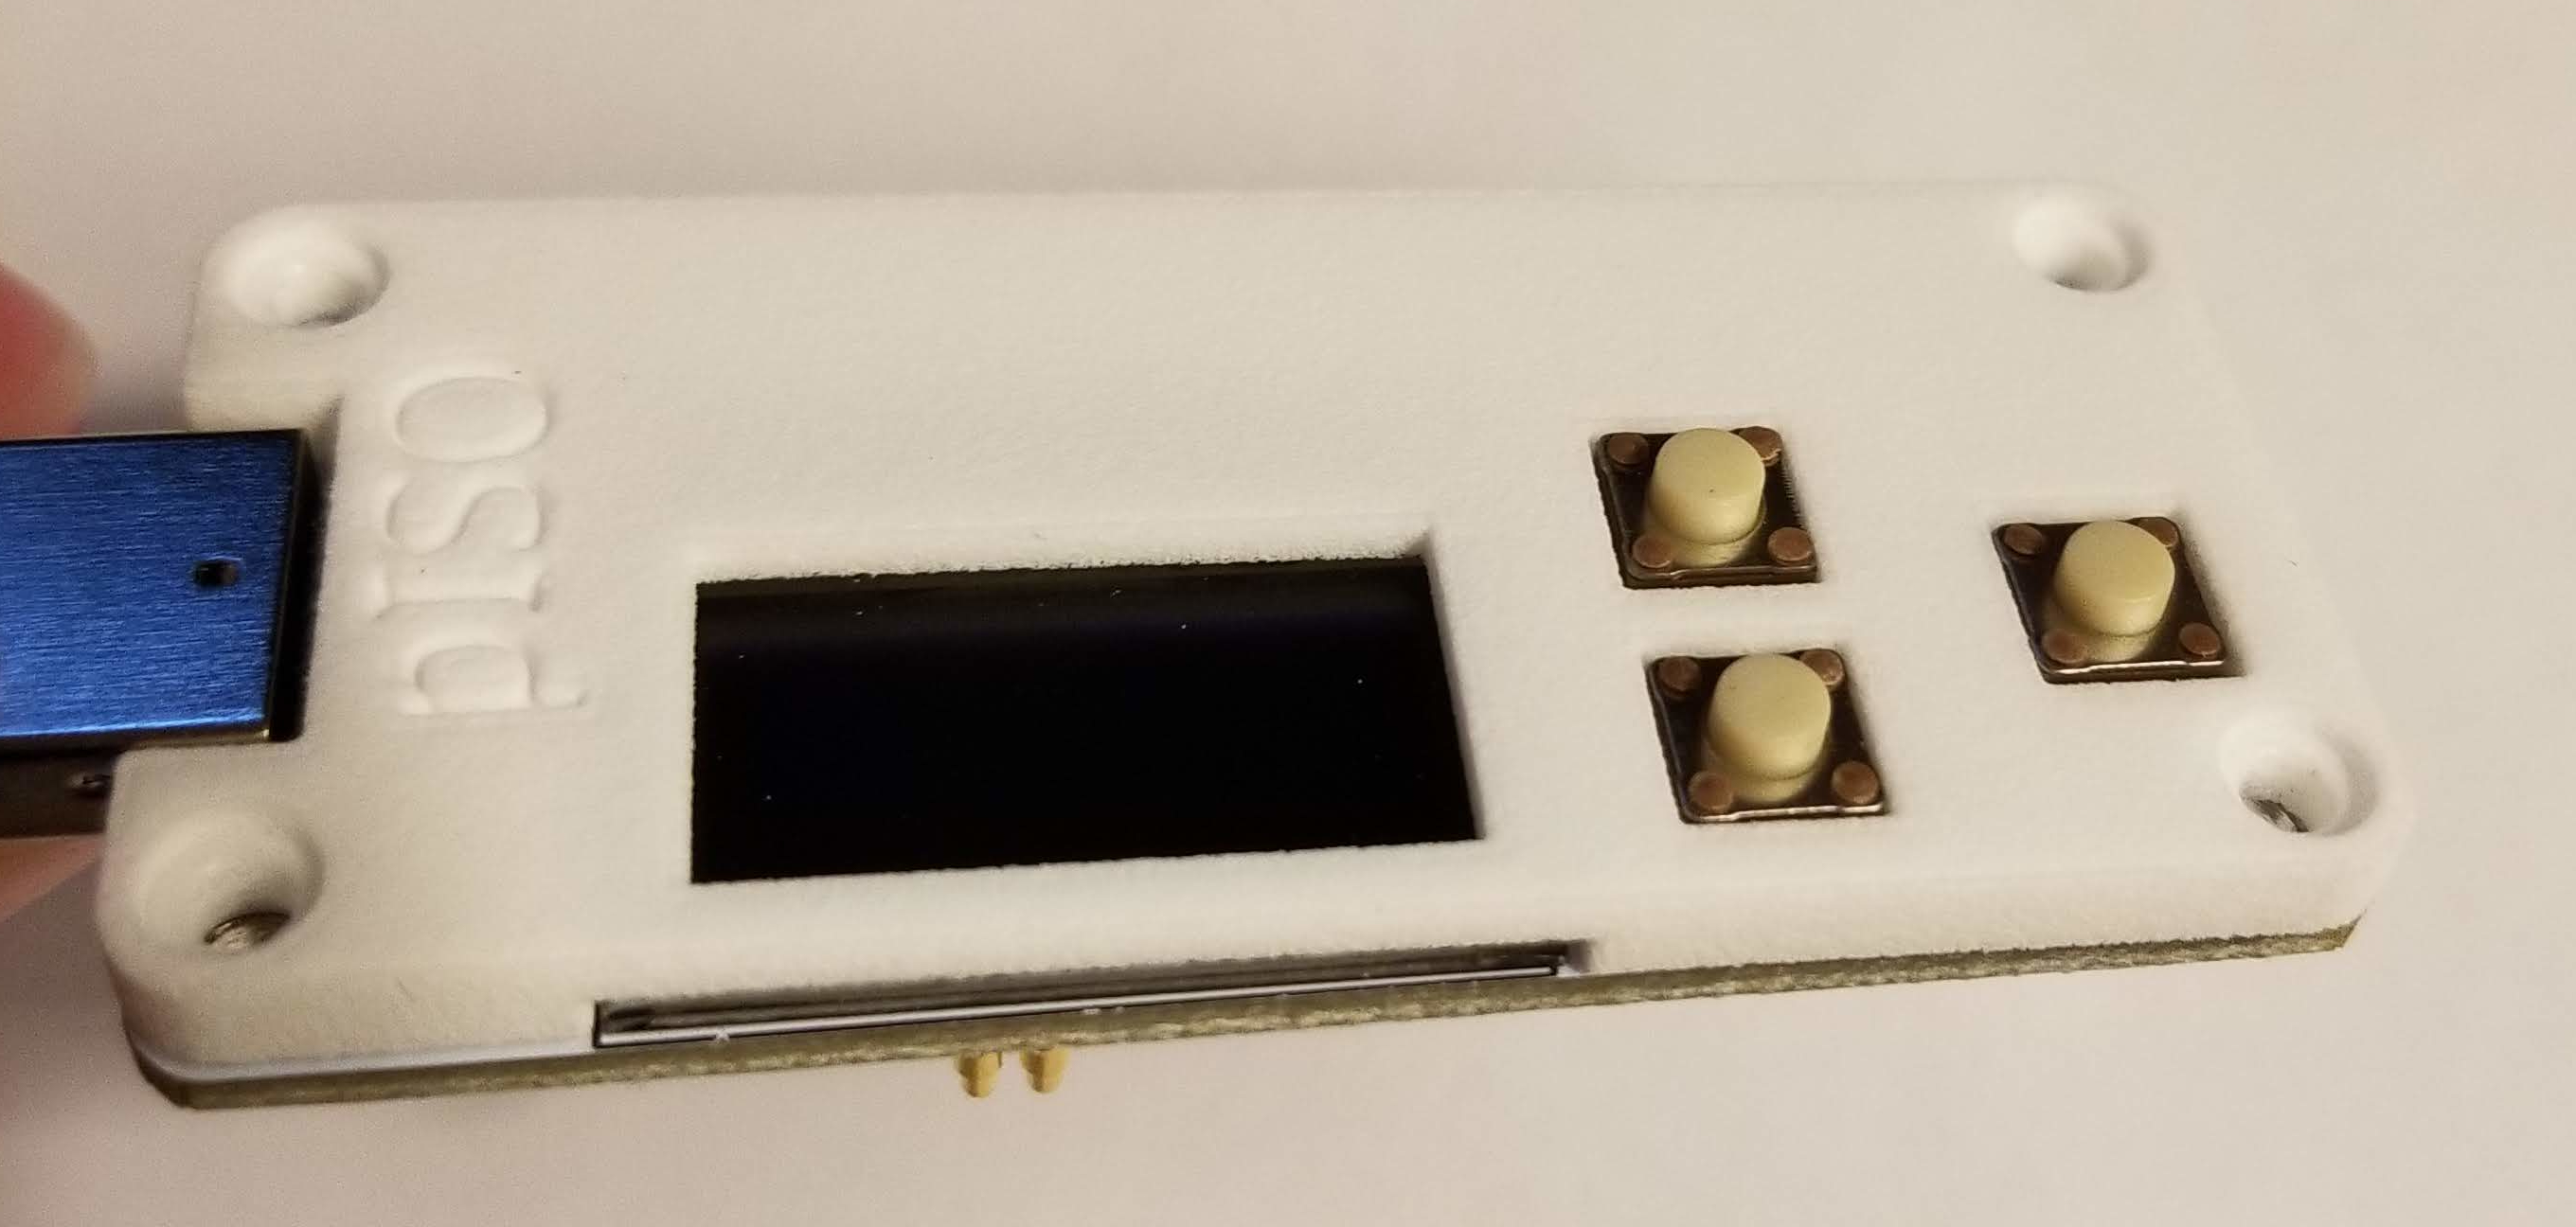
- You're done! Please read the rest of the wiki for information on setting up your SD card and using the pISO
- Place the cover over the pISO
- Insert the longer 4 screws through the holes in pISO and set face down
- Place the spacers on each of the 4 screws
- Set the Raspberry Pi on top of the pISO
- Using your fingers, spin the nut on to the screws (they do not need to be tight at this stage)
- Using a small screw driver, tighten the screws
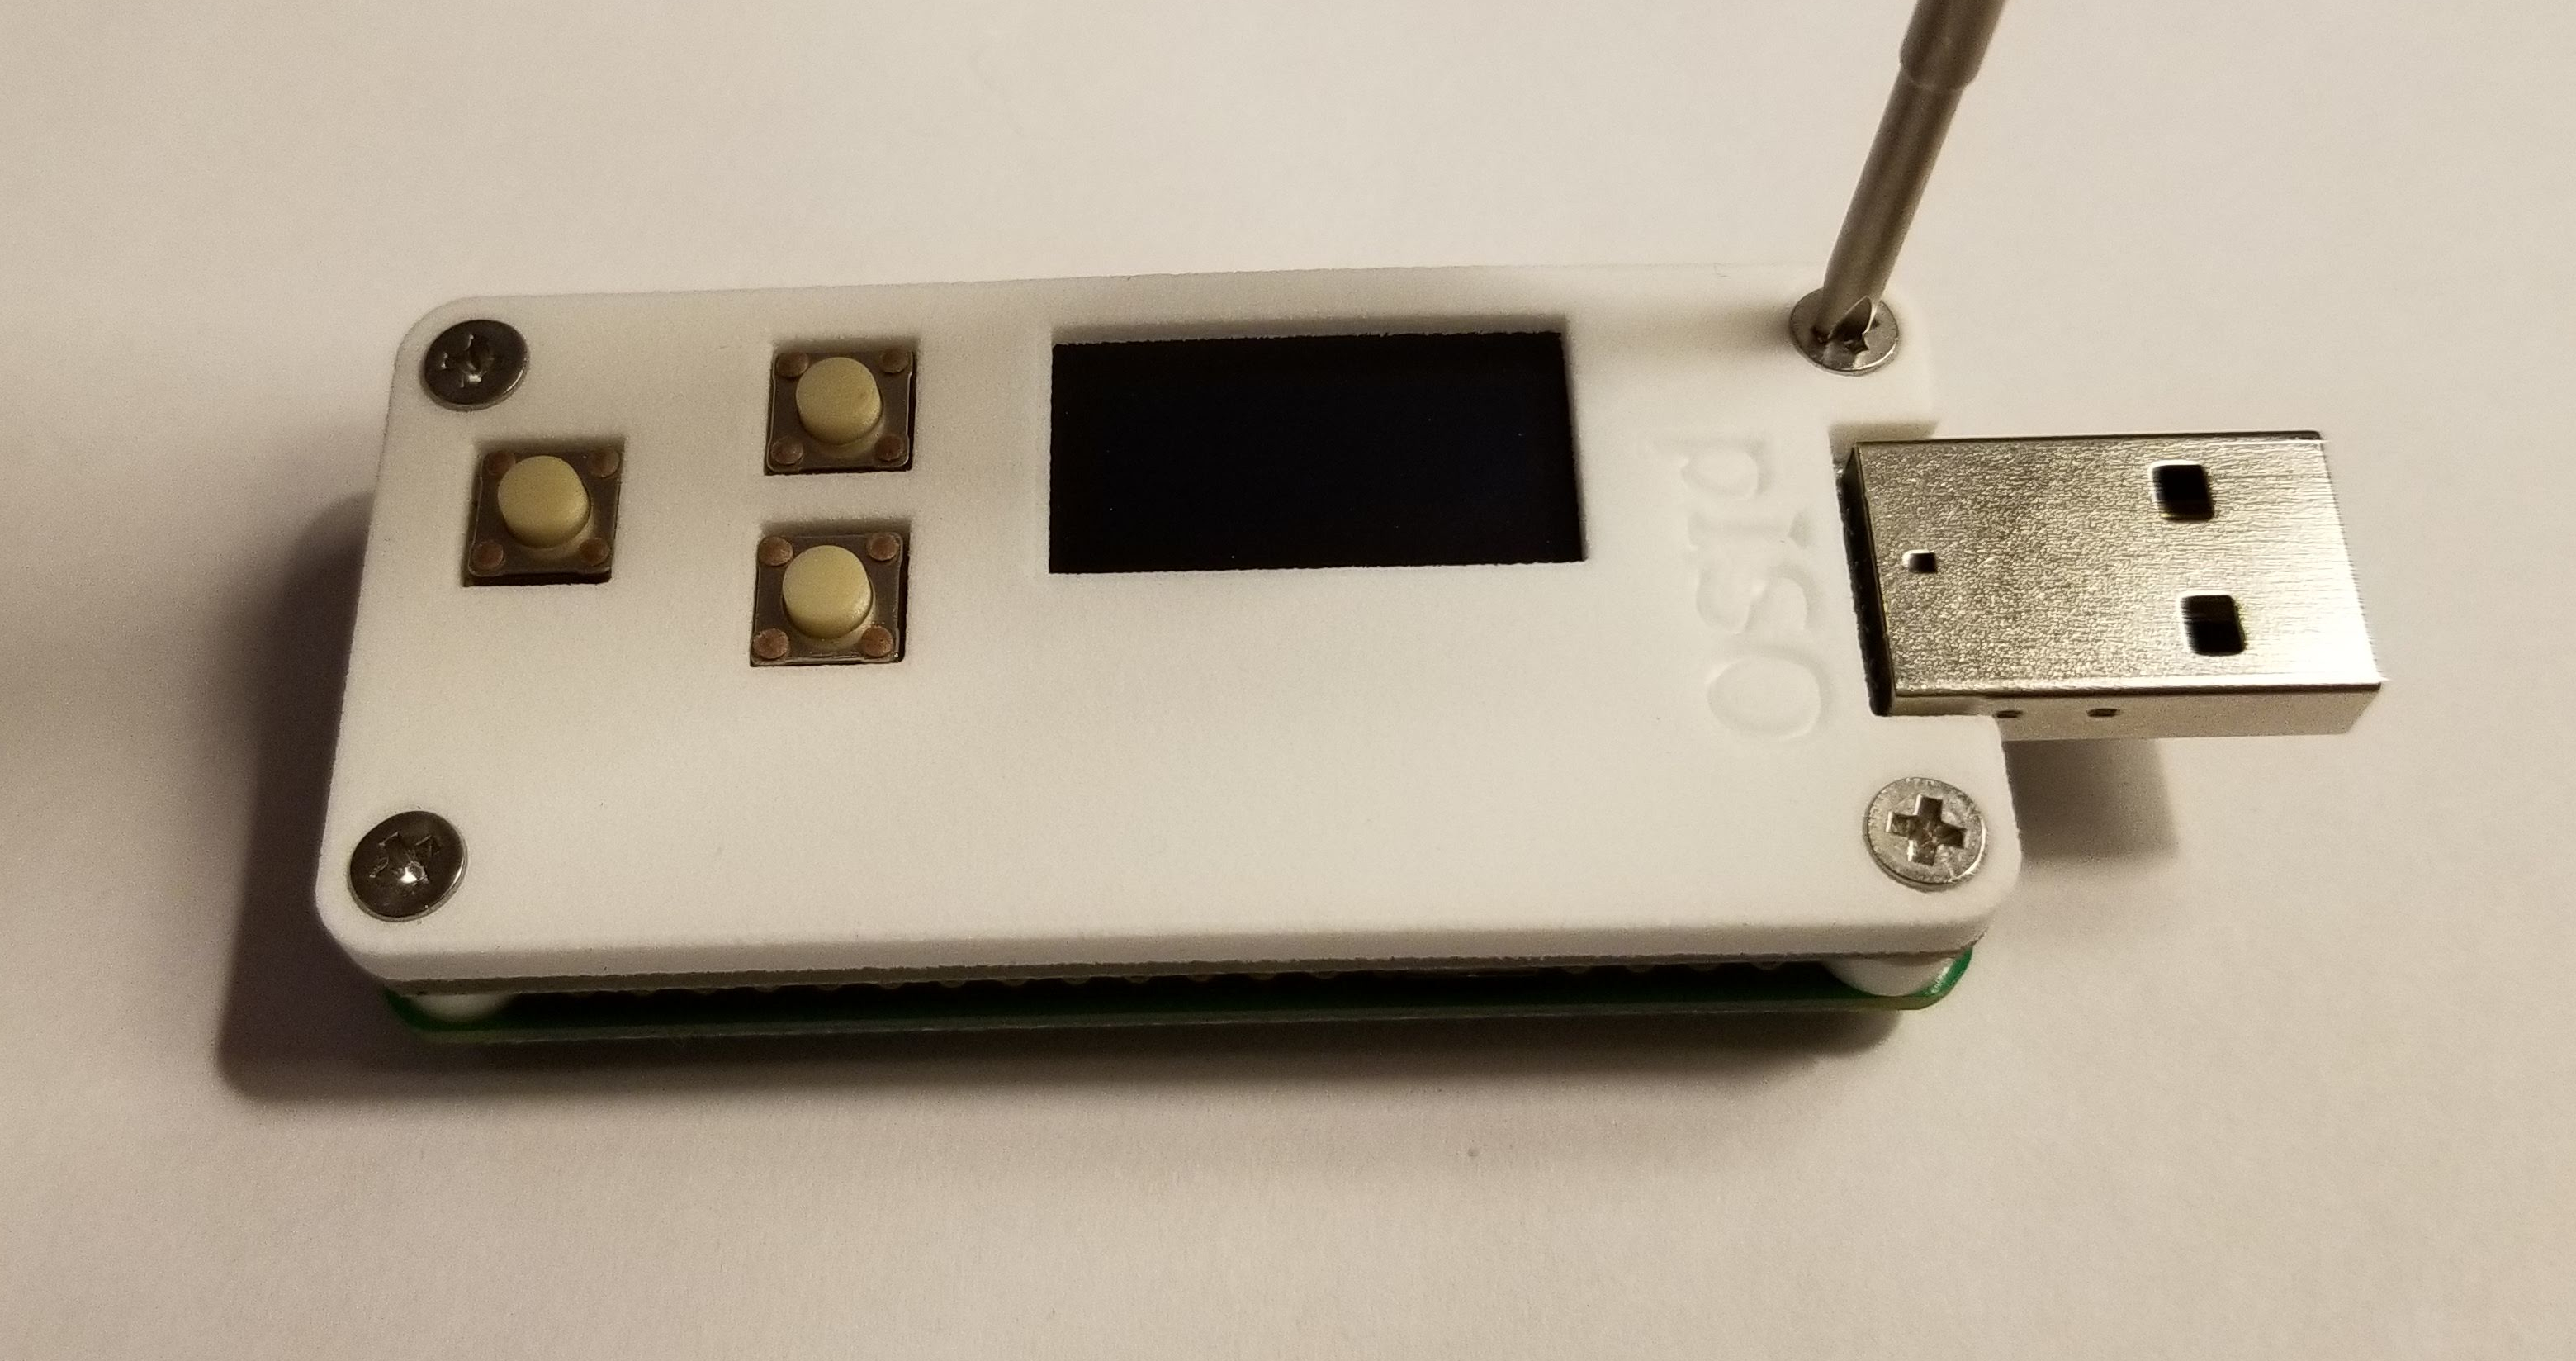
- You're done! Please read the rest of the setup instructions for information on installing the pISO OS on your SD card.