To create the DB the instruction here are relevant
✅ Download the secure connect bundle :
On the summary page locate the connect button close to your database name:
Then on the connection screen select Drivers

Finally on the last page click the button Download Secure Bundle
Save the file in a path you will remember, again we will need it for the next exercises.
✅ Define environment variables : To start the application needs a few environment variables in order to setup the connection to databases. Please define them like the following
export ASTRA_DB_USERNAME=petclinic
export ASTRA_DB_PASSWORD=petclinic
export ASTRA_DB_KEYSPACE=spring_petclinic
export ASTRA_DB_BUNDLE=/Users/cedricklunven/Downloads/secure-connect-petclinicdb.zip
Locate the file docker-compose.yaml on the repository and uncomment the block with the cassandra instruction.
Locate the file application.yaml on the repository and switch property petclinic.astra.enable to false. The application will now read the configuration file application-local.conf and not application-astra.conf
✅ Start Prometheus,Grafana, Zipkin :
All this components are available in the docker-composer.yaml file so simply. If you uncommented Cassandra it will also start.
docker-compose up -d
output
Creating network "spring-petclinic-reactive_default" with the default driver
Creating prometheus-server ... done
Creating tracing-server    ... done
Creating grafana-server    ... done
- Grafana is available at localhost:3000
- Prometehus is available at localhost:9091
- Zipkin is available at localhost:9091
To enable this tracing set the properties to zipkin.enabled to true in application.yaml.
  zipkin:
    enabled: true
    baseUrl: http://localhost:9411
    sender:
      type: web
✅ Start the backend : You can now run the application with the command: mvn spring-boot:run. This will create the required schema for the application in your Astra database.
*✅ Start the front end : This REST API is meant to be used with the existing spring-petclinic-angular user interface. To run the application please execute the following:
cd spring-petclinic-angular
npm uninstall -g angular-cli @angular/cli
npm cache clean
npm install -g @angular/[email protected]
npm install --save-dev @angular/[email protected]
npm install

ng build
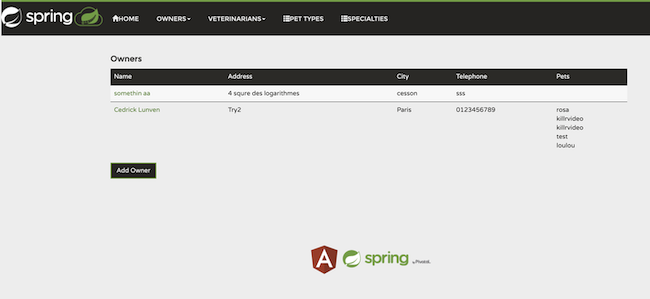
ng serve- Owners
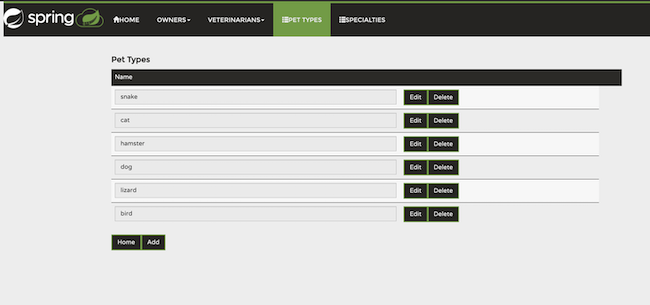
- Pet Types
- Vet Specialties
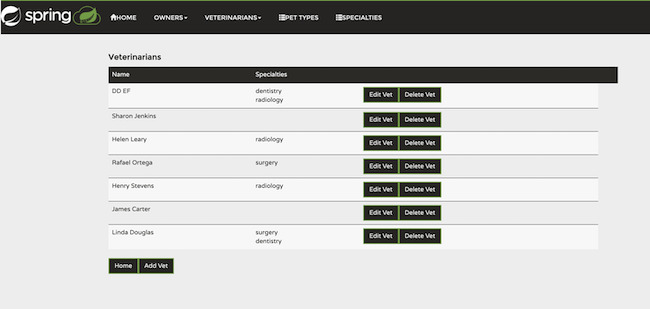
- veterinarians
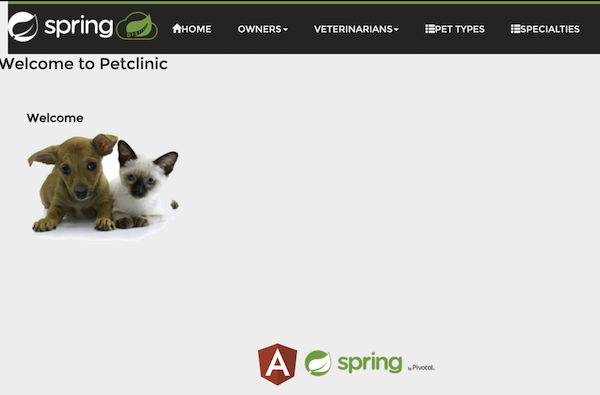
You should now be able to access the UI on localhost:4200.


