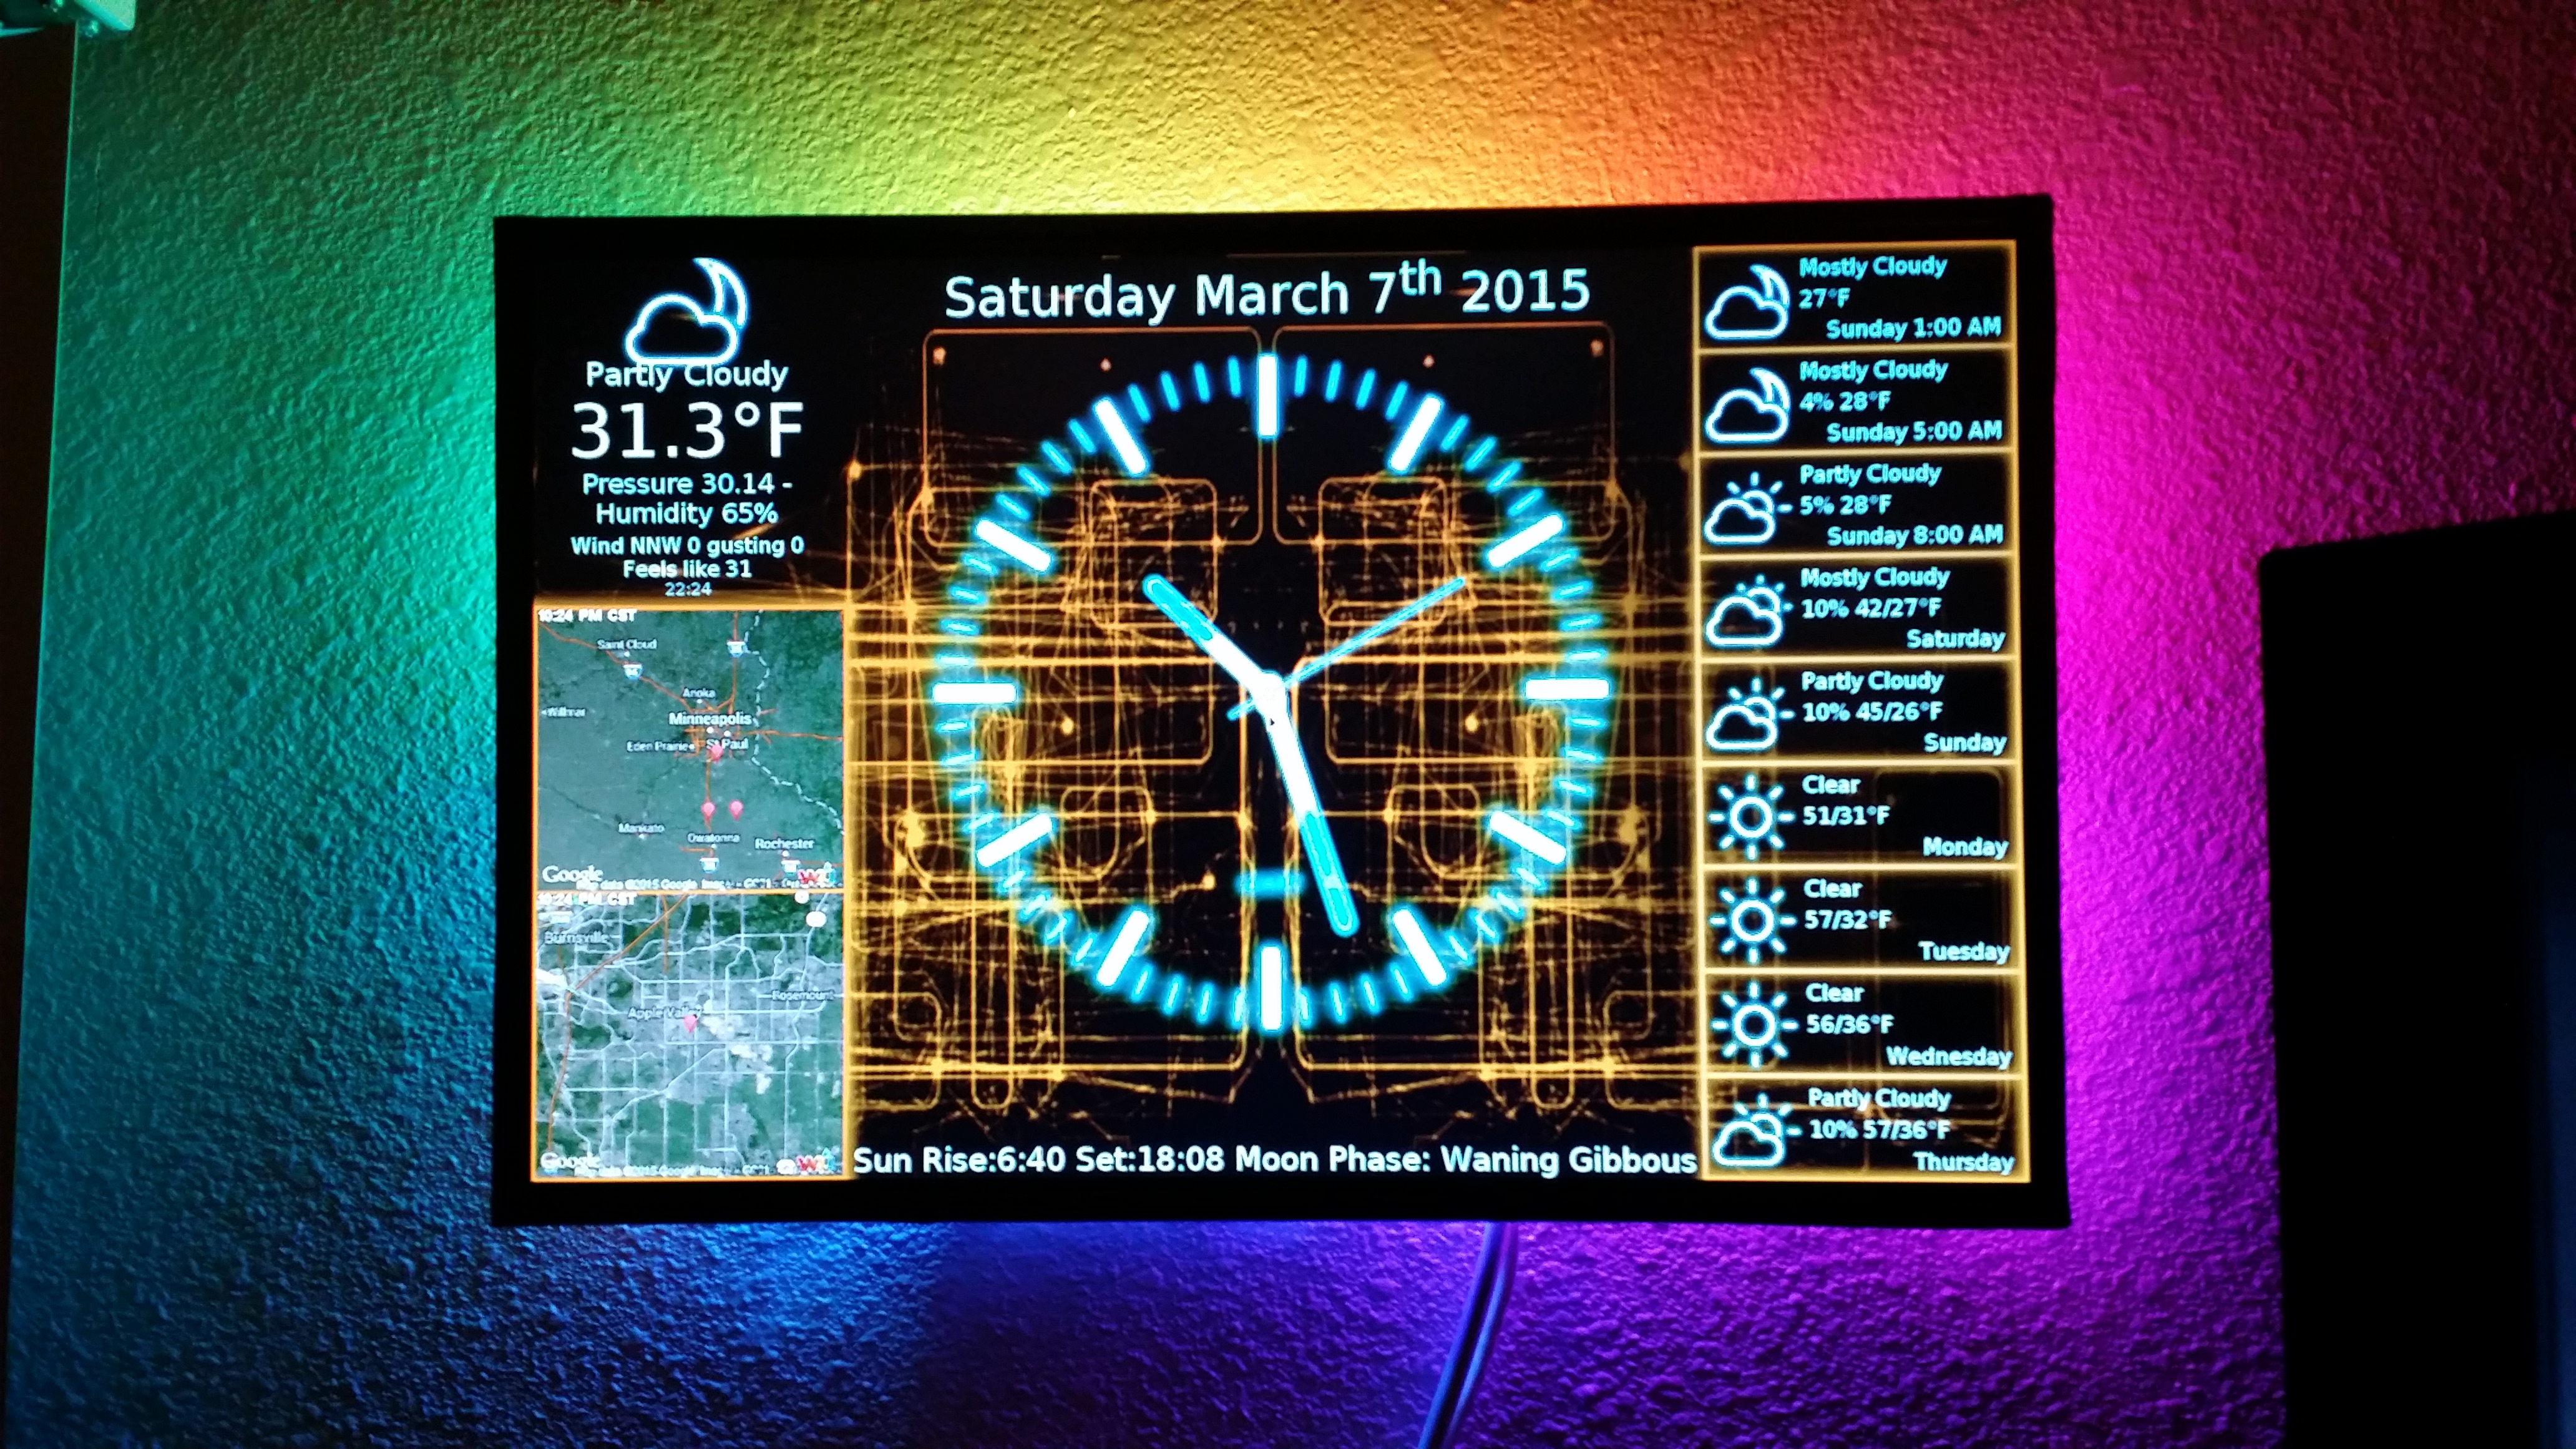
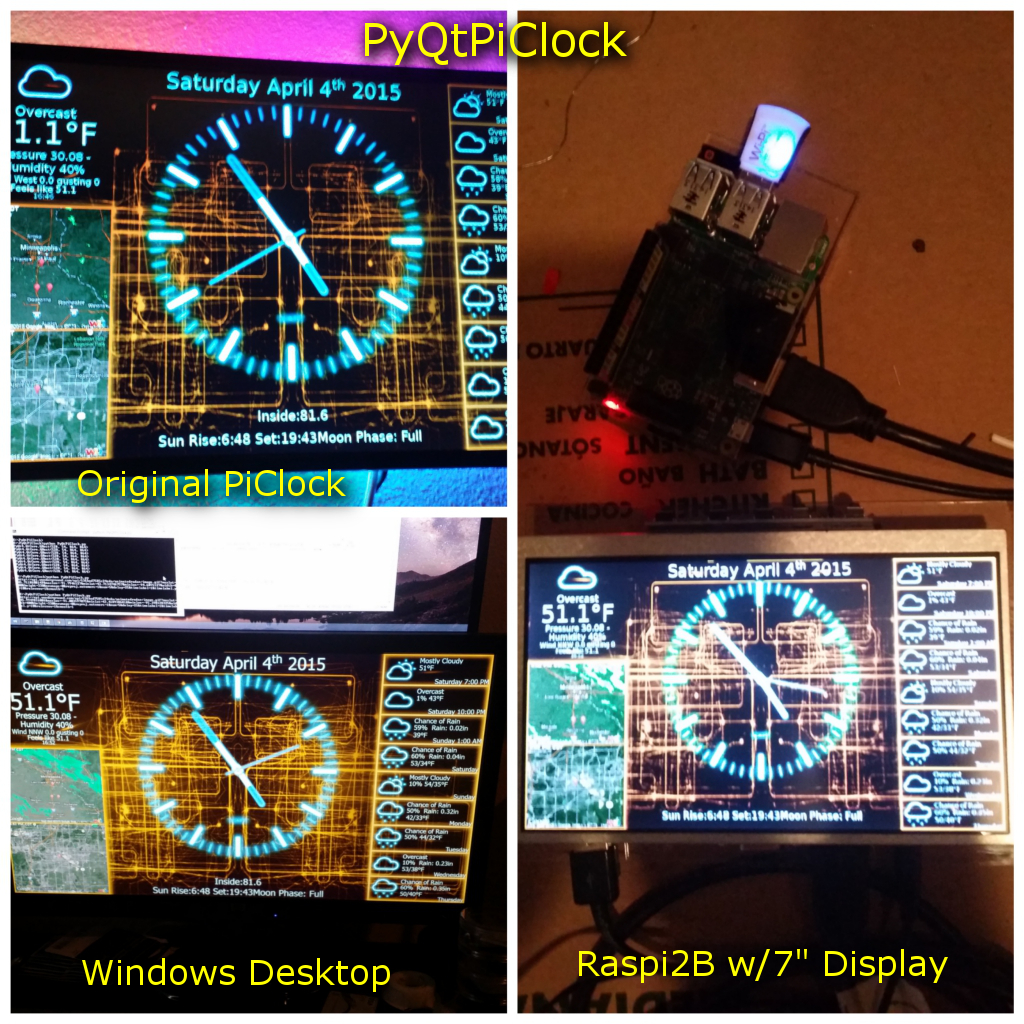
The PiClock is a clock (duh), weather forcast, and radar map display based on the Raspberry Pi and a display monitor. The display monitor is assumed to be an HDMI monitor, but it will probably (possibly) work with the composite output as well, but this is not a design goal. The main program (Clock/PyQtPiClock.py) will also run on Windows, Mac, and Linux, as long as python 2.7+ and PyQt4 is installed.
The Weather data comes from DarkSky using their API ( http://darksky.net/dev/ ).
The maps are from Mapbox ( https://mapbox.com/ ) Google Maps API.
You must get API Keys from DarkSky and Mapbox or Google in order to make
this work. It is free for low usage such as this application.
The Weather data comes from OpenWeatherMap or Tomorrow.io using their API. The maps are from Mapbox ( https://mapbox.com/ ) or Google Maps API. You must get API Keys from OpenWeatherMap or Tomorrow.io and Mapbox or Google in order to makethis work. It is free for low usage such as this application.
The PiClock can be customized with several supported additional things:
- RGB LED strips (NeoPixel) to create an ambilight effect
- gpio buttons for changing the view
- IR Remote Control for changing the view
- Streaming the NOAA weather radio stream for your area
The power usage I've measured is about 35watts with a 19" HDMI Monitor, 27 LEDs and the Pi. The LEDs contributed 3 or so watts, and I think the Pi is about 2-3 Watts normally.
This is the basic PiClock, with some options added.

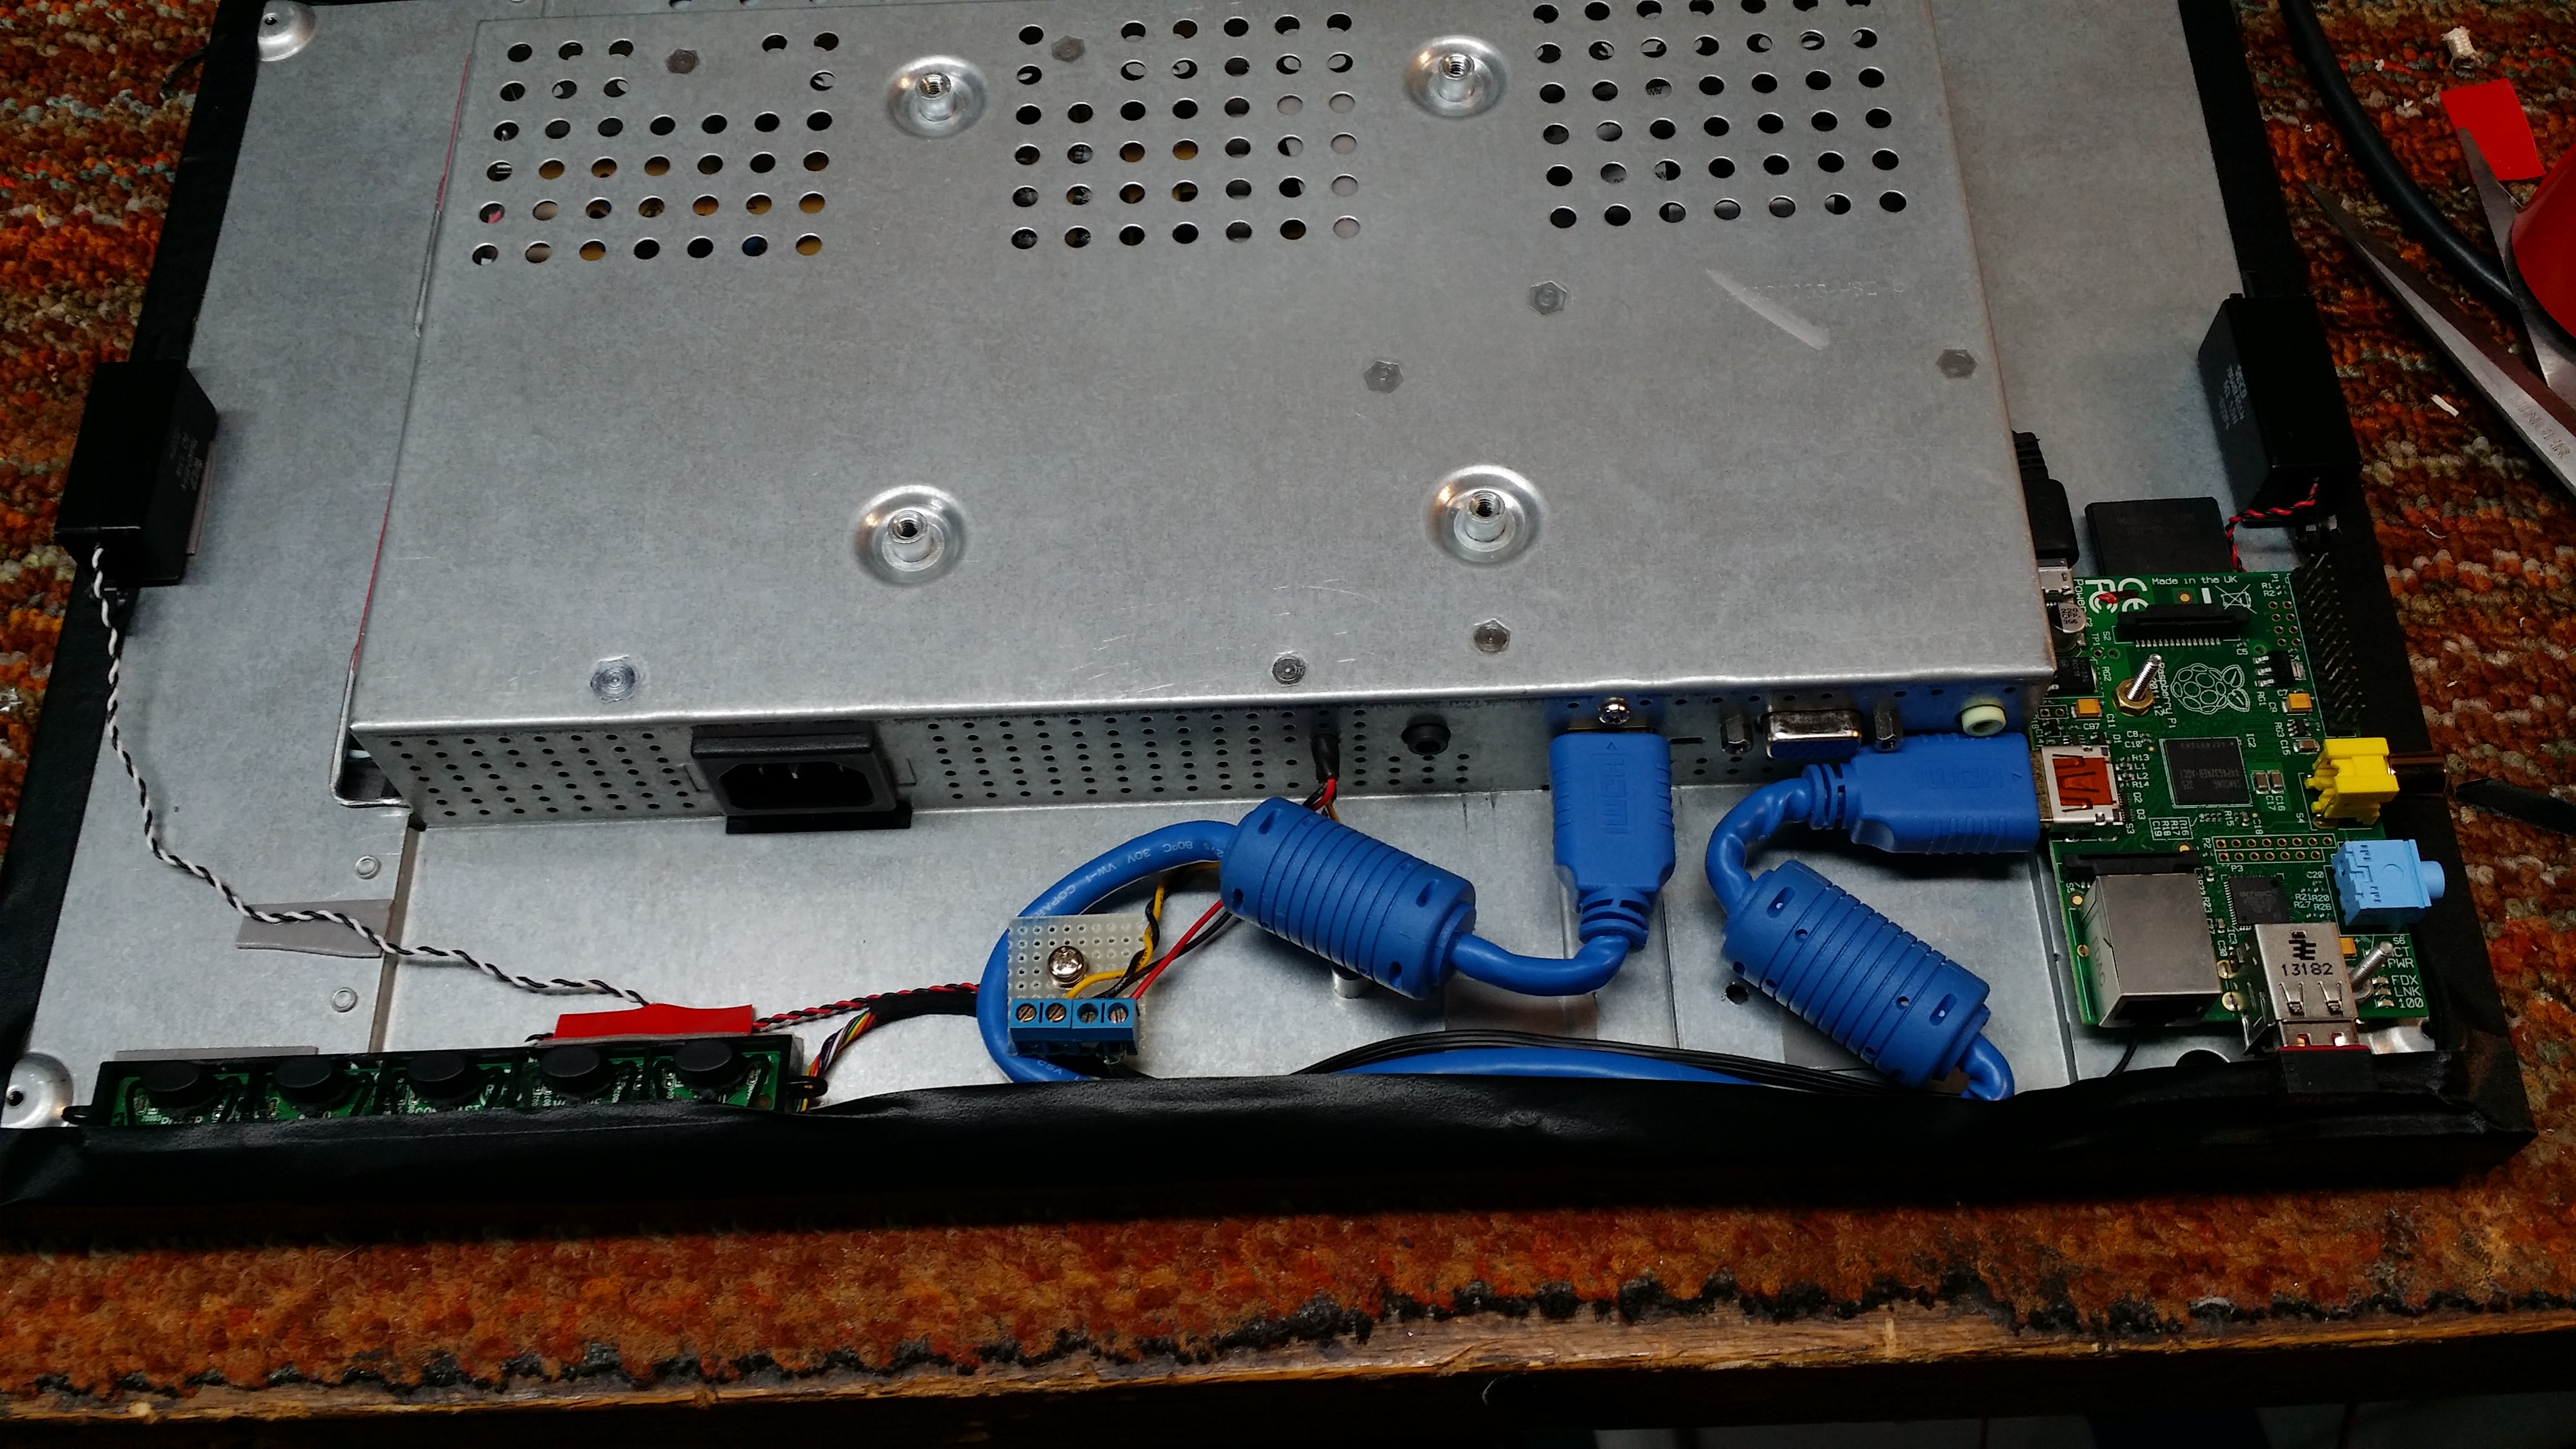
I chose to remove the plastic frame from my monitor and mount the Pi directly
on it, as well as tap power from the display's power supply.

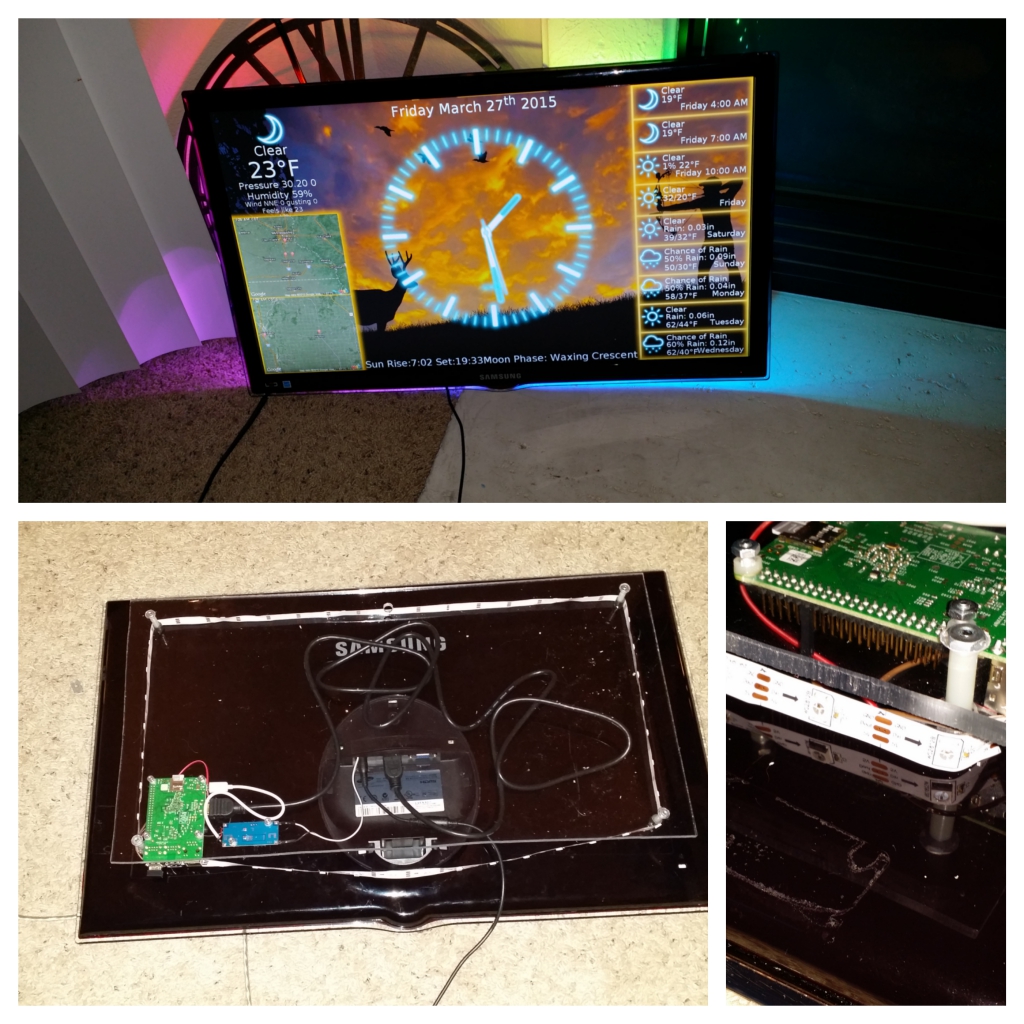
I've made it work on multiple platforms and form factors.

And I've made some for friends and family with different customizations.

So what do you need to build a PiClock?
- A Raspberry Pi (revision 2) Model B, or B+ or Pi 2 Model B
- A Display Monitor & Cable
- Power Supply (or if you're ambitious tap your display power supply, you'll probably need a switching down regulator to 5v) Remember the Pi likes something that can source up to 2A.
- A USB Keyboard and Mouse for setup (if you want something small and semi-permanent, I've had good luck with this: https://www.google.com/search?q=iPazzPort+2.4G+Mini+Wireless+Keyboard I like the one with the mousepad on the side)
- USB Wifi or Internet Connection
Optional things
- One or more DS18B20s for showing the inside temperature ( https://www.google.com/#q=ds18b20 )
- A string of WS2818 based RGB LEDs for the AmbiLight effect. At 40ma per LED, and 30 or so LEDs you're quickly up to needing an extra 1.2A from the power supply. Size it appropriately. One option is https://learn.adafruit.com/adafruit-neopixel-uberguide/overview)
- A TSOP4838 IR Receiver to flip the page display of the PiClock (https://www.google.com/search?q=tsop4838)
- An IR Remote control ( I use this little guy: https://www.google.com/search?q=Mini+Universal+Infrared+IR+TV+Set+Remote+Control+Keychain )
- Button or buttons connected to some GPIO pins (and a ground pin) for flipping pages like the IR remote
The Hardware guide ( https://github.com/n0bel/PiClock/blob/master/Documentation/Hardware.md ) gives more details about how to wire/connect the various extras.
The Install guide ( https://github.com/n0bel/PiClock/blob/master/Documentation/Install.md ) steps through all the things that you need to do to a stock Raspbian image to make the PiClock work.
If you want to use the PiClock on your desktop (not your Pi), I've created instructinos for that https://github.com/n0bel/PiClock/blob/master/Documentation/Install-Clock-Only.md
It all started one Satuday afternoon when I was feeling bored. My super duper radio controlled clock ( you know those AccuRite clocks) was WRONG!. Apparently the daylight savings time adjustment was coded to the pre-2007 dates. I was going to go get something new.. when I spotted an unused monitor in the corner of my livingroom... My eyes flicked back and forth between it and the wall. I had recently been playing with a Raspberry Pi Model B, and of course the idea was born.
The initial clock was built as a static web page hosted in the Pi itself and run from the Midori browser in kiosk mode. Javascript and Ajax methods were used to pull the forecast from some free weather site (don't remember) and the local NWS radar image. The Pi ran at about 60% cpu, having to move the second hand once per second while re-rendering the other hands and clock face layers.
After well over a year, and some minor changes, I decided to give it a facelift, change the weather to Weather Underground and the background maps to Google Maps. Well the Midori browser really had a tough time keeping up with all that going on. You could see it skipping past seconds two at a time. And the animated radar GIFs would stall more often than not. Yes I tried Ephemeral and it was worse!
I decided to rewrite the whole thing in Python. Why? I decided I needed to learn Python in more than a passing way. For some (unfathomable reason to me) Python is the language of choice for Pi's. It took a while to settle on a GUI framework. The primary issue on most of the GUIs was lack of image transparency support. Qt4 and its Python wrapper PyQt4 is what I finally chose.
The details of this evolution are on my blog http://n0bel.net/v1/index.php/projects/raspberry-pi-clock as well as newer postings and updates. Some of my friends have been treated (subjected) to more timely updates via my public facebook page https://www.facebook.com/pages/Kevin-N0BEL/946361588712436
And of course I tweet https://twitter.com/KevinN0BEL, Pin https://www.pinterest.com/kevinuhir/, Instagram https://instagram.com/kevin_n0bel/, and hack https://hackaday.io/n0bel