Animator is an attempt at striking a balance between the 4 areas of programmatic animation: Ease-of use, Customizability, Features and Performance.
- Supports all common easing equations
- Interactive spring dynamics. Friction, SpringStrength etc.
- The Spring solver has a small footprint and is easily customisable.
- 60FPS (CVDisplayLink)
- Works with interaction (This is rare on apple platforms)
- Small footprint (Just a few functions and classes)
- Supports all the regular call-backs (onComplete etc)
- CPU friendly. Stops when there is no animation etc
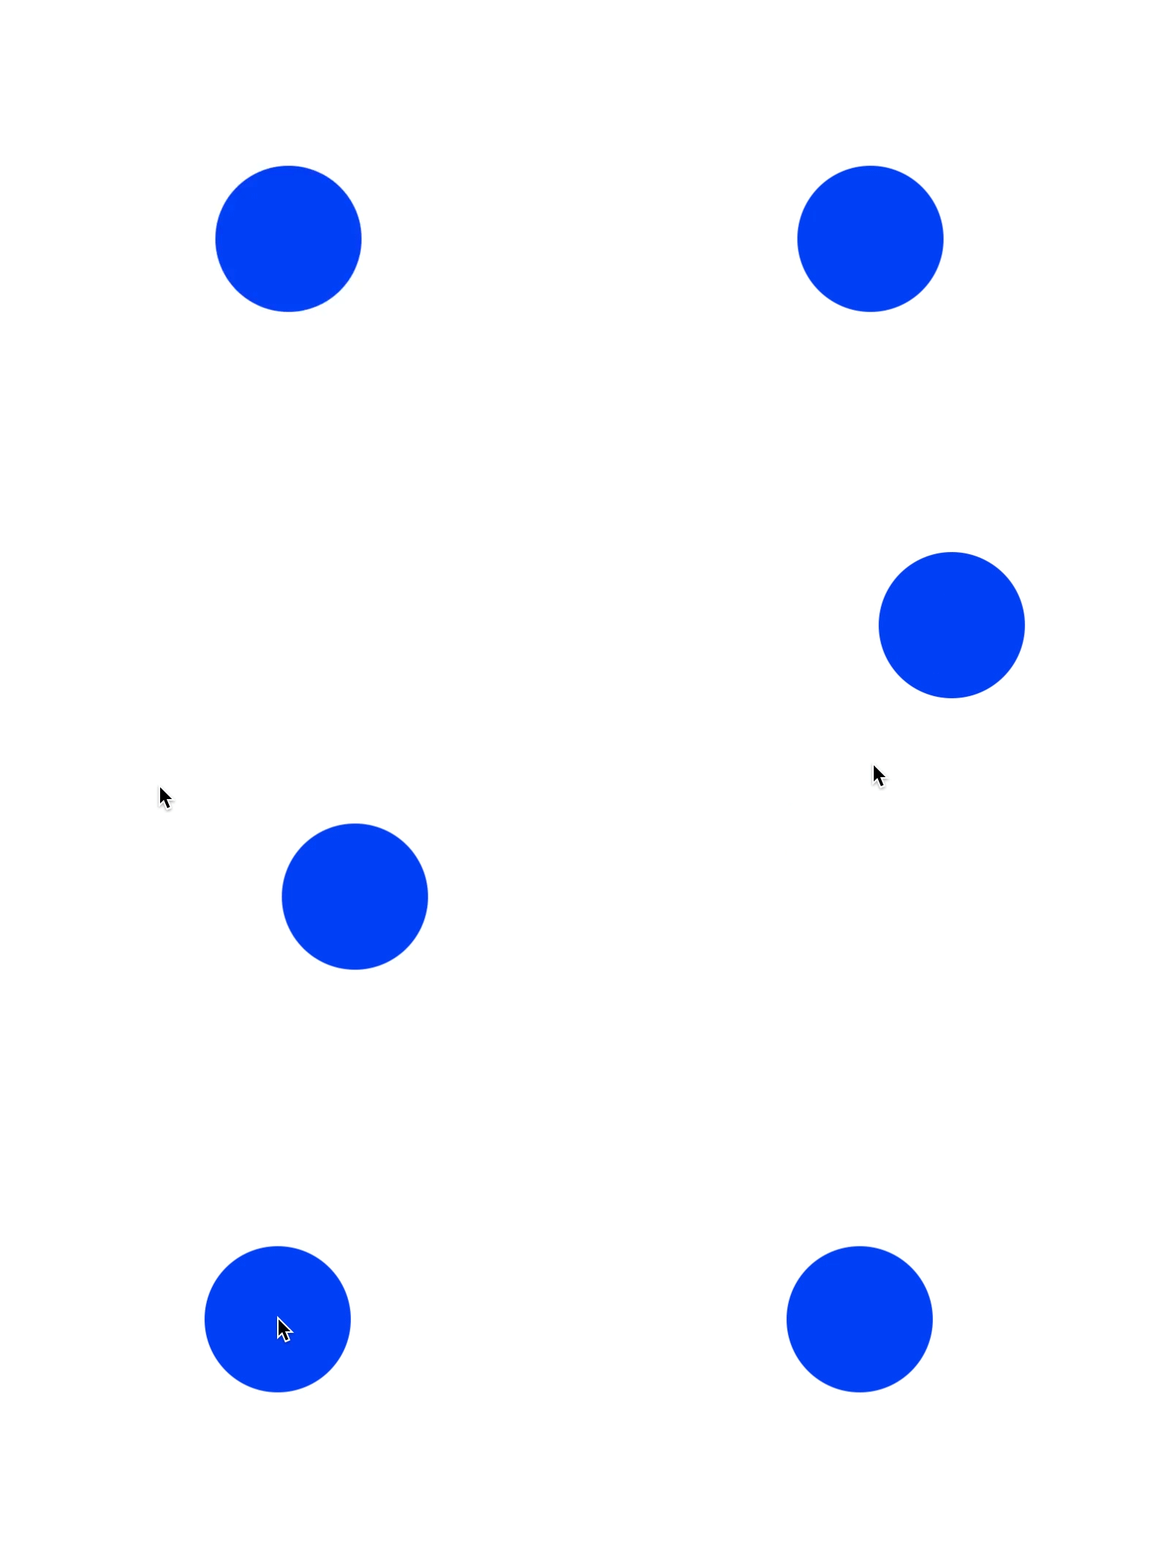
When springing, the acceleration is proportional to the distance. If the item is far away from the target, a lot of acceleration is applied, increasing the velocity quickly. As the object gets closer to its target, less acceleration is applied, but it’s still accelerating! It flies right past the target, and then acceleration pulls it back. Eventually, friction causes it to settle down.
Here is the code for the above example:
let animator = Springer<CGPoint>(progress, PointSpringer.initValues,PointSpringer.initConfig) value in {/*Setup interruptible animator, This method gets called 60FPS, add the values to be manipulated here*/
    ellipse.graphic.layer?.position = value/*We manipulate the layer because it is GPU accelerated as oppose to setting the view.position which is slow*/
}
bg?.addHandler(ButtonEvent.upInside) (event:ButtonEvent) in {/*This is the click on window event handler*/
    animator.setTarget(bg!.localPos()).start()/*Set the position of where you want the anim to go*/
}
To explain how springing works, let’s simulate it with some sample numbers. Let’s say the x position is 0, vx is 0, the target x is 100, and the spring variable is 0.1. Here is how it might progress:
- Multiply distance (100) by spring, and you get 10. Add that to vx, which then becomes 10. Add velocity to position, making the x position 10.
- Next step, distance (100 – 10) is 90. Acceleration is 90 times 0.1, or 9 this time. This gets added to vx, which becomes 19. The x position becomes 29.
- Next step, distance is 71, acceleration is 7.1, which added to vx makes it 26.1. The x position becomes 55.1.
- Next step, distance is 44.9, acceleration is 4.49, and vx becomes 30.59. The x position is then 85.69. The thing to note is that the acceleration on each frame becomes less and less as the object approaches its target, but the velocity continues to build. It’s not building as rapidly as it was on previous frames, but it’s still moving faster and faster. After a couple more steps, the object goes right past the target to an x position of around 117. The distance is now 100 – 117, which is –17. A fraction of this gets added to the velocity, slowing the object down a bit.
- A high spring value will make a very stiff spring. Something lower will look more like a loose rubber band. You can play around with the friction and spring values to get the look you want
when you use easing to move an object into position, it automatically takes on a very natural appearance. One of the coolest things is that simple easing is actually very easy to do. In fact, it’s probably easier than figuring out the angle, the vx, and the vy, and moving at a fixed speed.
Here is the code for the above example:
//See Springer example and switch PointSpringer for PointEaserHere are the steps for easing:
- Decide on a number for your proportional motion. This will be a fraction of 1. 2. Determine your target.
- Calculate the distance from the object to the target.
- Multiply the distance by the fraction. This is your velocity.
- Add the velocity value to the current position.
- Repeat steps 3 through 5 until the object is at the target.
In iOS 10 apple gave us "UIViewPropertyAnimator" Which was a big level up in the interruptible animation genre. However this too is limited in nature. And leaves a lot to be desired:
-
You don't have a onProgress callBack method when using UIViewPropertyAnimator
-
Many of the layer’s properties are unsupported. (shadow, border, 3d transform) (won’t support arc)
-
Also the animations are limited to UIView Animatable Properties, which are: frame, bounds, center, transform, alpha, backgroundColor, contentStretch
-
No keyframe based animation
Springer and Easer can be used to manipulate any value. Which enables you to animate color transition. Rotation, shadow, gradient, 3d perspectives or any other variable. unlike apples built in animation system this Animation lib enables you to animate any property you desire as long as you extend this value type with Animatable. You can also Extend the Easer or Springer class with your own Custom class so that it can have more custom logic. Say you want to add some log10 friction or add a few constraints. The possibilities are endless. Animator also does more stock like animations similar to Apples Animation classes.
Elastic Zoom effect:
Code for the bellow example

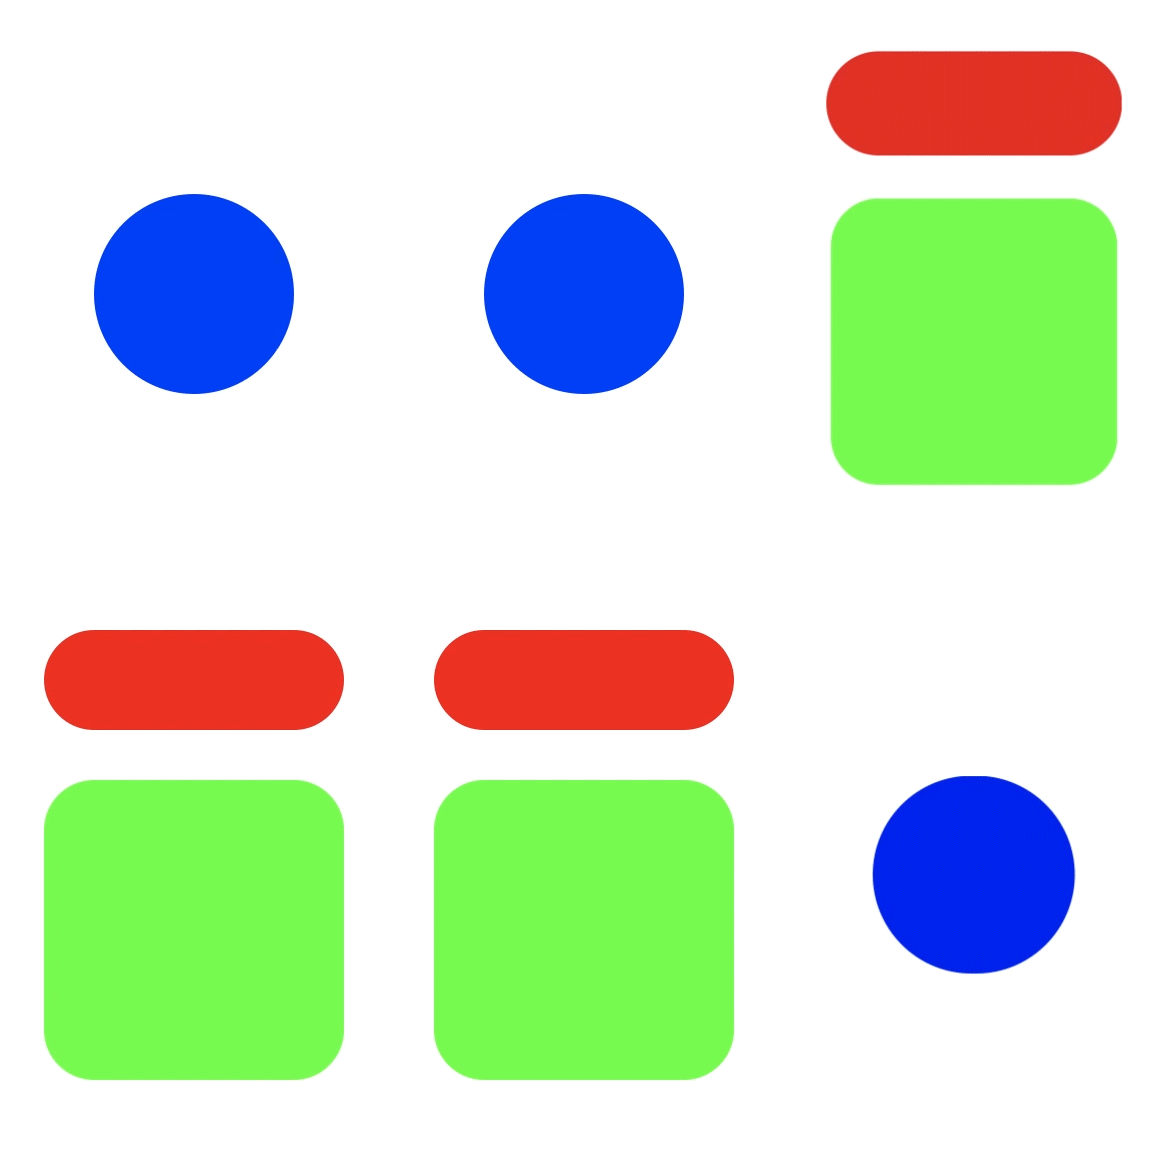
Animation composition:
Code example for the above animation:
let anim1 = Animator((dur:0.6,from:0,to:1), easing:Easing.expo.easeOut) { value in
	let closure = { fillet, color, size, position in
		/*Fillet*/
		roundRect.fillet = fillet

		/*Color*/
		roundRect.graphic.fillStyle = FillStyle(color)

		/*Size*/
		roundRect.size = startRect.size.interpolate(size, value)

		/*Position*/
		roundRect.graphic.layer?.position = startRect.origin.interpolate(position, value)

		/*Draw it all*/
		roundRect.draw()
	}
	/*roundRect1*/
	closure(
	    Fillet(50+(-25*value)),
	    NSColor.blue.interpolate(.red, value),
	    CGSize(150,50),
	    CGPoint(25,25)
	)
	/*roundRect2*/
	closure(
	    Fillet((25*value)),
	    NSColor.green.interpolate(NSColor.green.alpha(1), value),
	    CGSize(150,150),
	    CGPoint(25,100)
	)
}
Interpolation:
The above animation can be achieved by the 2 lines of code:
var anim = Animator{let color = NSColor.red.interpolate(.blue, $0)}.start()
anim.onComplete{anim.setTarget(anim.target == 0 ? 1 : 0).start()}In the example bellow, a clock pointer rotates 3 times:
let line:LineGraphic = addSubView(LineGraphic())
let animator = Animator (value:CGFloat) in {
   let angle = π * 2  * value
   line.p2 = line.p1.polarPoint(50,angle)
   line.draw()
}
var i:CGFloat = 0
let max:Int = 3
var onComplete = {
    if i < max {animator.completed = onComplete}
    animator.start()
}
animator.start()I try to keep Animator as simple as possible so its easy to extend and do exotic animations. So instead of building everything into Animator you can use ad-hock tools to add features, such as pausing and starting:
animator.stop()
bgSleep(4/*<-seconds*/){/*bgSleep is a global method that pauses things with out freezing UI, its basically just sleep() on a background thread*/
    animator.start
}I'm working on shipping Animator as a standalone package with support for SPM, CocoaPod, Carthage. More animation examples and code snippets will come. I will also try to make a video tutorial on how you can setup Animator in XCode playground as a UI/UX. If you have a feature request or questions please let me know in Issues. Thanks for your support 💙


