Most of what we're looking at is the development board - the Jetson Nano module is actually just the board which has the SD card connector and heatsink.
To attach the WiFo module we're first going to disconnect the Jetson Nano module from the development board, attach the WiFi module to the development board and finally reconnect the Jetson Nano module.
Remove the two Phillips screws holding down the Jetson Nano module. I used a screwdriver from a set like this Adafruit set.
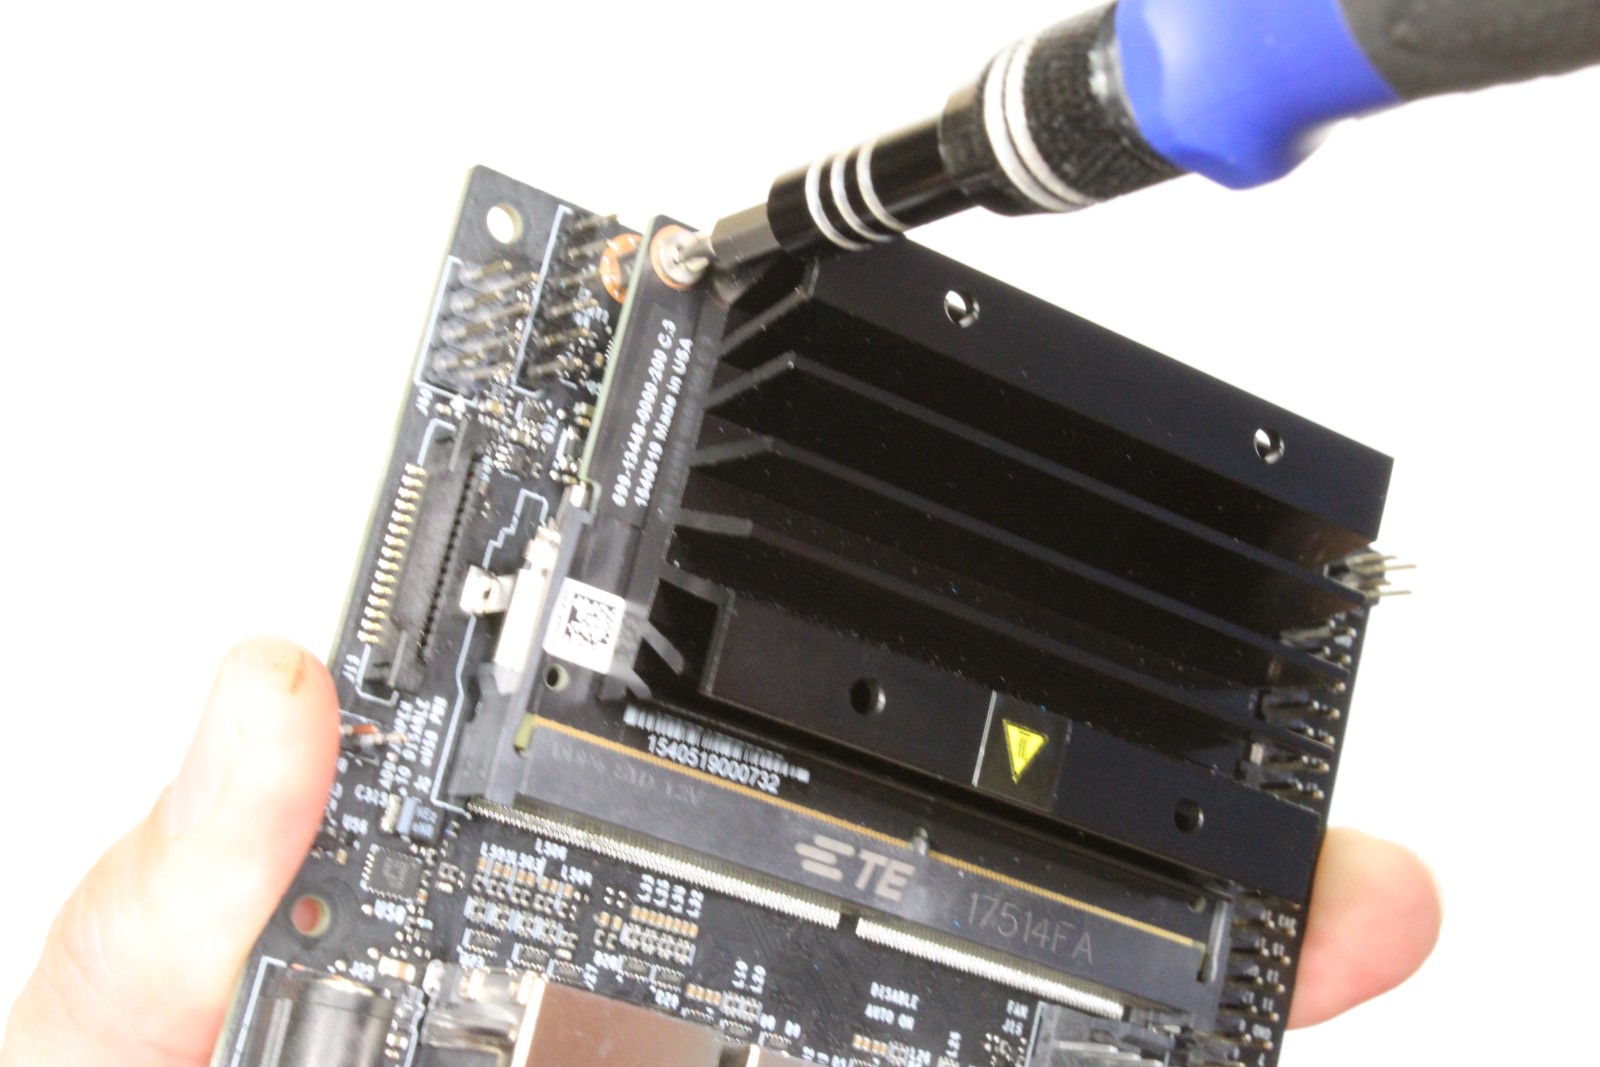
Gently push open the catches on either side and the Jetson Nano module will pop up.
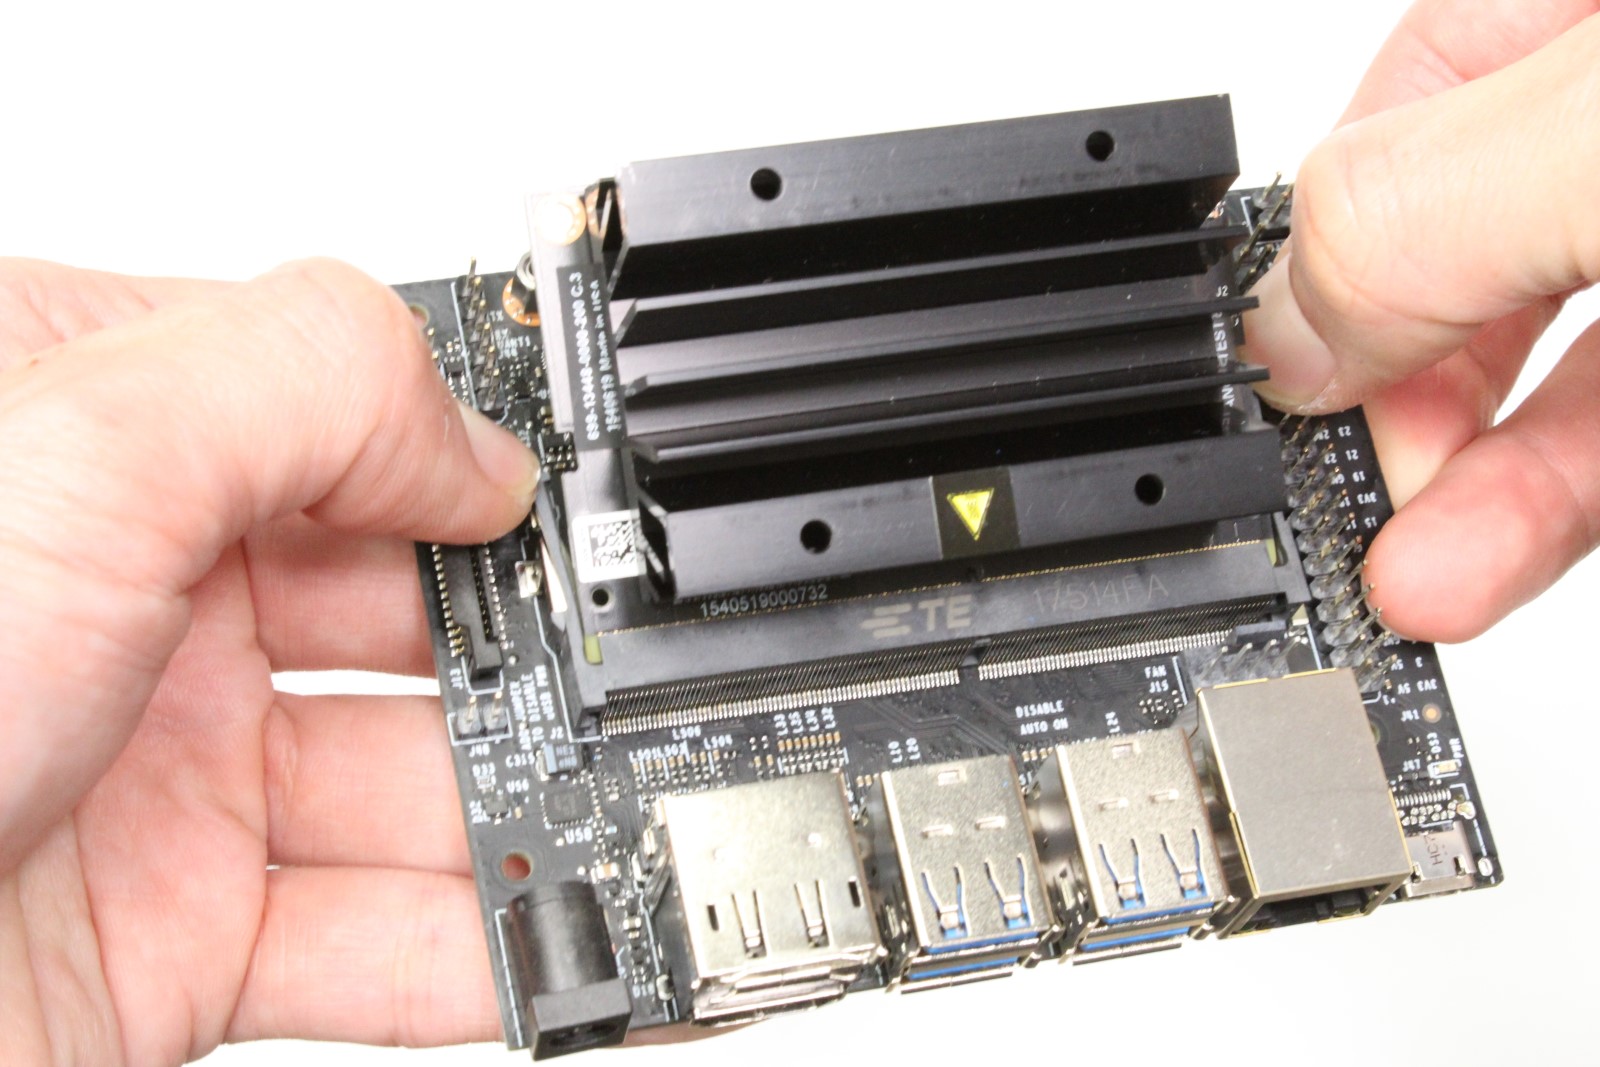
Then gently pull the module out of the connector that's connecting it to the rest of the development board.
Attach the two antennas to the WiFi module (press down on the connectors with your fingers to snap them into place). The connectors are tiny enough to make this a little stressful.
Remove the screw that will hold down the WiFi module. On my board this screw was surprisingly stiff and required a bit of pressure to remove.
Push the WiFi module into its connector and route the antennas however you want.
Note: for the Jetbot build the author tapes down the module and the feed lines of the antennas with Kapton tape (see this picture). I didn't bother with this.
Reinsert the Jetson Nano module into its connector and push down gently - the catches will move aside and then reengage.