-
Notifications
You must be signed in to change notification settings - Fork 90
Item System
You can import your own props ("items" or "assets") directly into the scene and even attach them to your Live2D model.
Items are read from the "Items" folder next to your "Live2DModels" folder. VTube Studio comes with a few items included, but you can add your own by putting PNGs into that folder.
If you put a folder into the "Items" folder, this folder will be considered to contain the frames for an Animated Item. PNGs you put into that folder will be read in alphabetical order and combined into an animation that can be loaded like a regular item in VTube Studio. Keep in mind that items with many frames may take up to a couple seconds to load.
You can also add GIFs as animated items.
FPS for the animated item can be set freely between 0 and 60 and once set will be remembered when you load the item again.
It's recommended but not required to keep frames of an animated item at the same size. The "hitbox" (clickable part of the item) will be based on the first frame of the animated item.
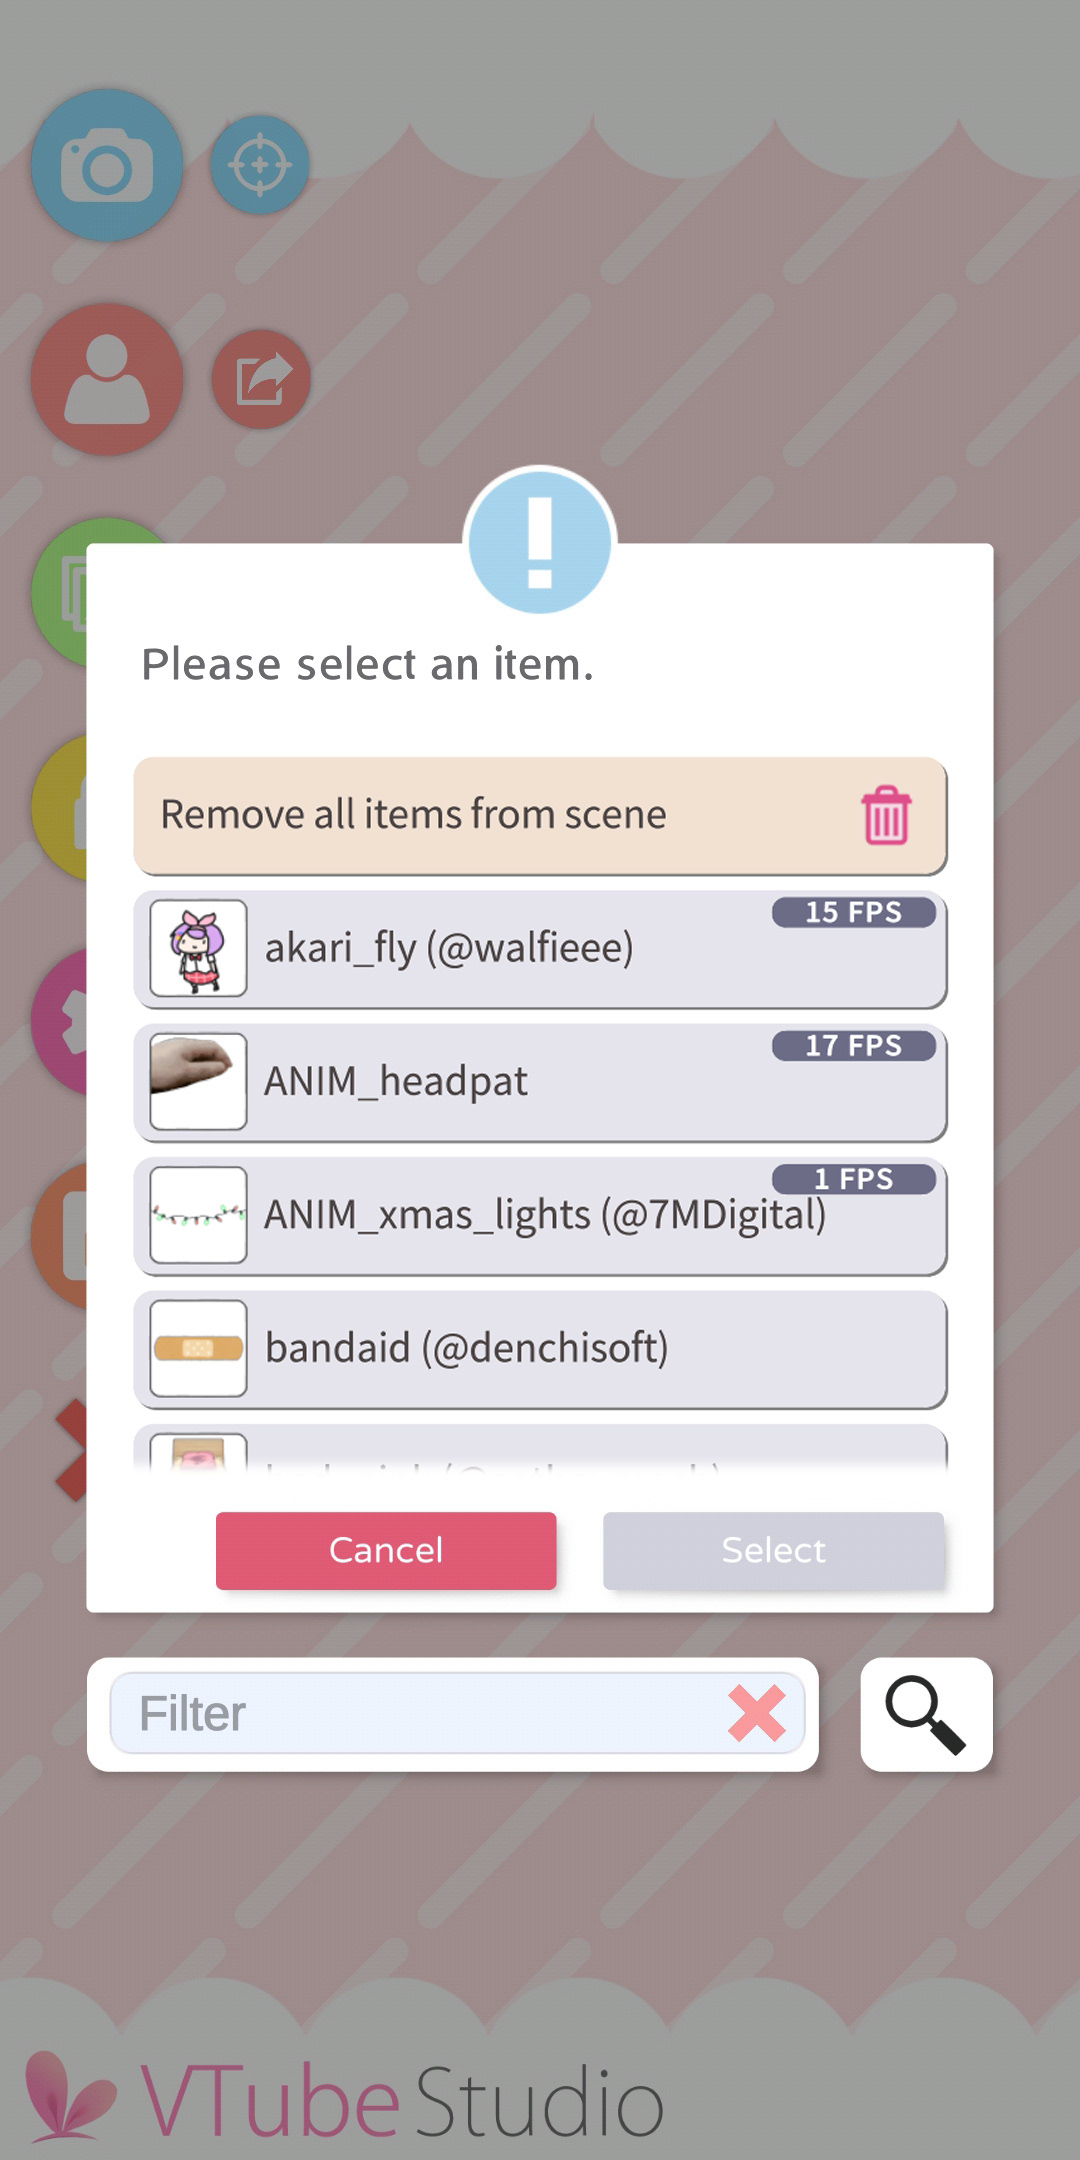
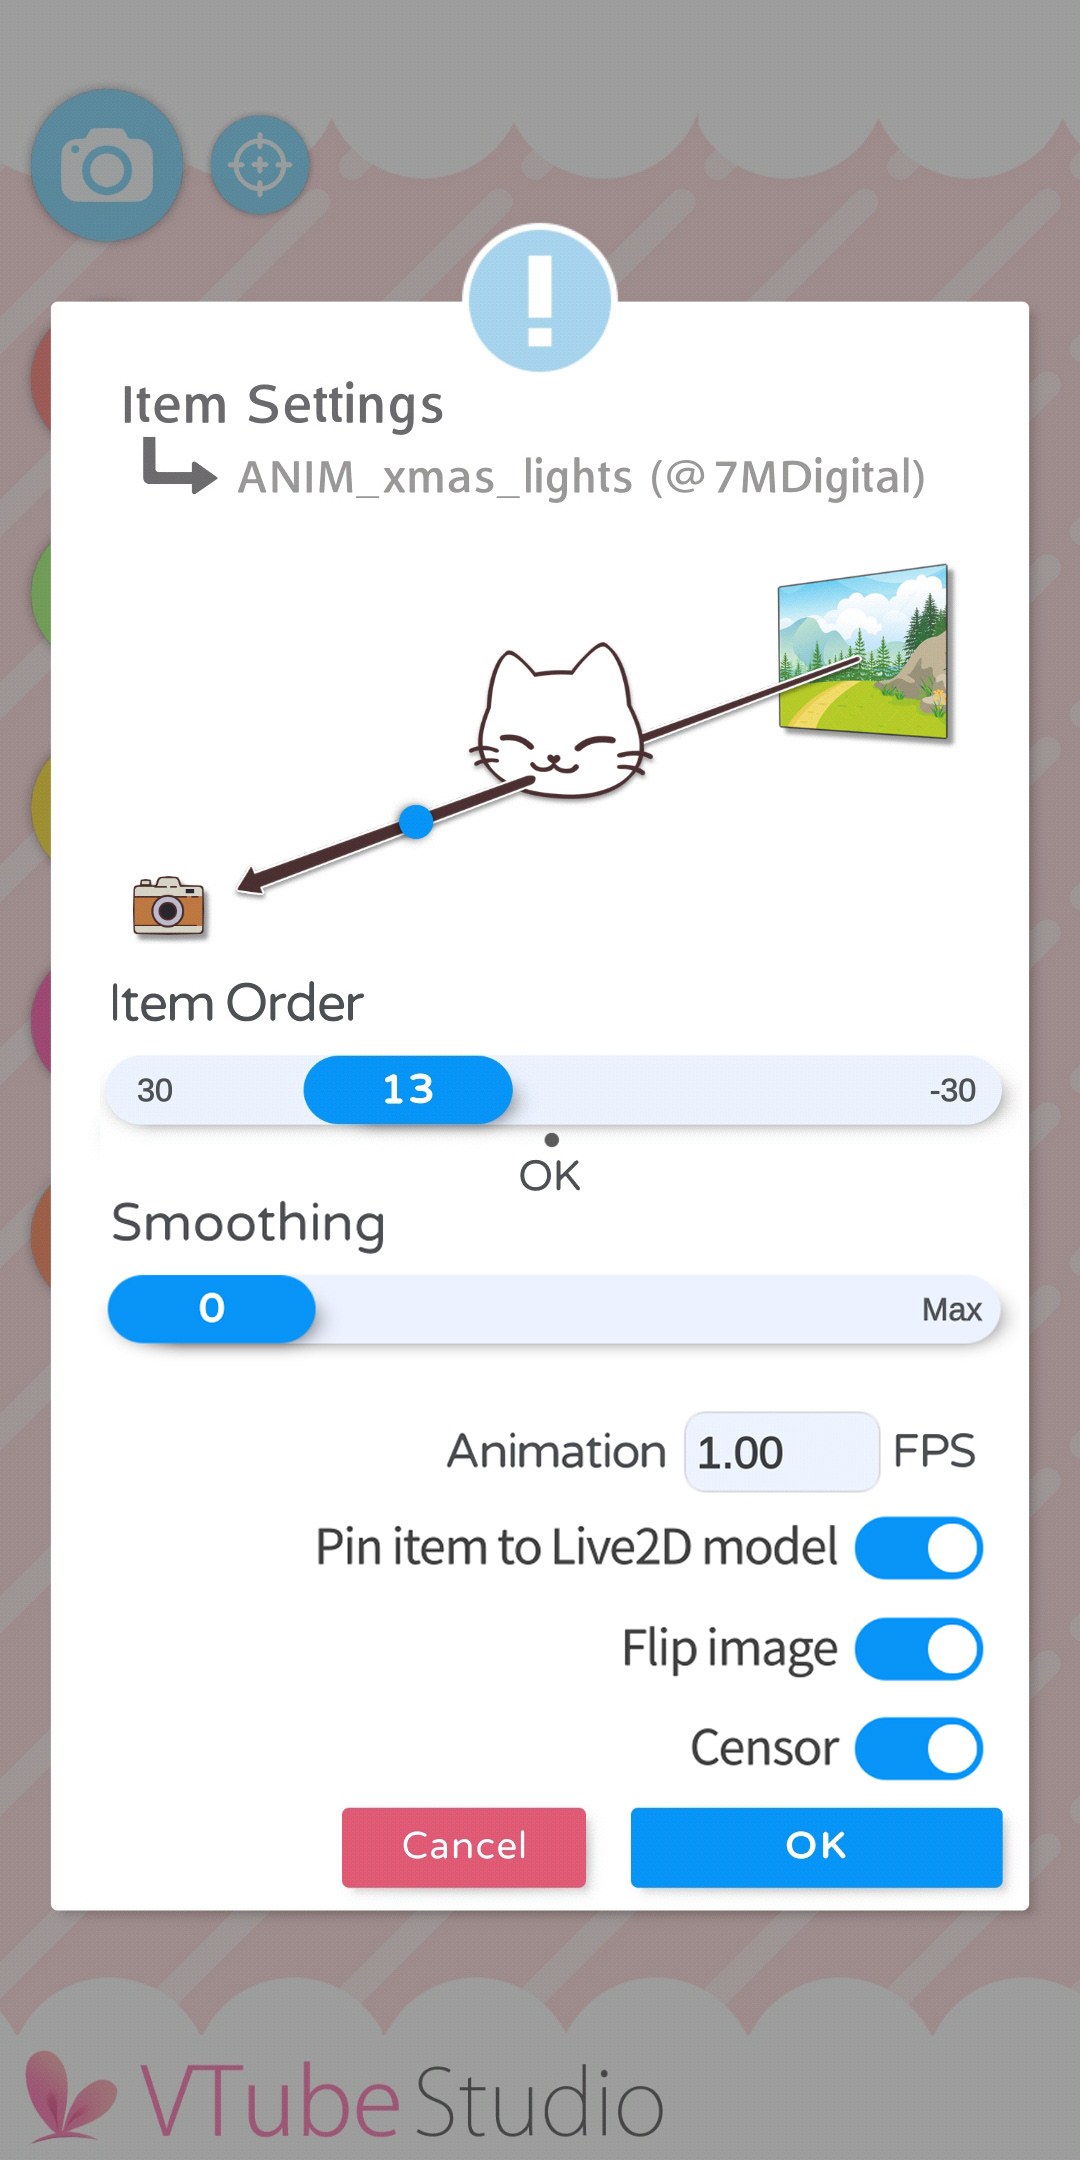
First, choose the item you'd like to add. Then choose an order. Items with a higher order are in front of items with a lower order. The Live2D model itself is at order 0, so you can also place items behind it.
If you want the item to be able to attach to the Live2D model, make sure to select "Pin item to Live2D model".
There is an experimental "Censor" option that applies a mosaic censor effect to the item. There is also a "Mirror" option that reflects the item.
By using the "Smoothing" slider, you can make the item follow your model more smoothly/loosely. Smoothing for an item will only be active when the item is locked (double-click the item after attaching it to the model).
If the item is animated (must be multiple PNGs in a folder in the "Items" folder), you can set the FPS here. It's generally recommended to keep item FPS under 45. You can put any floating-point number here, so even something like 3,7 FPS is valid.
Alternatively, you can also use GIFs as animated items, but it is recommended to use PNG sequences as described above to get the best quality (GIFs can be a bit grainy).
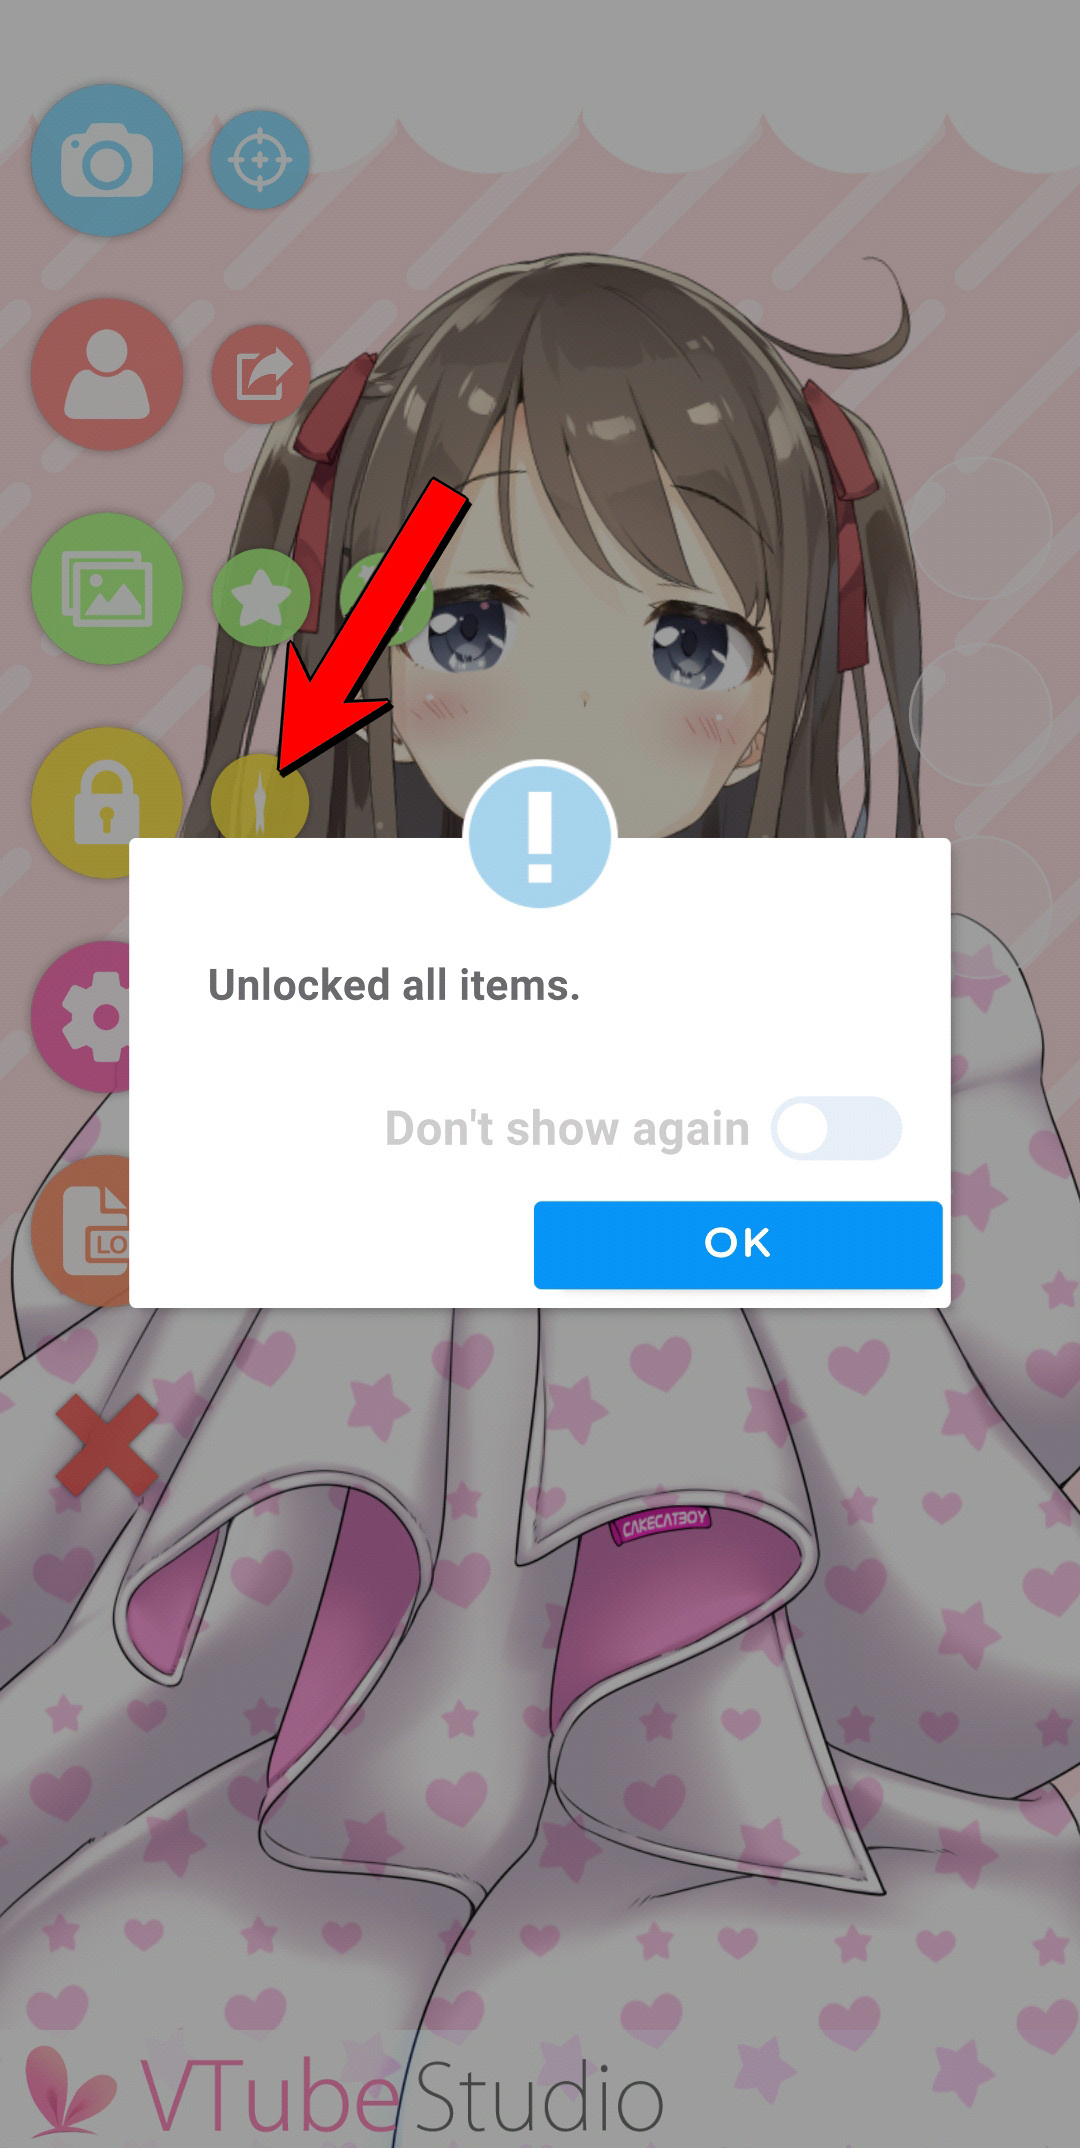
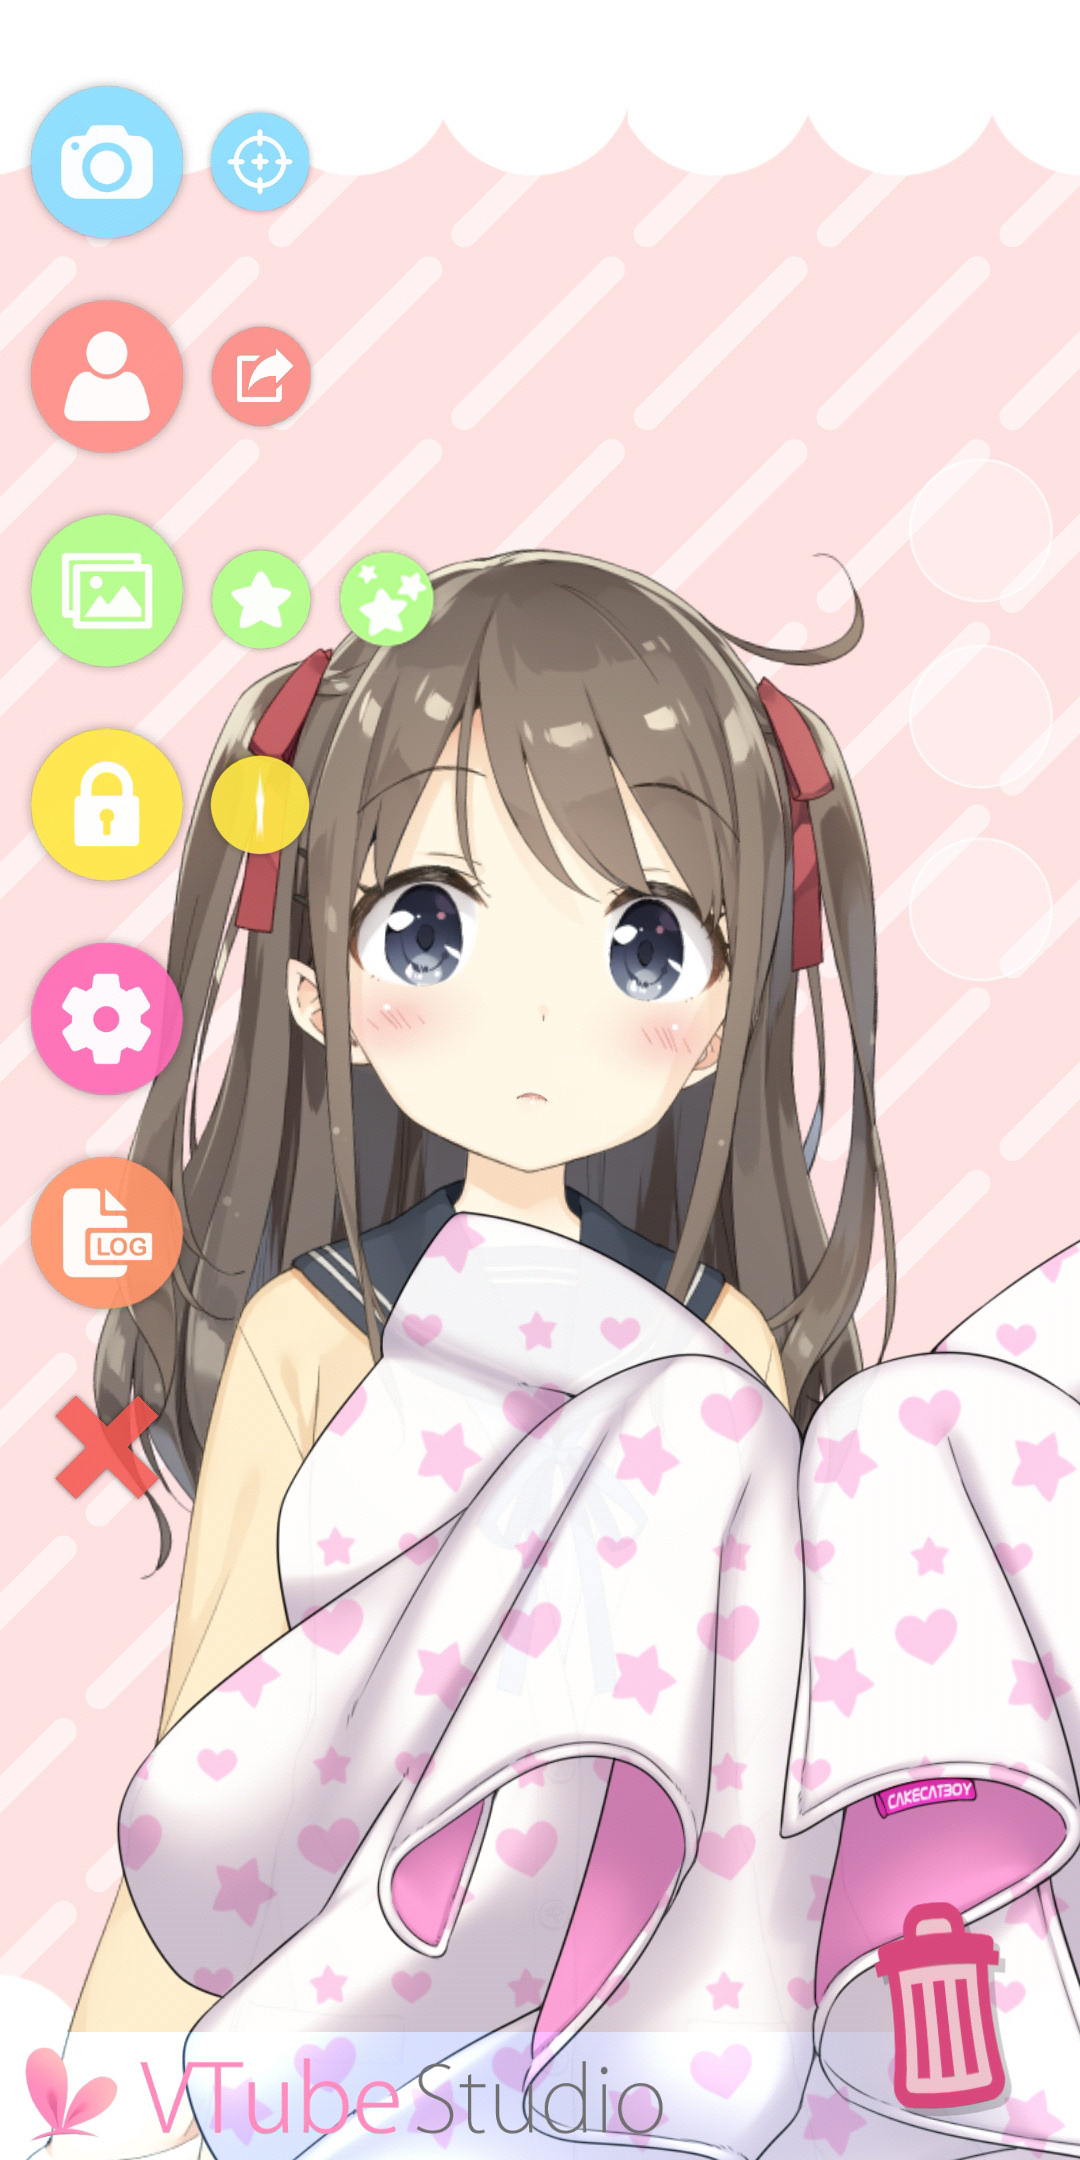
Once the item is in the scene, you can move/scale/rotate it with the same controls as for the model on PC/Mac and iOS/Android. To attach an item to the model, just drop it on there.


The item will be attached to the uppermost ArtMesh in your model at the position where you drop the item. The point of attachment will be the CENTER OF THE ITEM IMAGE. This can make it a bit tricky sometimes to attach the item to the correct ArtMesh, so you may need to play around a little bit to make it work properly.

![]() If you have any questions that this manual doesn't answer, please ask in the VTube Studio Discord
If you have any questions that this manual doesn't answer, please ask in the VTube Studio Discord![]() !!
!!
- Android vs. iPhone vs. Webcam
- Getting Started
- Introduction & Requirements
- Preparing your model for VTube Studio
- Where to get models?
- Restore old VTS Versions
- Controlling multiple models with one device
- Copy config between models
- Loading your own Backgrounds
- Recoloring Models and Items
- Record Animations
- Recording/Streaming with OBS
- Sending data to VSeeFace
- Starting as Admin
- Starting without Steam
- Streaming to Mac/PC
- VNet Multiplayer Overview
- Steam Workshop
- Taking/Sharing Screenshots
- Live2D Cubism Editor Communication
- Lag Troubleshooting
- Connection Troubleshooting
- Webcam Troubleshooting
- Crash Troubleshooting
- Known Issues
- FAQ
- VTube Studio Settings
- VTS Model Settings
- VTube Studio Model File
- Visual Effects
- Twitch Interaction
- Twitch Hotkey Triggers
- Spout2 Background
- Expressions ("Stickers"/"Emotes")
- Animations
- Interaction between Animations, Tracking, Physics, etc.
- Google Mediapipe Face Tracker
- NVIDIA Broadcast Face Tracker
- Tobii Eye-Tracker
- Hand-Tracking
- Lipsync
- Item System
- Live2D-Items
- Between-Layer Item Pinning
- Item Scenes & Item Hotkeys
- Add Special ArtMesh Functionality
- Display Light Overlay
- VNet Security
- Plugins (YouTube, Twitch, etc.)
- Web-Items
- Web-Item Plugins

