Webapp for Move And Whap (MaW) game demo showcasing how to build a game where all user actions are on-chain.
This was made to help developers understand how to code a web3 game with ReactJs and PixiJs engine.
- nvm
- node version
>=18.0.0or19.0.0 - yarn (This webapp uses yarn as package manager no npm)
- Installing all the packages
cd webapp
yarn install
-
In the webapp folder of the project, make a file called .env.
-
Add these parameters (Shown in env.example):
-
REACT_APP_MAW_CONTRACT_ADDRESS: Your deployed contract address.
This must be the same as MAW_CONTRACT_ADDRESS in the backend. -
REACT_APP_CHAIN_ID: This is the network chain ID to config @userdapp.
Currently we support 2 networks: 43113 (Fuji) and 31337 (HardHat).
If you are using a different network, you will need to modify logic inwebapp/src/providers/walletProvider.js. -
REACT_APP_WS_URL: Your backend websocket url example:
ws://localhost:7070. -
REACT_APP_CONNECTOR_TYPE: This is the type of connector the app can use to connect to the wallet.
Currently, the app supports 2 kind of connector:metamaskandsequence.
Formetamaskconnector, you will need to install Metamask extension on your browser.
Forsequenceconnector, you don't need to install any extension. The Sequence app will handle it.NOTE: For local HardHat network, only use
metamaskconnector. The sequence connector does not support local network.If you are using a different connector, you will need to modify logic in
webapp/src/providers/walletProvider.js. More details on @userdapp connector. -
REACT_APP_SUBNET_CHAIN_ID: Your new avalanche subnet chain that you have created and deployed.
**NOTE 1**: This is only required if you are using avalanche subnet.
**NOTE 2**: This andREACT_APP_CHAIN_IDmust have the same value.
-
REACT_APP_SUBNET_RPC_URLS: Your new avalanche subnet rpc url.
**NOTE**: This is only required if you are using avalanche subnet.
-
-
You can read more about how to run the FE with specific network (HardHat or FUJI) in the next section.
-
NOTE: Make sure you have already deployed the contract on HardHat local network, run the backend server, and add all the necessary env vars.
-
In the webapp folder run:
yarn start
The app will run on http://localhost:3000.
-
NOTE: Make sure you have already deployed the contract on HardHat local network, run the backend server.
If you have not done that yet, please follow the instruction in the root README.md file. -
Create a new env file named
.env.hardhatin the webapp folder:- REACT_APP_MAW_CONTRACT_ADDRESS: Your deployed contract address.
This must be the same as MAW_CONTRACT_ADDRESS in the root .env file. - REACT_APP_CHAIN_ID: 31337 (HardHat local network)
- REACT_APP_WS_URL:
ws://localhost:7070(Backend websocket url, this value is based on the ws port in the root folder .env file) - REACT_APP_CONNECTOR_TYPE:
metamask(Only support metamask for local network HardHat)
- REACT_APP_MAW_CONTRACT_ADDRESS: Your deployed contract address.
-
Run the app with:
yarn start:hardhat -
The app will copy everything in .env.hardhat to .env and run the app with the new .env file.
-
The app will run on
http://localhost:3000.
-
NOTE: Make sure you have already deployed the contract on FUJI testnet, run the backend server.
If you have not done it yet, please follow the instruction in the root README.md file. -
Create a new env file named
.env.fujiin the webapp folder:- REACT_APP_MAW_CONTRACT_ADDRESS: Your deployed contract address on FUJI network.
This must be the same as MAW_CONTRACT_ADDRESS in the root .env file. - REACT_APP_CHAIN_ID: 43113 (FUJI testnet)
- REACT_APP_WS_URL:
ws://localhost:7070(Backend websocket url, this value is based on the ws port in the root folder .env file) - REACT_APP_CONNECTOR_TYPE:
sequence(Use Sequence for test network)
- REACT_APP_MAW_CONTRACT_ADDRESS: Your deployed contract address on FUJI network.
-
Run the app with:
yarn start:fuji -
The app will copy everything in .env.fuji to .env and run the app with the new .env file.
-
The app will run on
http://localhost:3000.
Note: Make sure you have already created and deployed an Avalanche subnet and deployed the contract on the subnet. If you have not done it yet, please follow the instruction in the root README.md file.
Create a new env file named .env.mawSubnet in the webapp folder:
-
REACT_APP_MAW_CONTRACT_ADDRESS: Your deployed contract address on the Avalanche subnet.
This must be the same as MAW_CONTRACT_ADDRESS in the root .env file.
In our example it is:0x5FbDB2315678afecb367f032d93F642f64180aa3 -
REACT_APP_CHAIN_ID: Your new avalanche subnet chain ID that you have created and deployed.
In our example it is:13123 -
REACT_APP_WS_URL:
ws://localhost:7070(Backend websocket url, this value is based on the ws port in the root folder .env file) -
REACT_APP_CONNECTOR_TYPE:
metamask(Only support metamask for local network Avalanche Subnet) -
REACT_APP_SUBNET_CHAIN_ID: Your new avalanche subnet chain that you have created and deployed. subnet.
NOTE: This andREACT_APP_CHAIN_IDmust have the same value.
In our example it is:13123 -
REACT_APP_SUBNET_RPC_URLS: Your new avalanche subnet rpc url.
In our example it is:http://127.0.0.1:9652/ext/bc/2gS3BV4MrzKAbytYbwTihi8okiVmgGrsKV2X1pxNHTJgJuRDya/rpc -
Run the app with:
yarn start:mawSubnet -
The app will copy everything in .env.mawSubnet to .env and run the app with the new .env file.
-
The app will run on
http://localhost:3000.
Import a Hardhat account to Metamask
-
Open your Metamask extension.
-
Click on top right corner.
-
Click on
Import account

-
Copy the private key of one of the HardHat accounts (You can find it in the terminal when you run
npm run nodeon the root folder). -
Paste the private key to Metamask.
-
Click on
Import.

-
You will see the account imported.
Connect to HardHat local network
-
If you do not have the HardHat network configured in Metamask, you will need to add it or metamask will add it for you after you connect.

-
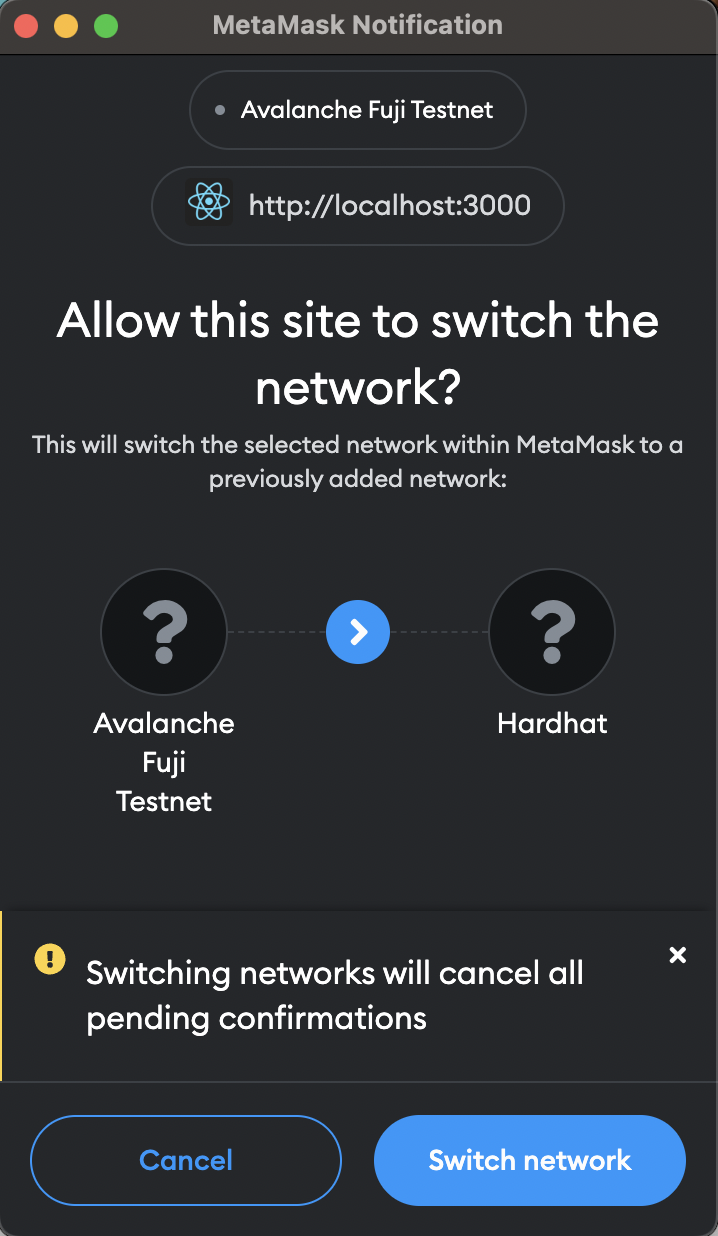
If the app does not change network automatically, you can change it manually by clicking on the network name on the top right corner of Metamask.
Reset metamask account
-
If you restart your local Hardhat instance, Metamask will raise a
can not calculate nonce errorand our webapp will be stuck on the loading screen. This is because Metamask does not actively sync how many transactions you have made and only increments it when you make a new transaction. To fix this, you can reset the account. If you are interested in the importance of thenoncevalue, you can read more here. -
If you want to reset the account, you can click on the account name on the top right corner of Metamask.
-
Setting > Advance > Reset Account > Reset.

-
Then you are good to go.
Joining the game
- Click on connect button.
- Approve the connection.
- Click on join button.
- Approve the transaction.
Add new env file
- The bash script
change-env.shwill responsible for copying the content of the env file to the.envfile. - To run the bash:
bash change-env.sh fuji (or hardhat) - Currently it only support
hardhatandfujias argument. - If you want to add a new env file, you can add the condition code to the
change-env.shfile.